Are you ready to learn how to crochet and read crochet patterns? Well, you're in luck because that is exactly what we will be doing in the next few posts. Today we are focusing on STARTING your crochet projects.
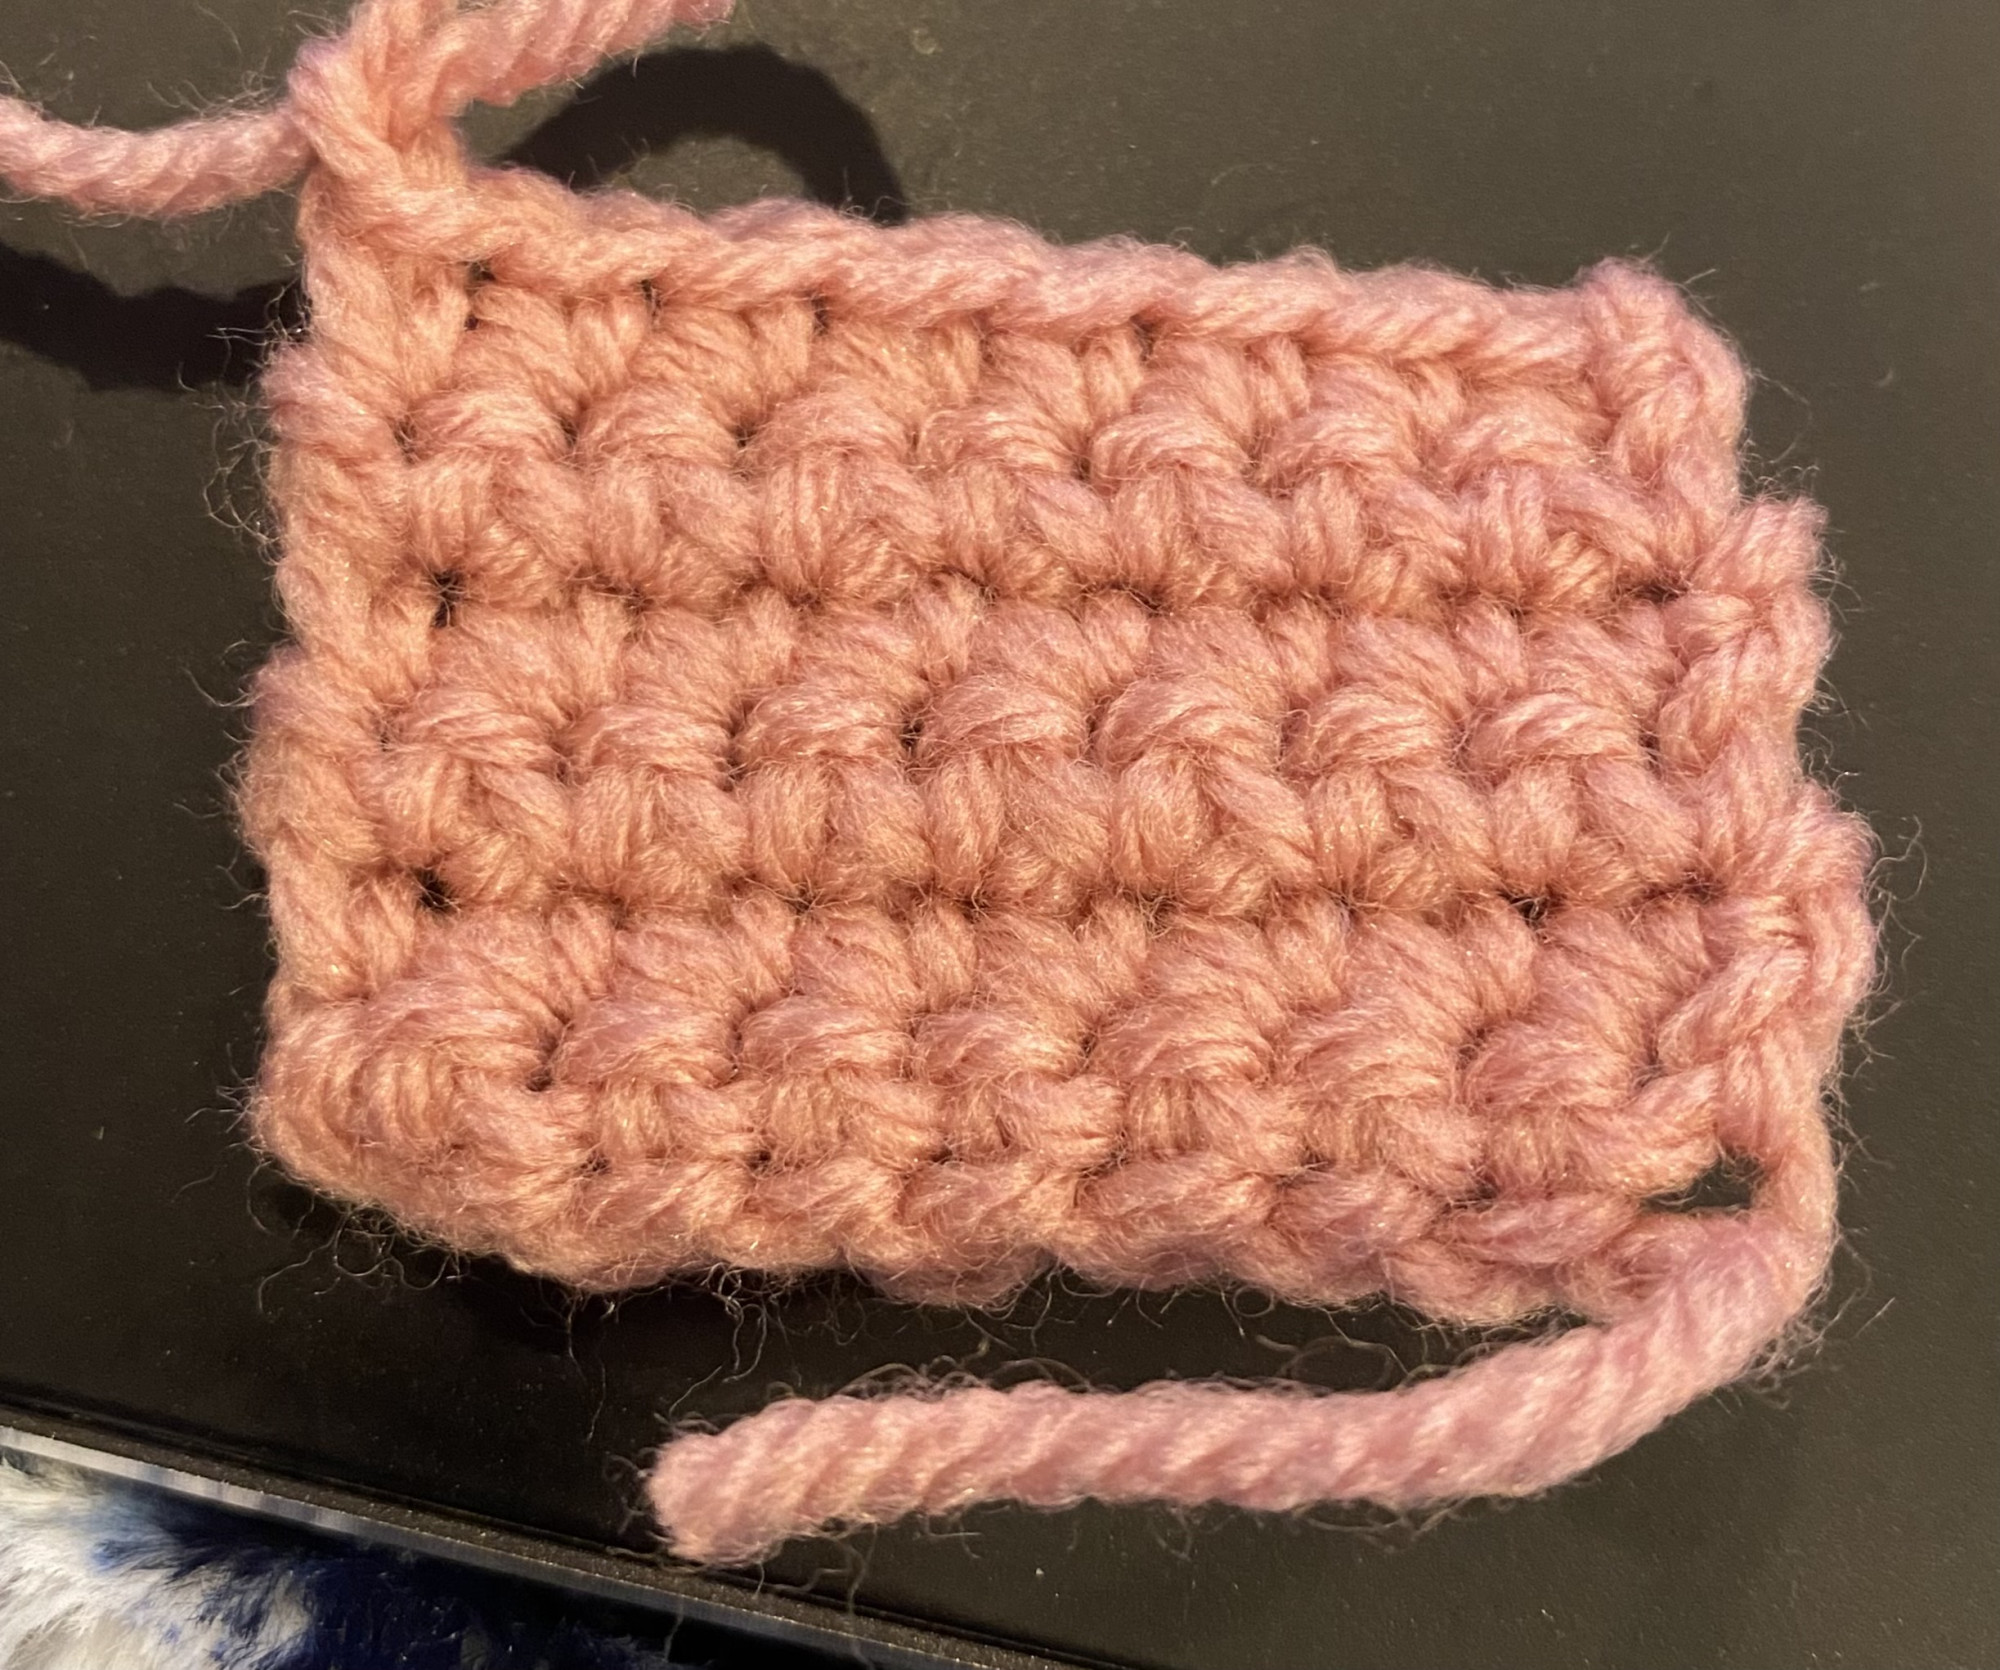
- Working in a line - Chain stitch. This creates a square or rectangle.
- Working in a circle - Chain stitch.
- Working in a circle - Magic circle
There are two basic shapes you can make with these stitches. If you start off with a long chain, you will end up making a rectangle. If you want to make a circle, you will either use the magic circle or make a small chain and then hook it to itself, making a tiny circle. If none of that makes sense, that's ok, let me explain each in more detail.
Chain Stitch-in a line
When looking at a pattern, this stitch is abbreviated to "ch" with a number after it. That number shows how many "chains" you will make in your chain.
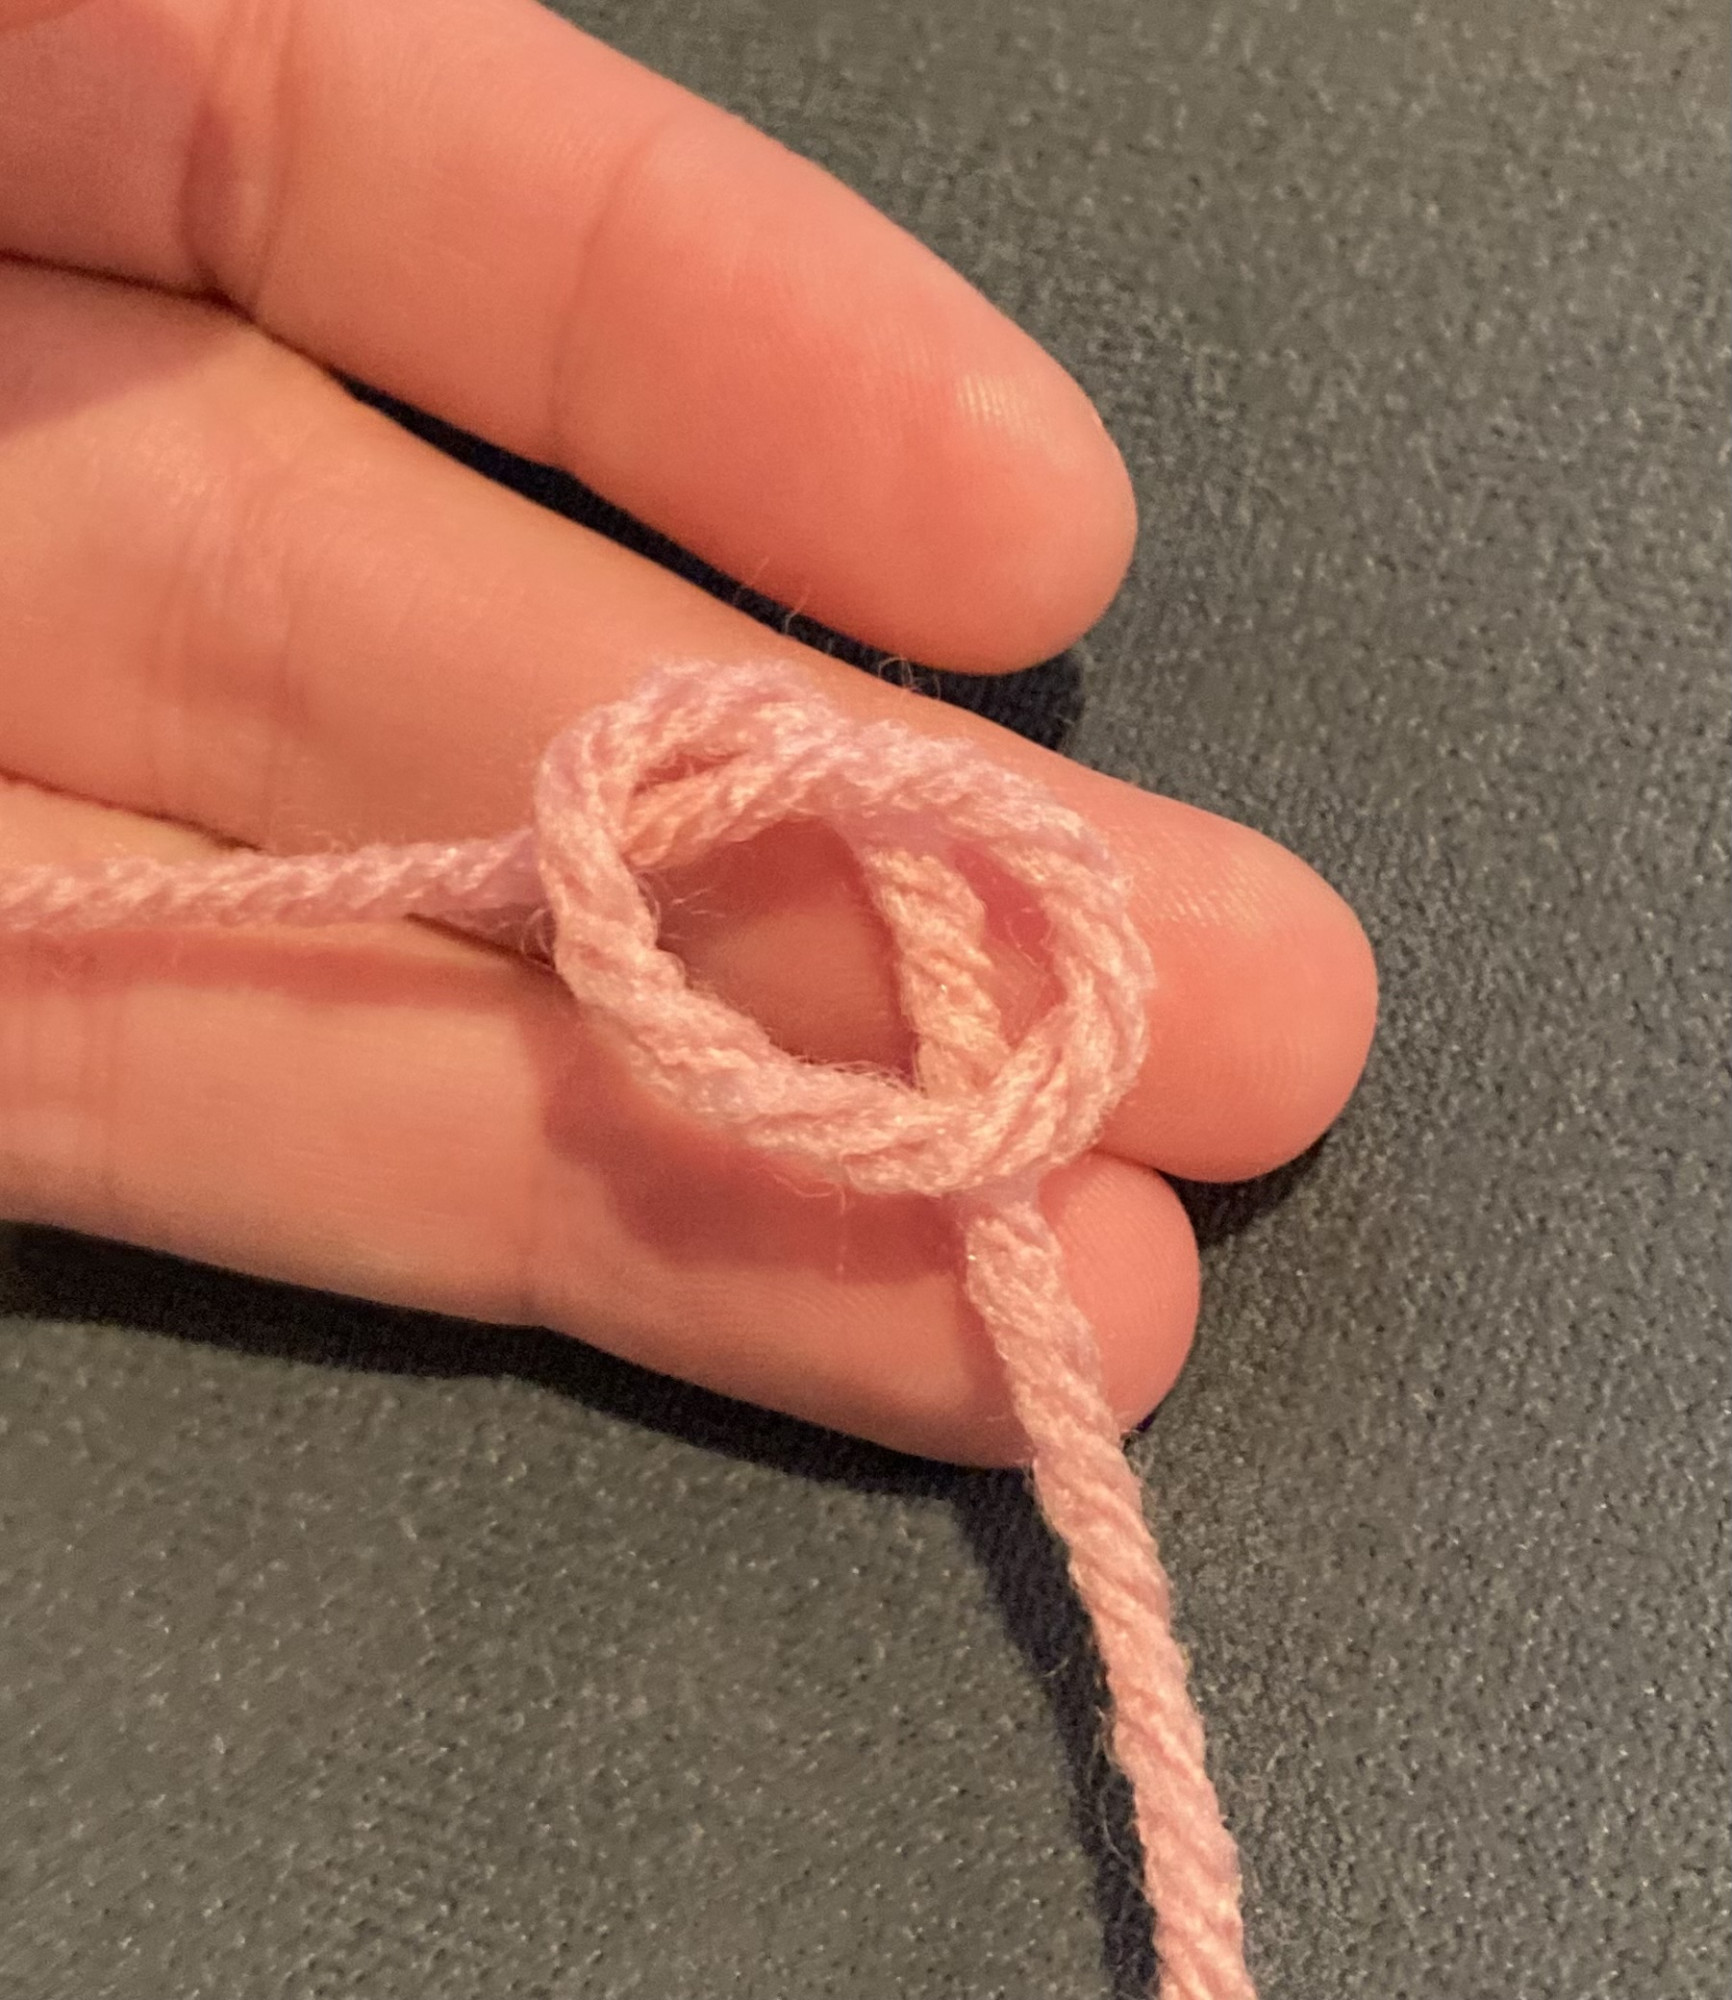
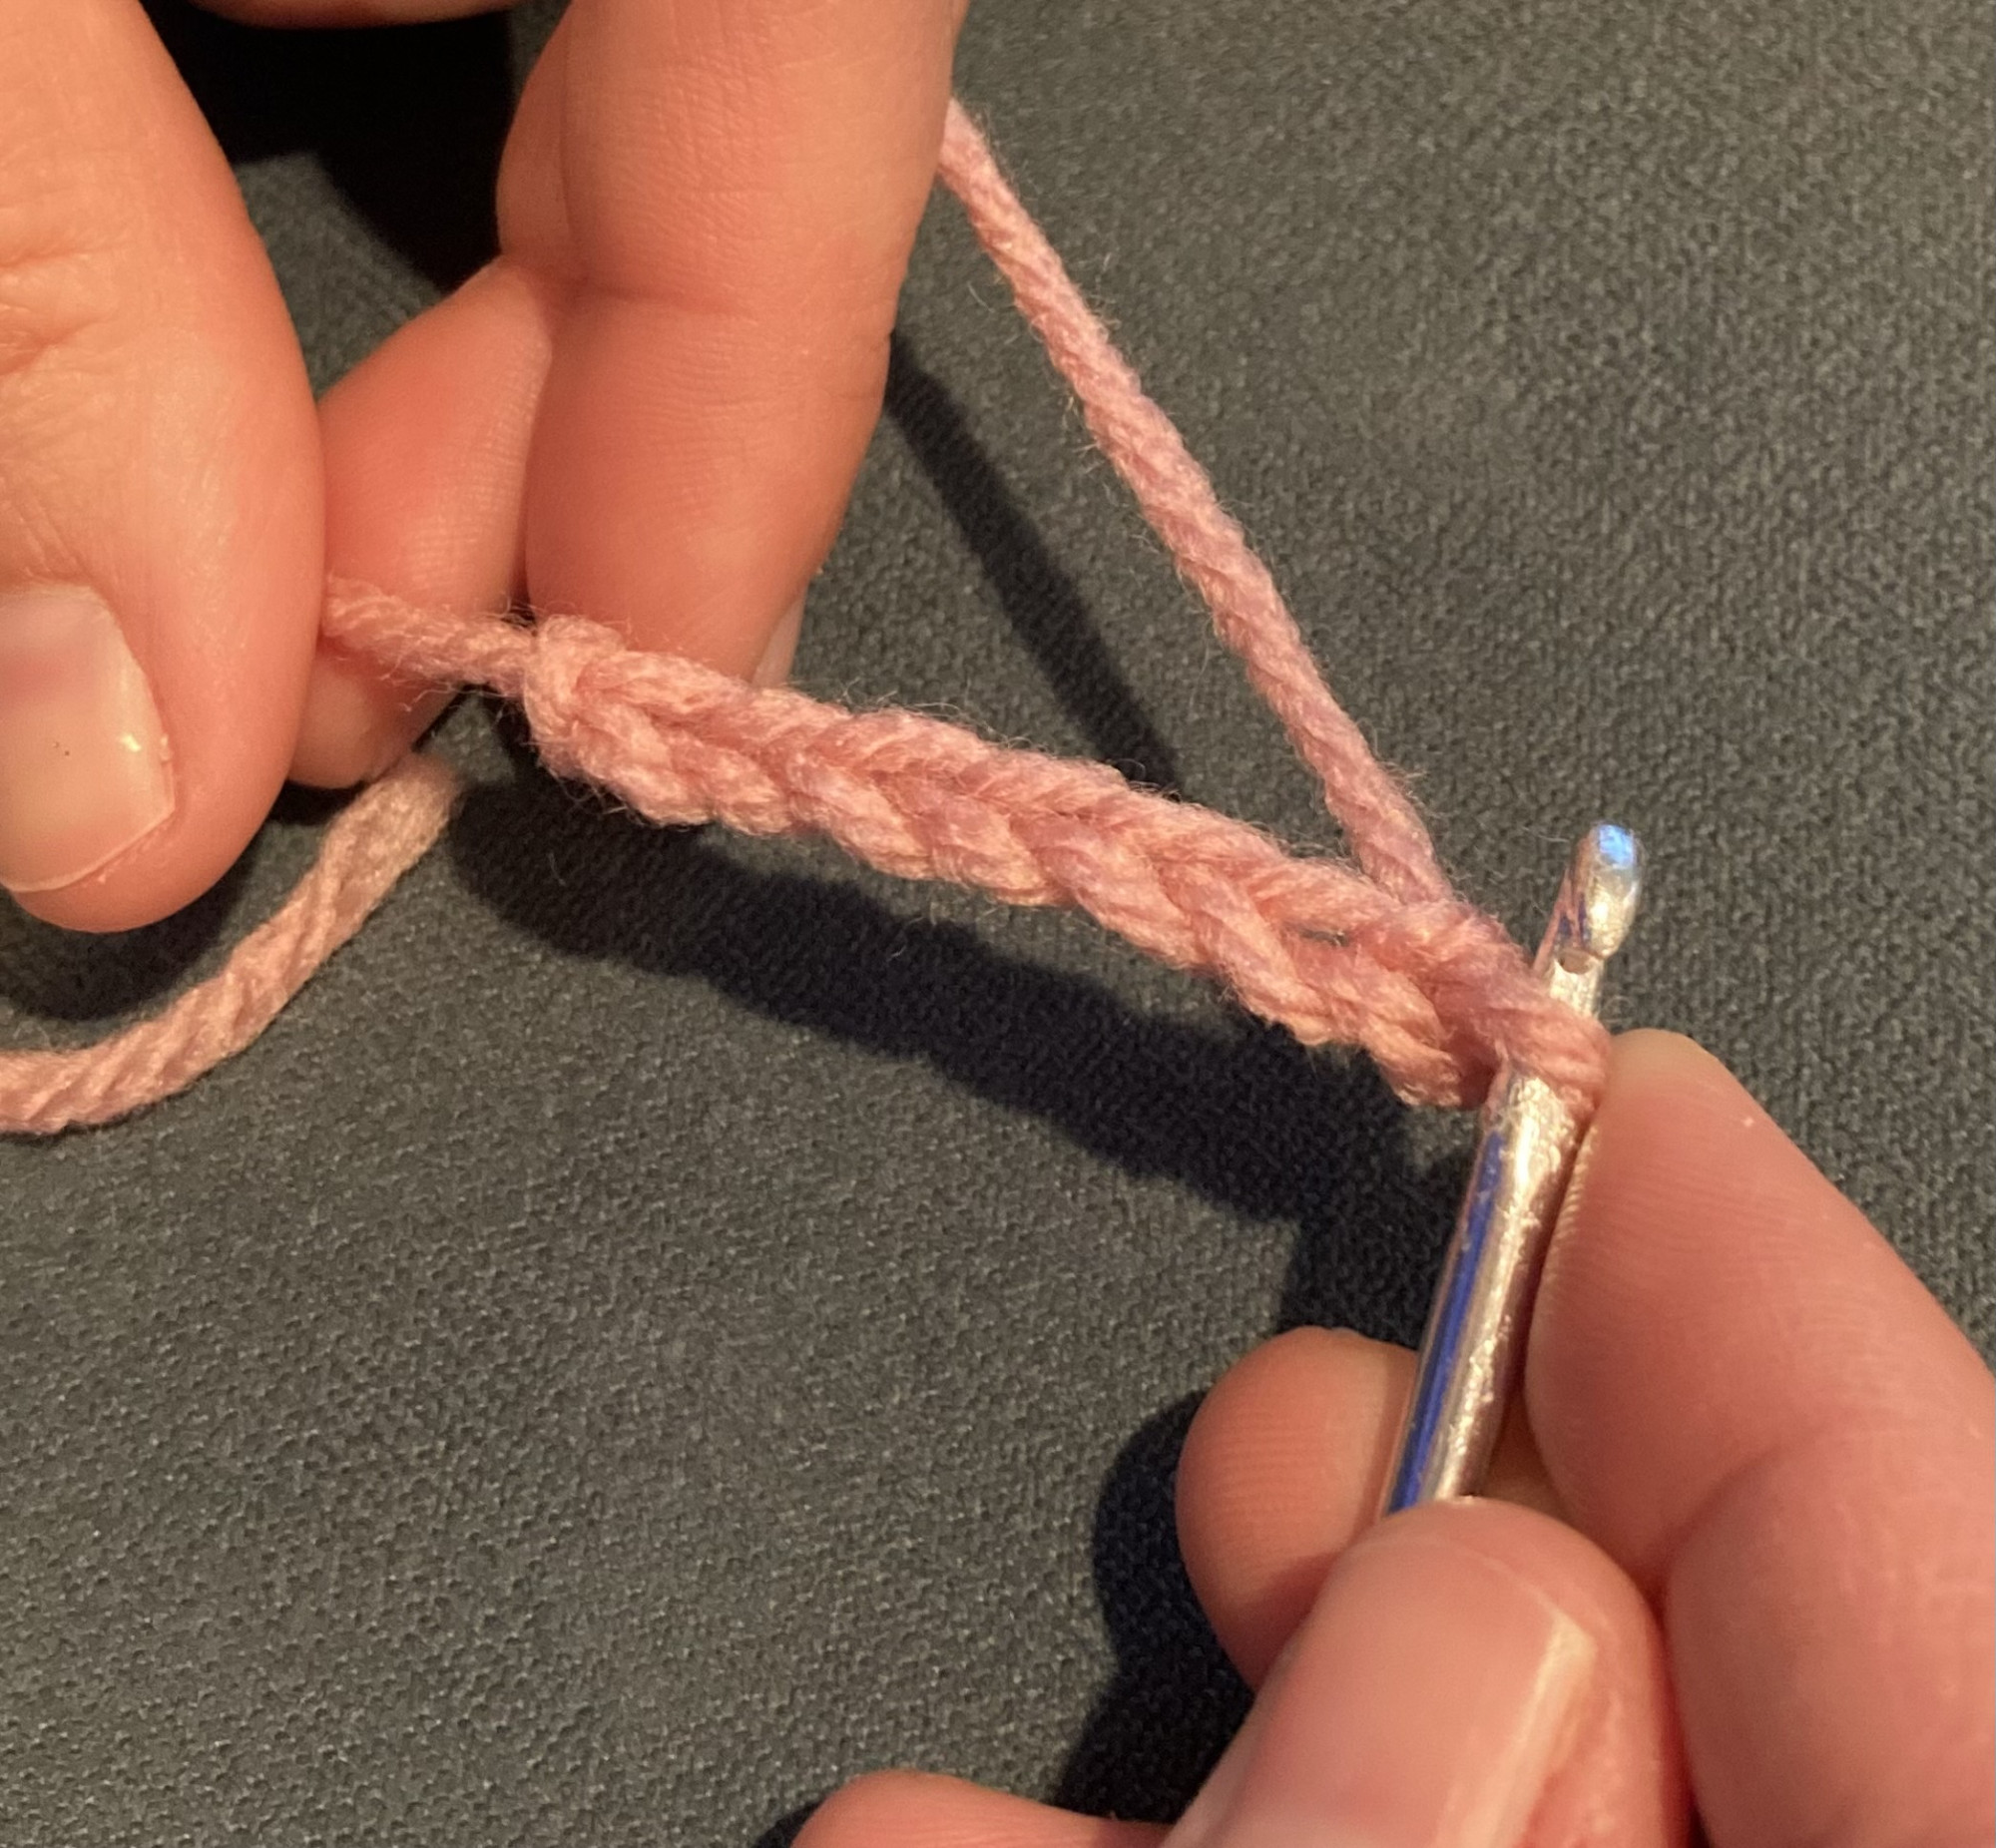
To make these chains, you will 1. create a pretzel shape with the yarn on your finger, as you can see in the picture.
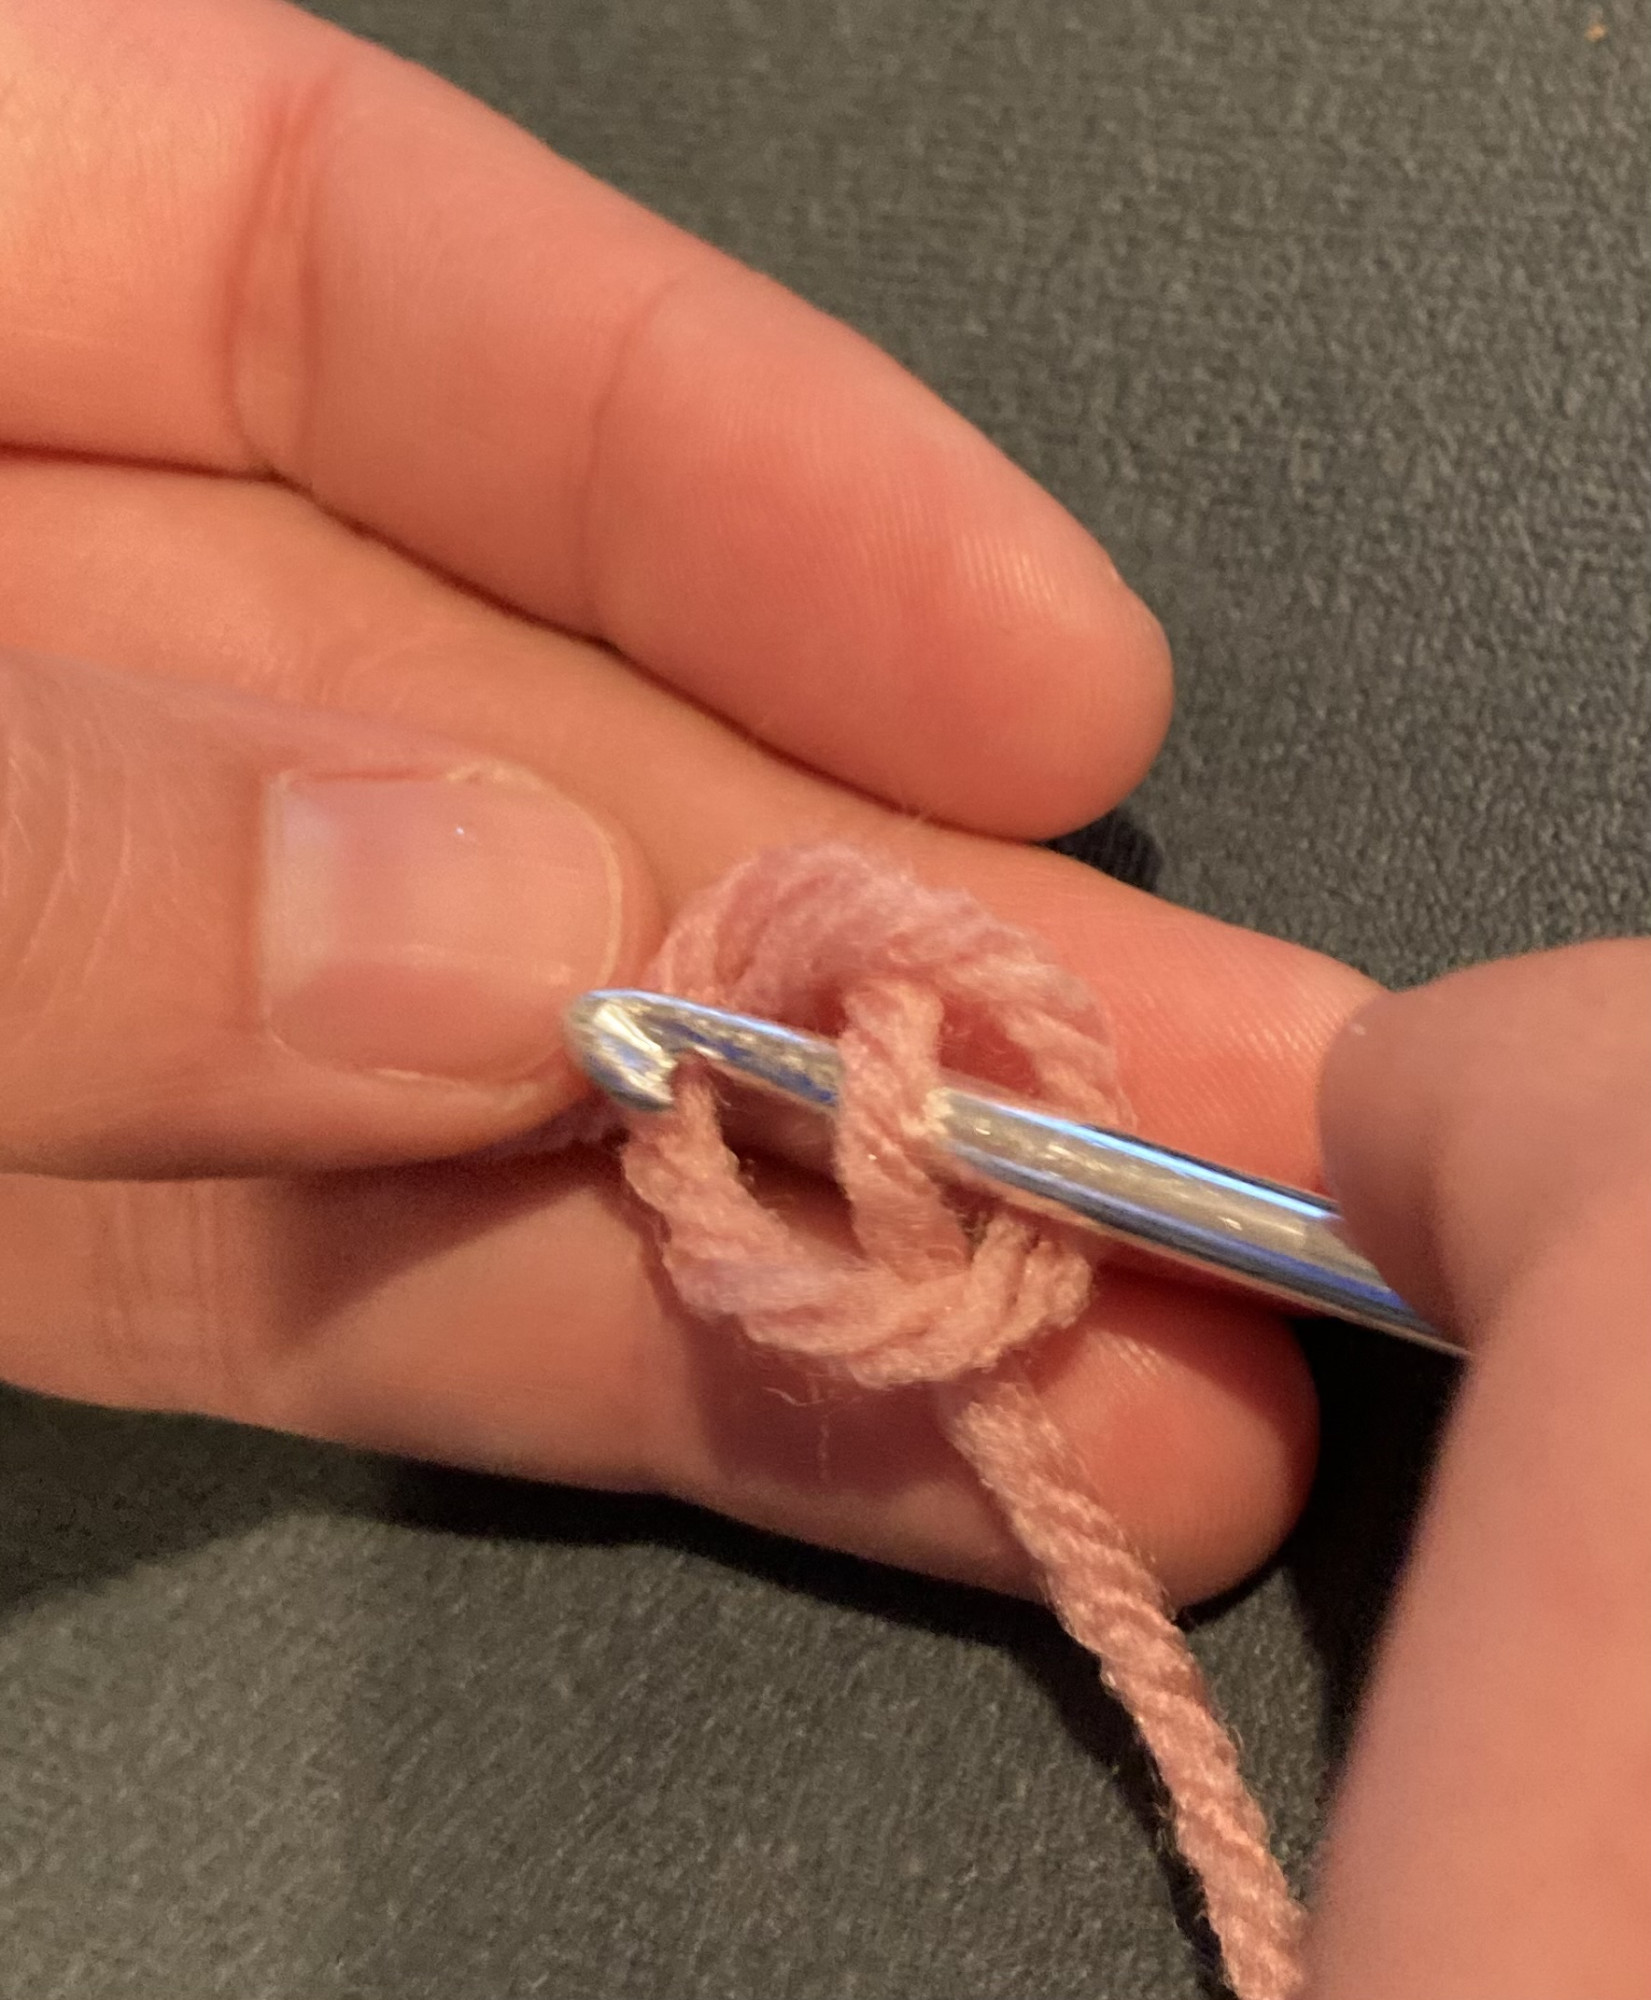
2. Use the hook to pull up a loop from the middle of the pretzel.
3. Wrap the yarn around the hook and pull it through the loop.
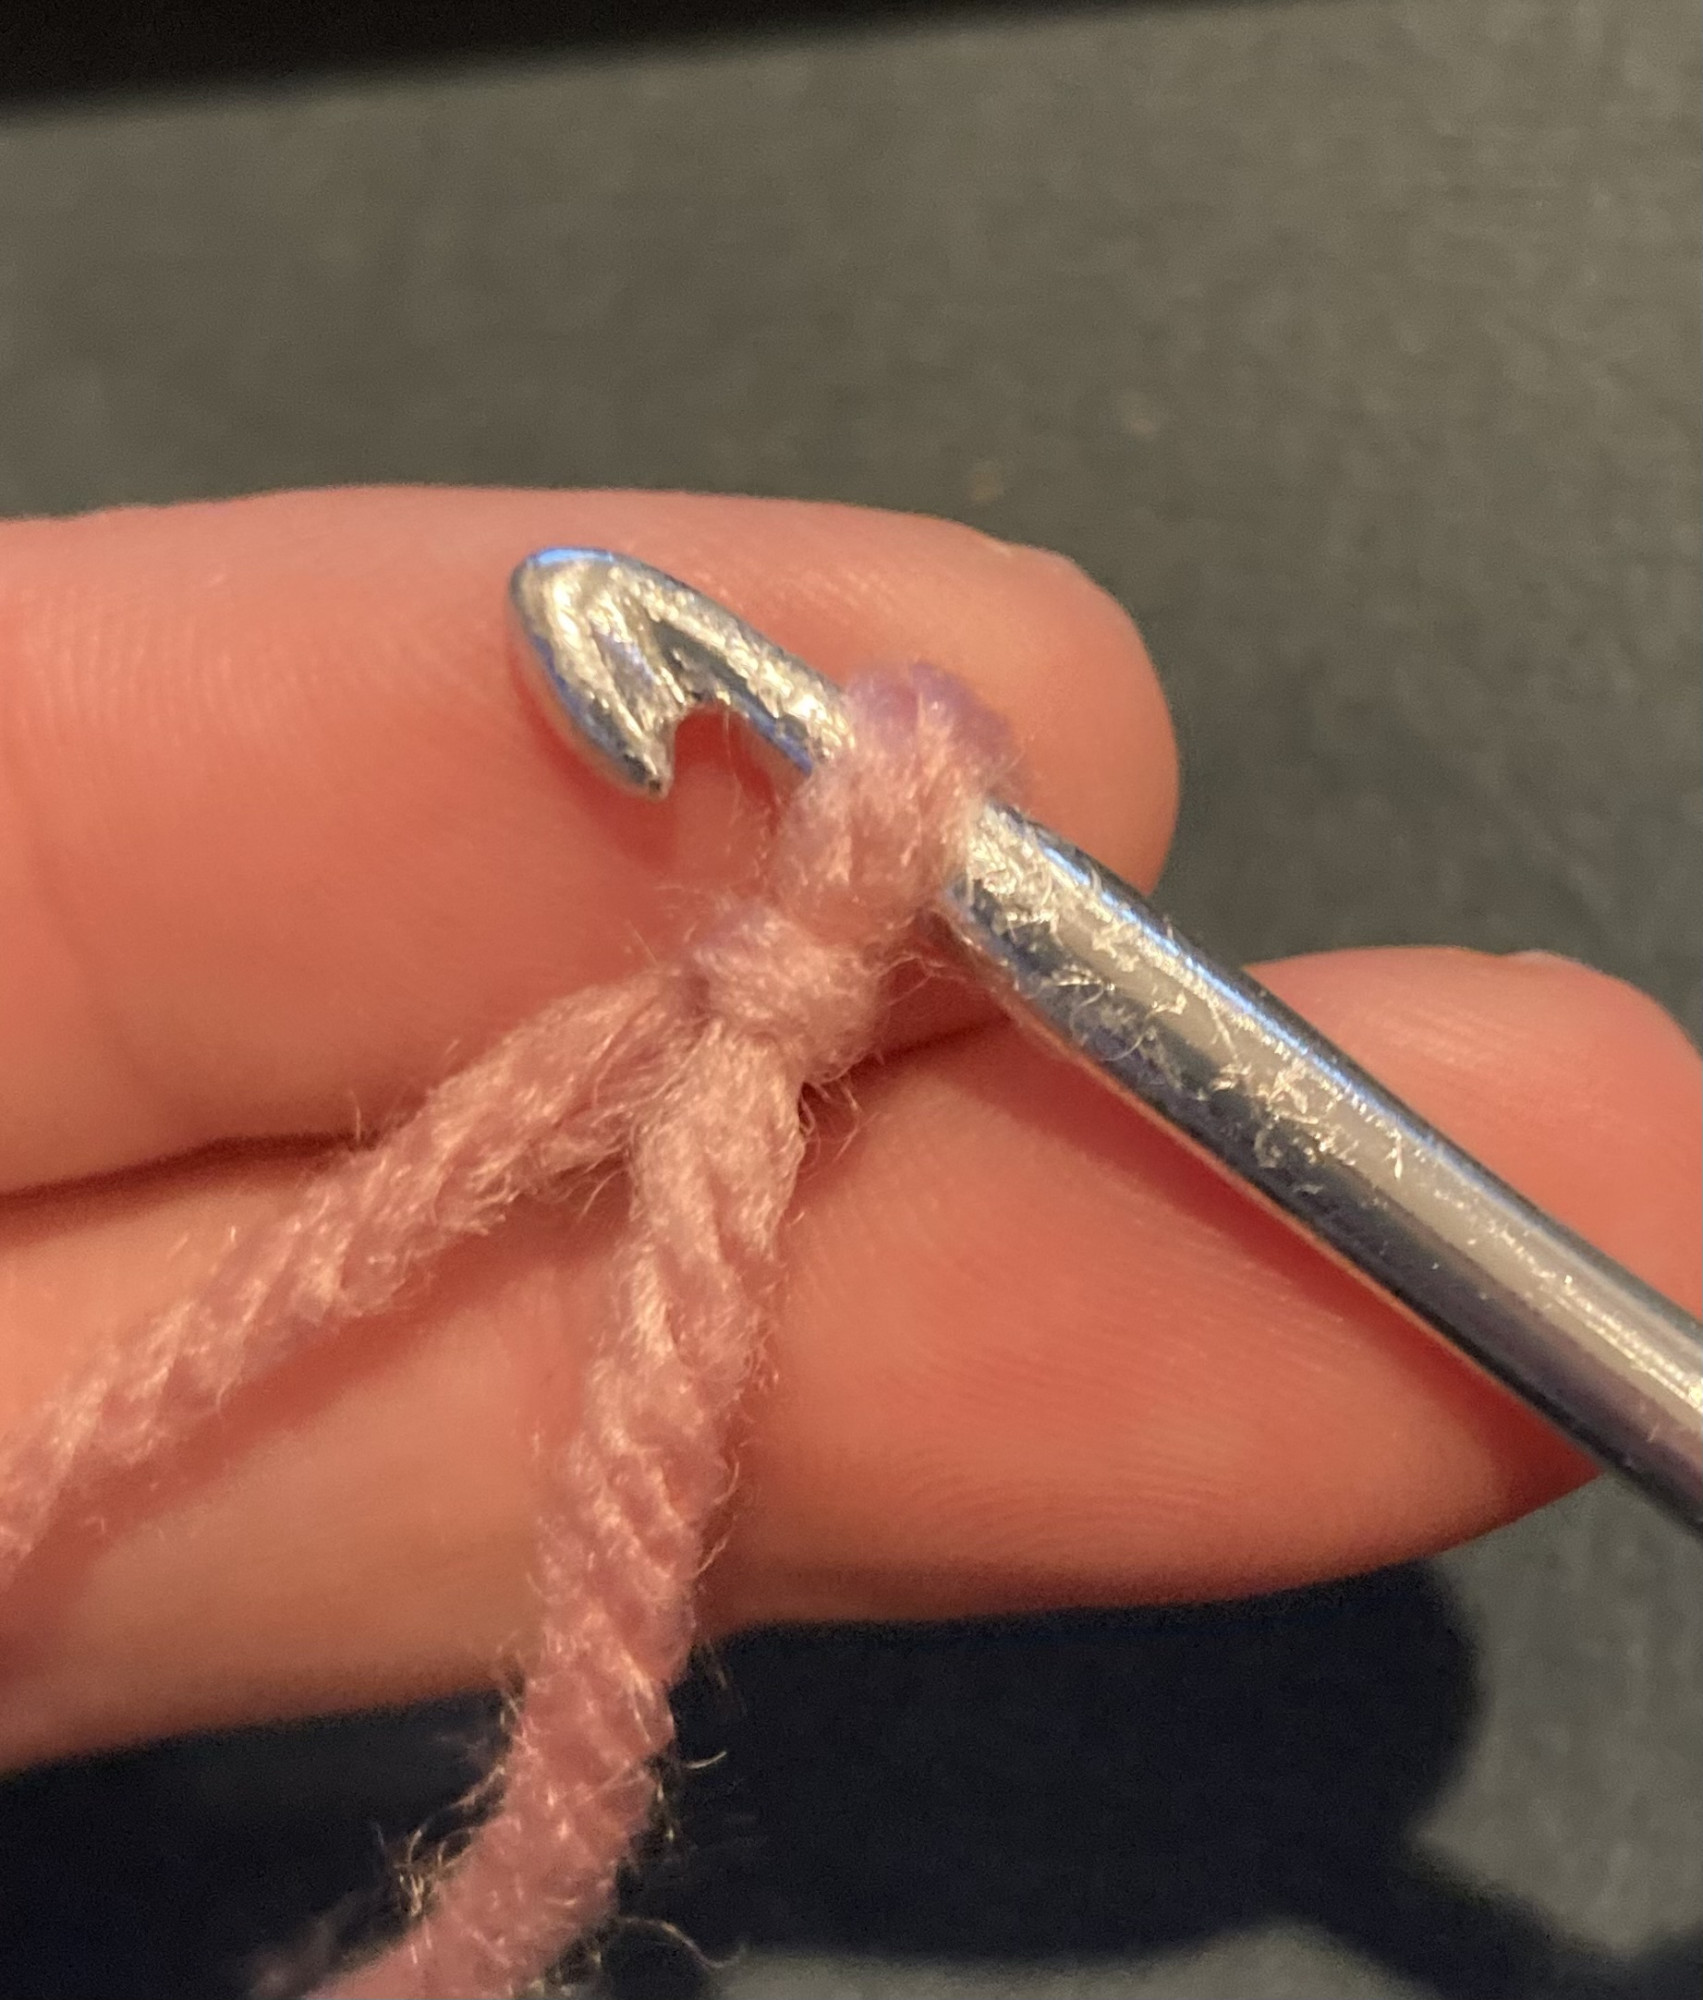
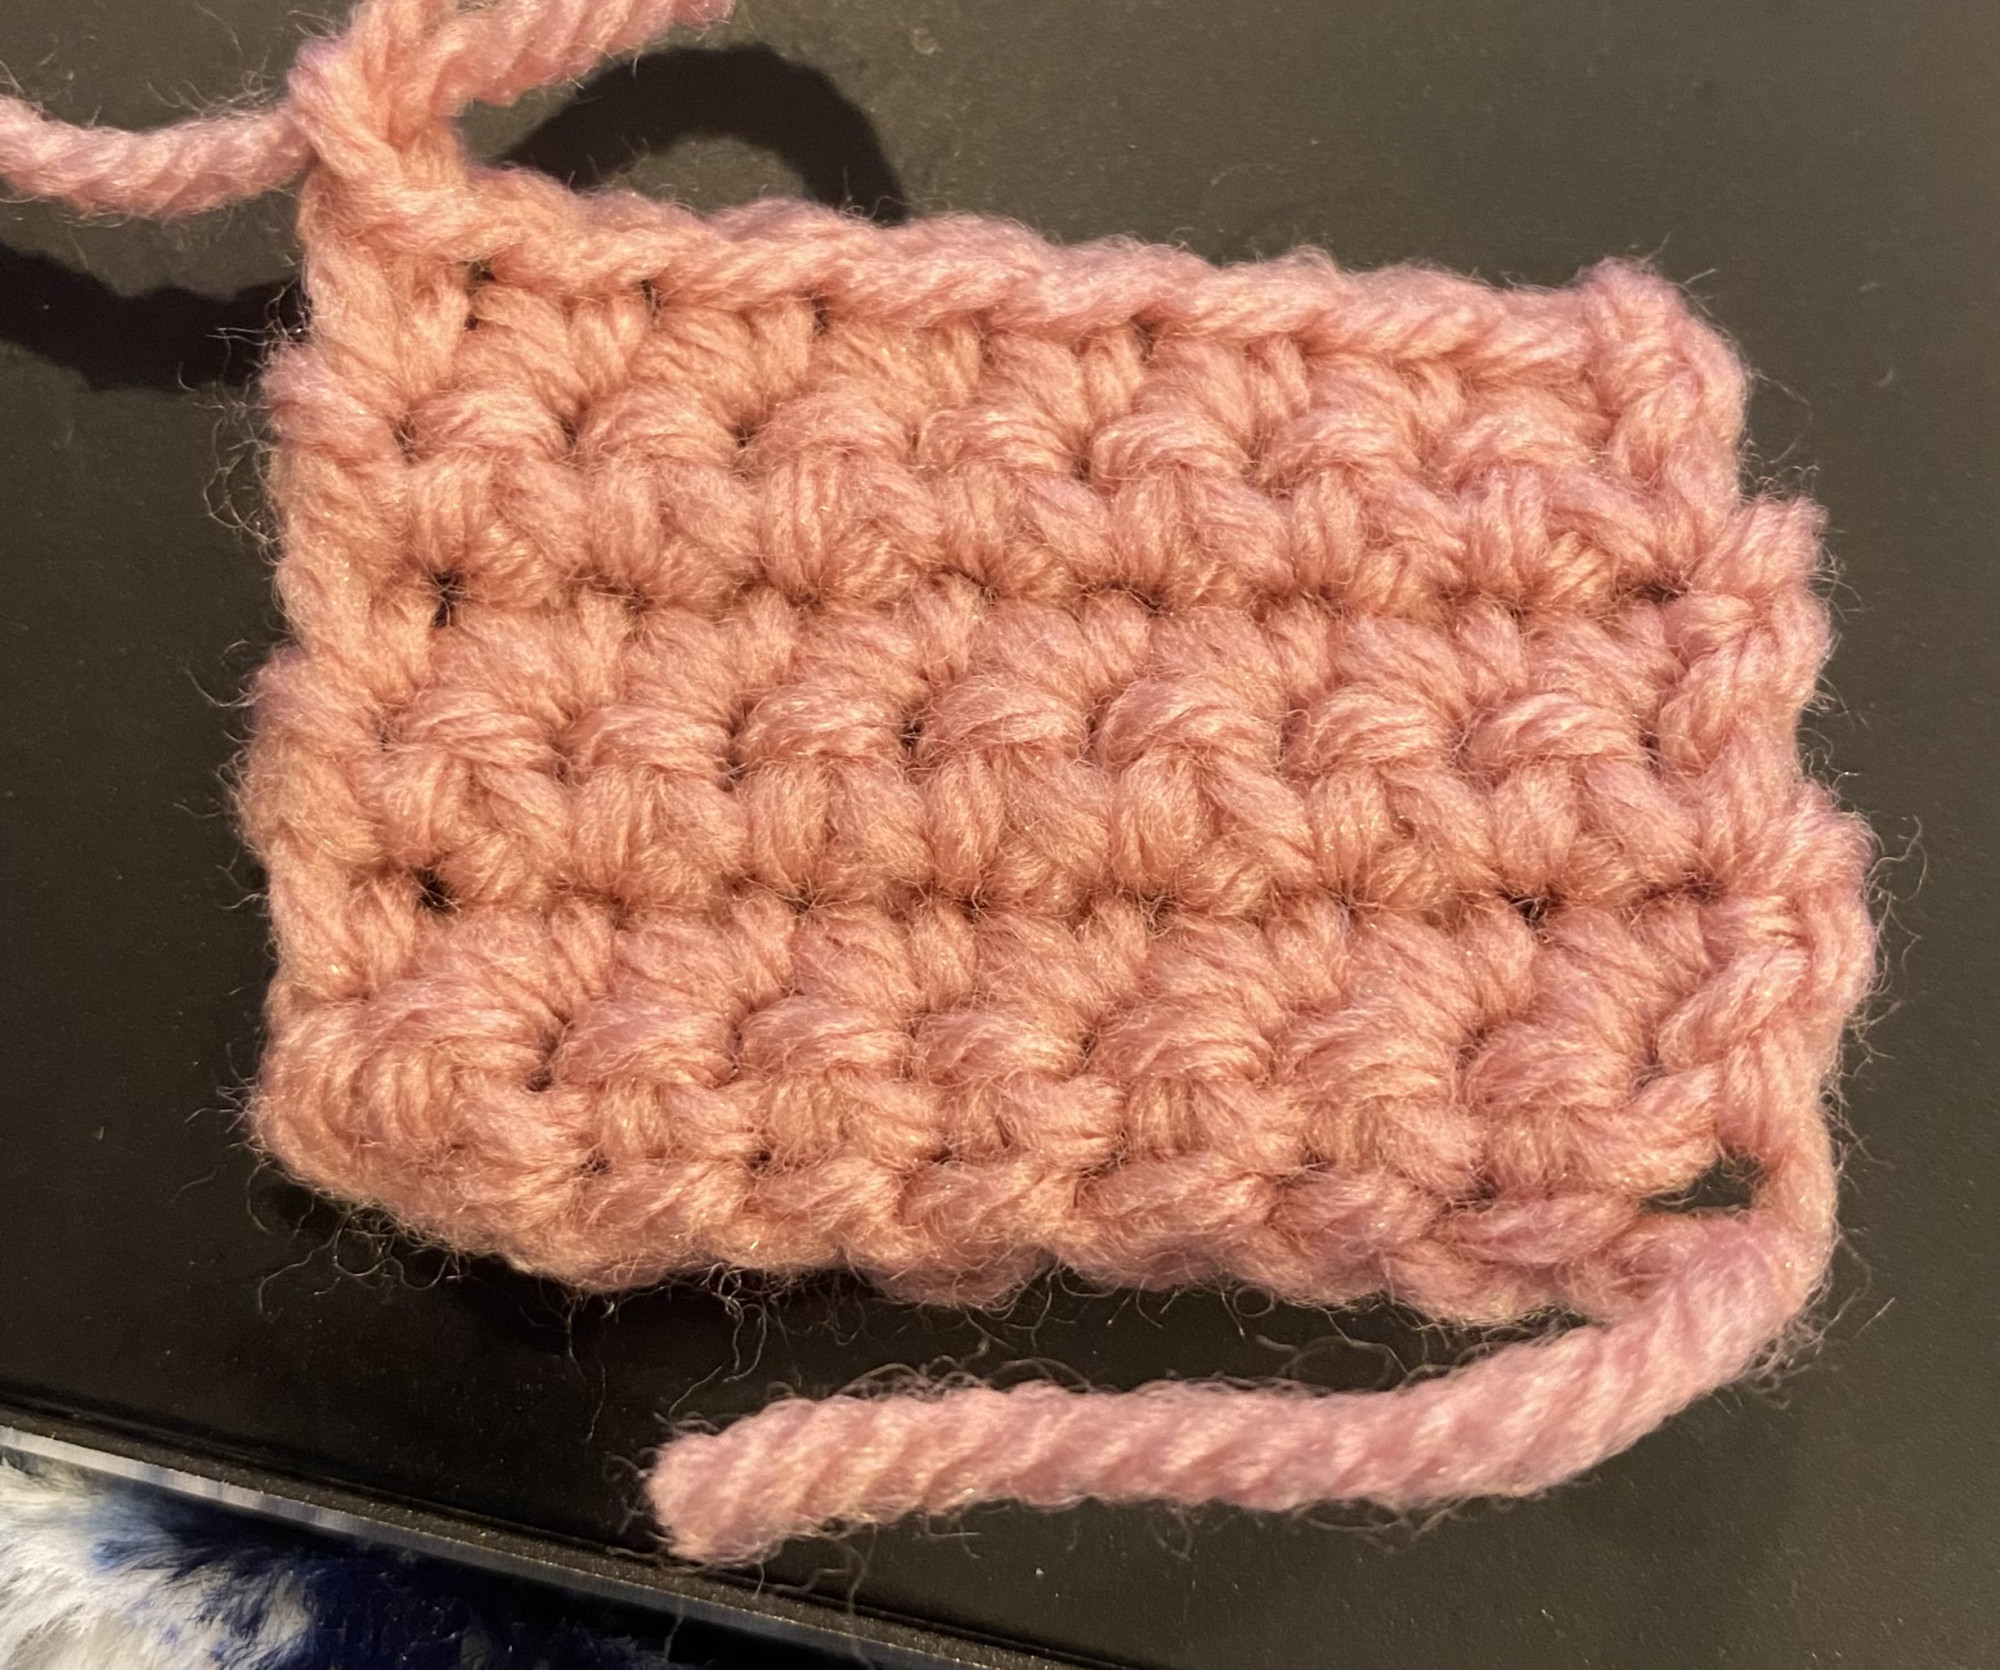
This is your first chain. Repeat 2 and 3 as many times as the pattern calls for. Now that you have the chain, you will work across it crocheting back and forth in lines.
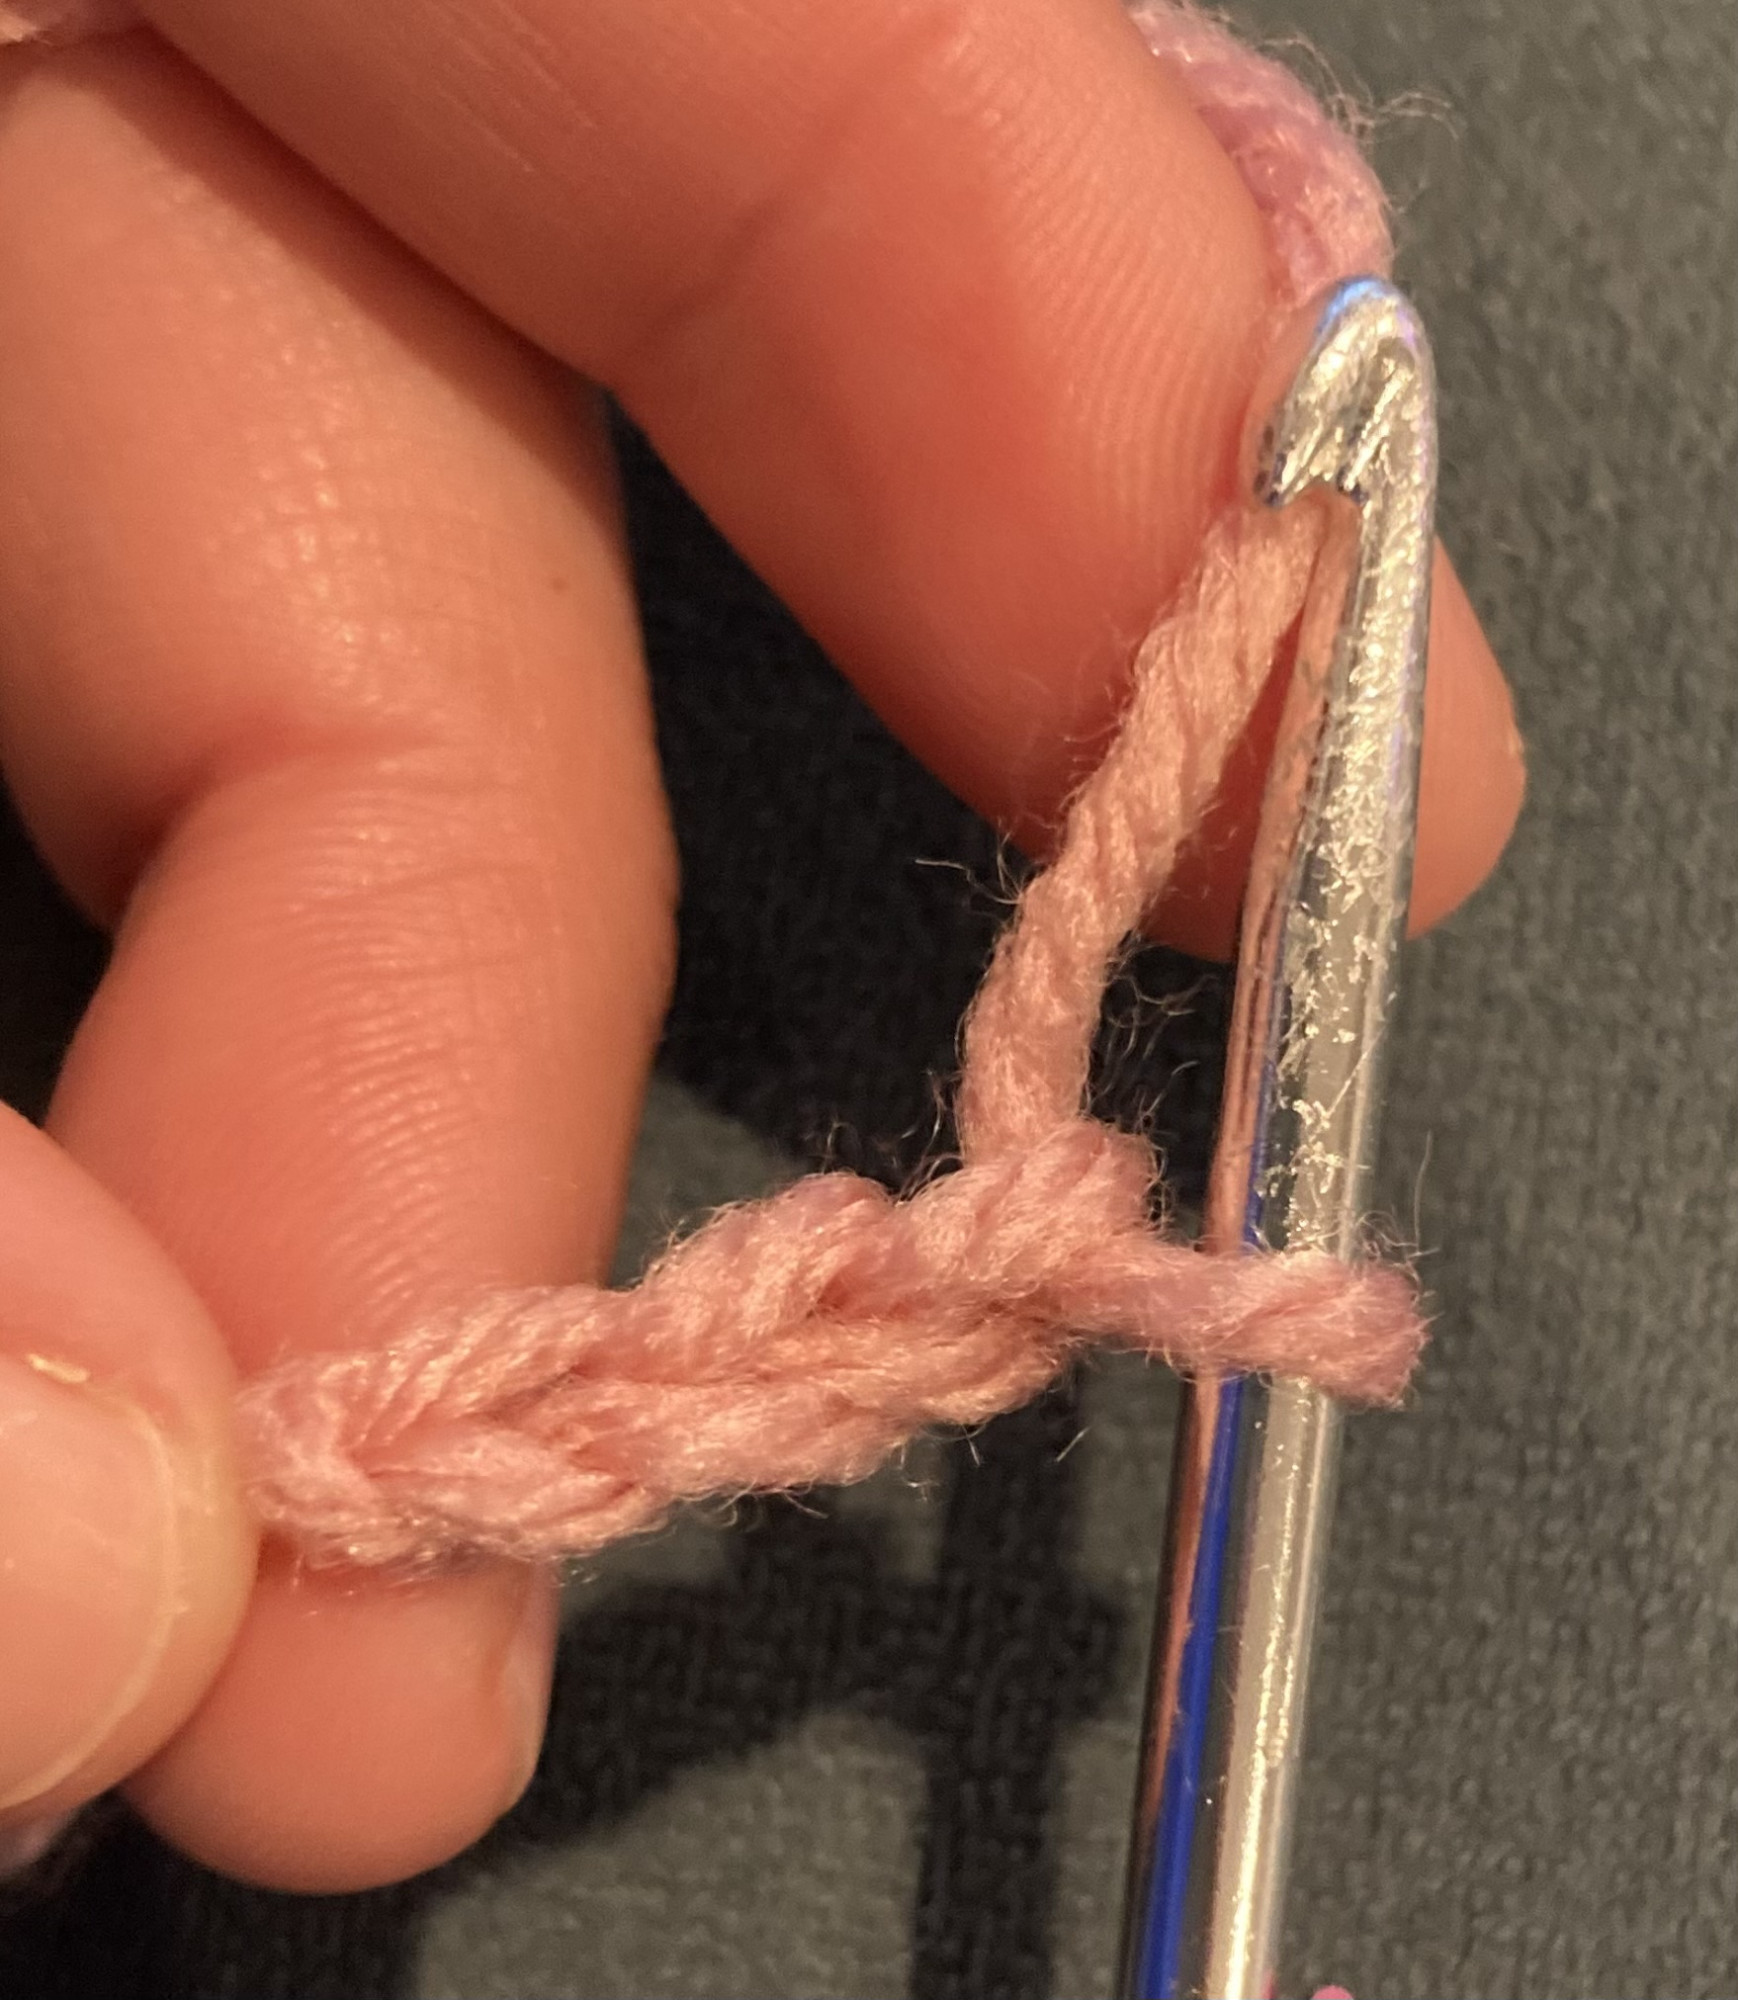
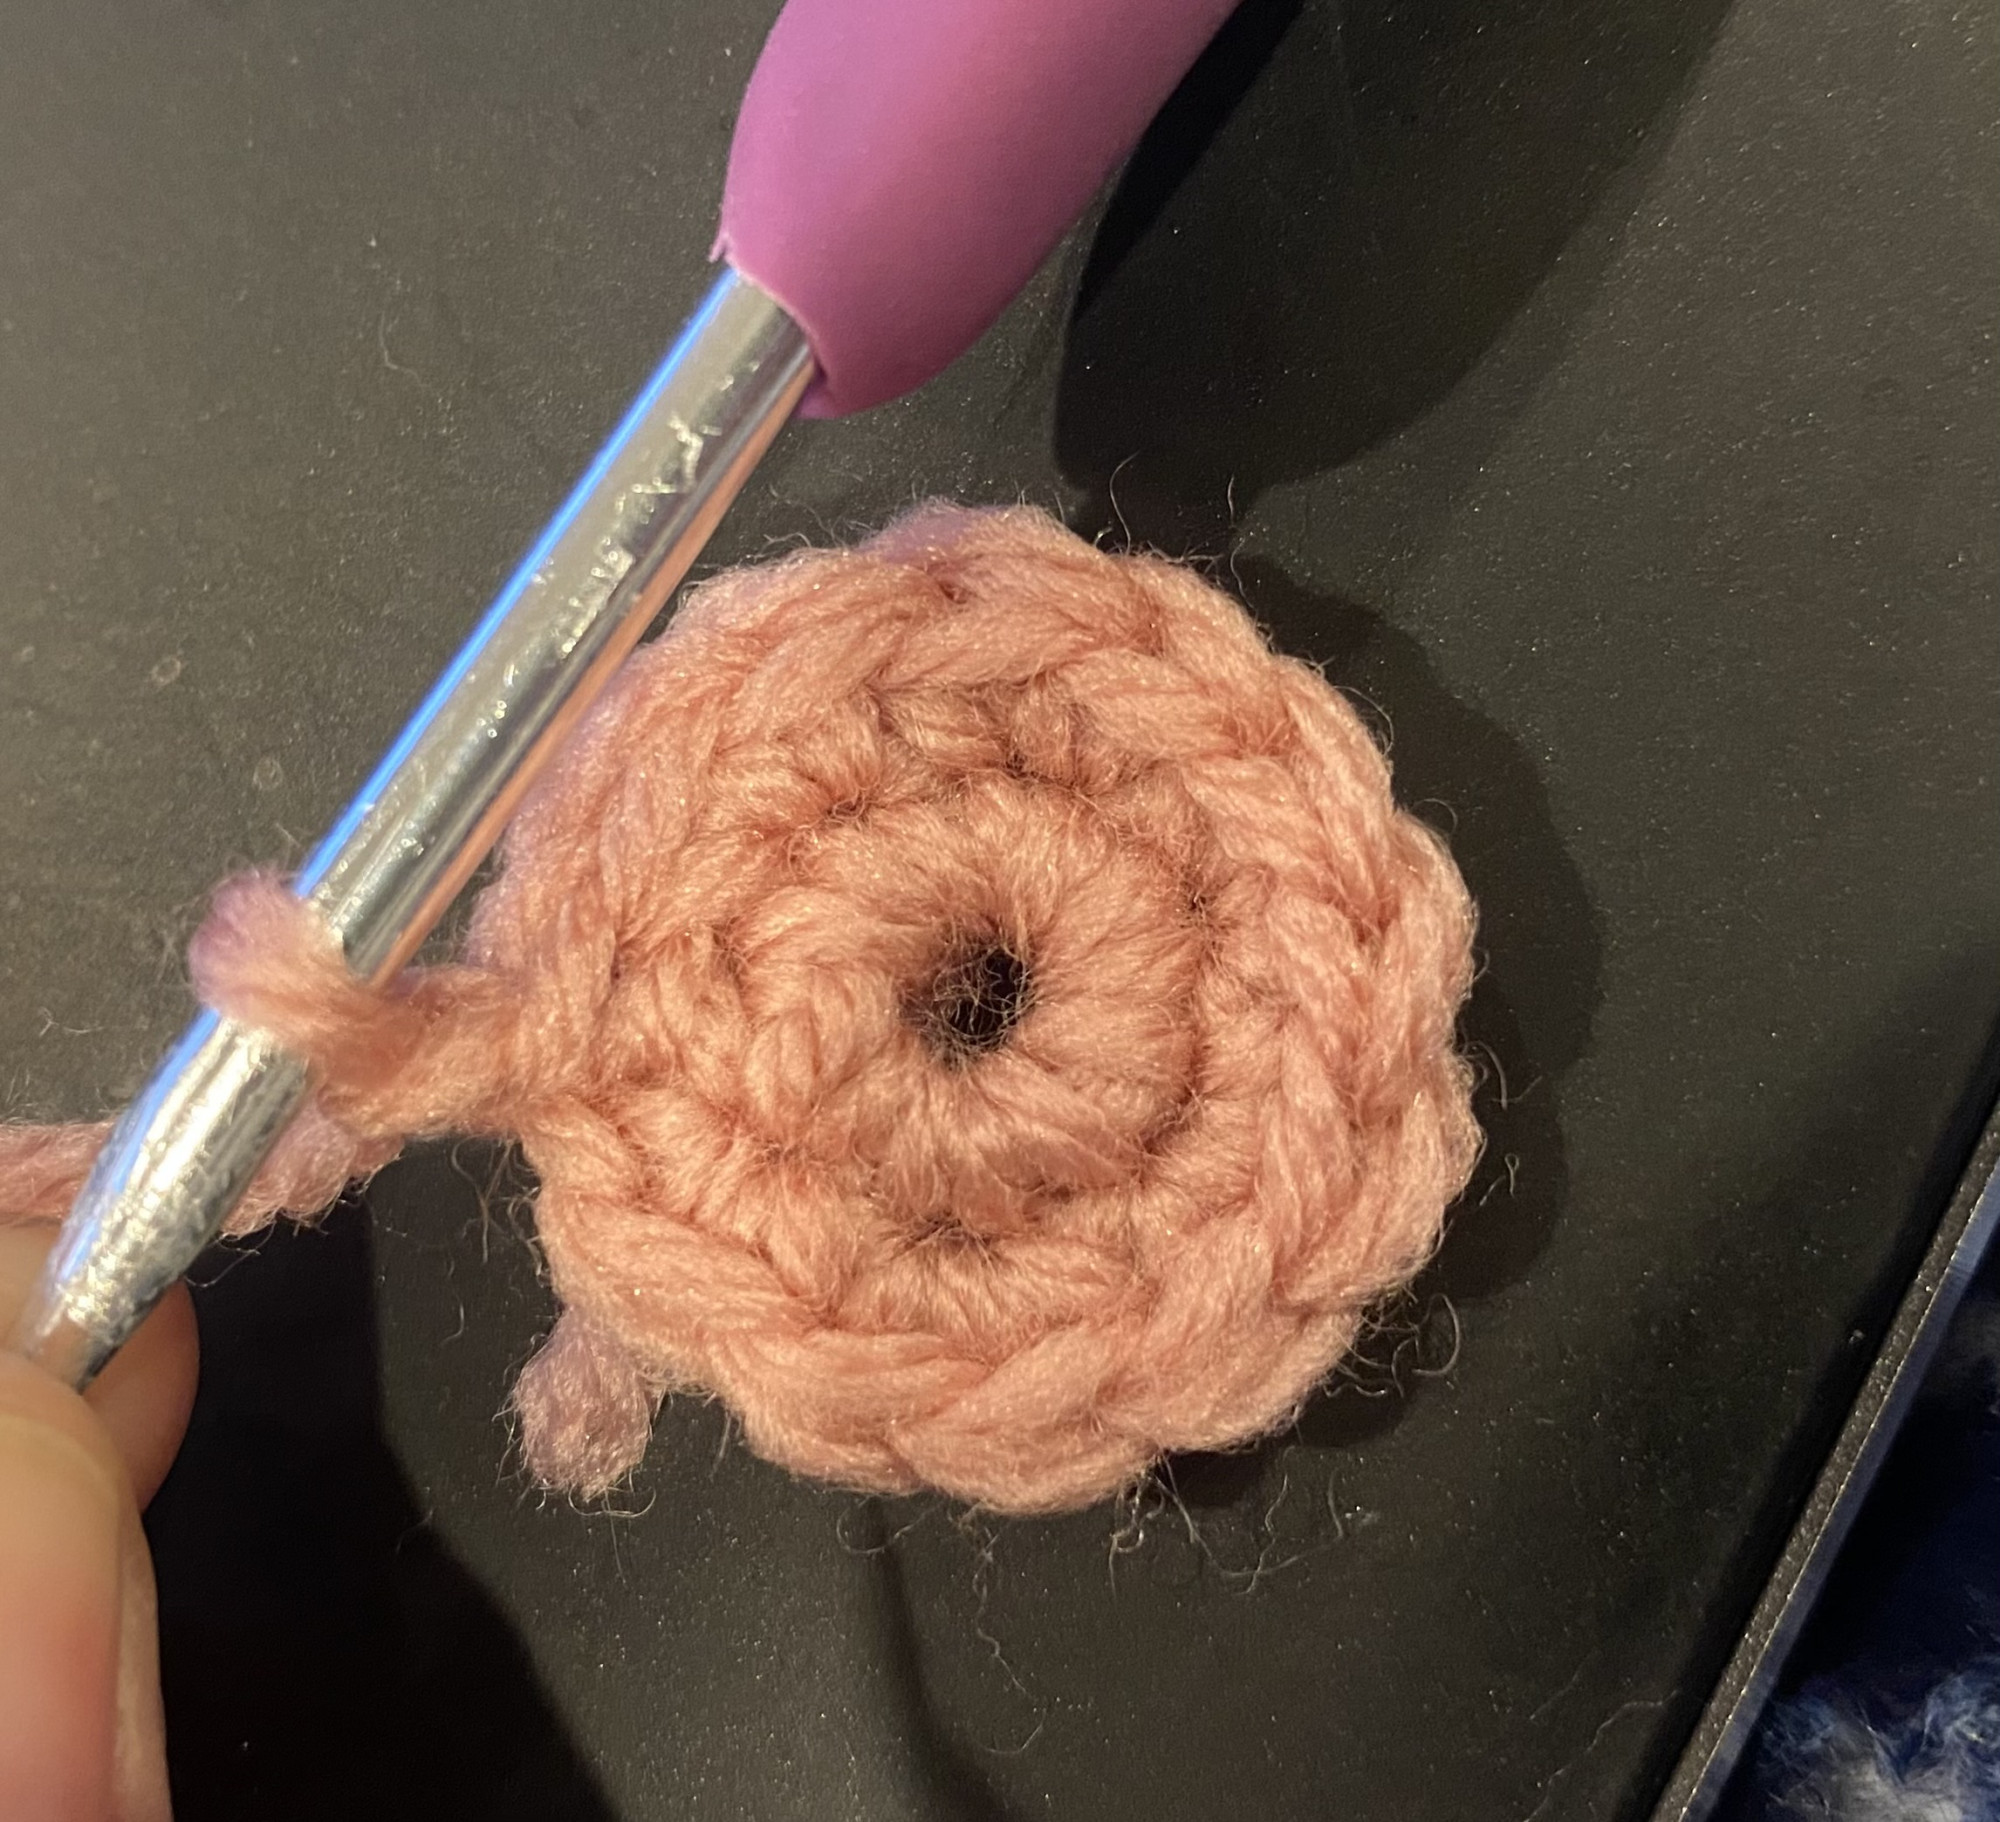
Chain Stitch-for a circle
This time, instead of making a long line and going back and forth across your work, you will create a small chain and connect it together so it ends up being a tiny circle and you will work in the circle.
Again, you will create a pretzel shape with the yarn on your finger, as you can see in the picture.
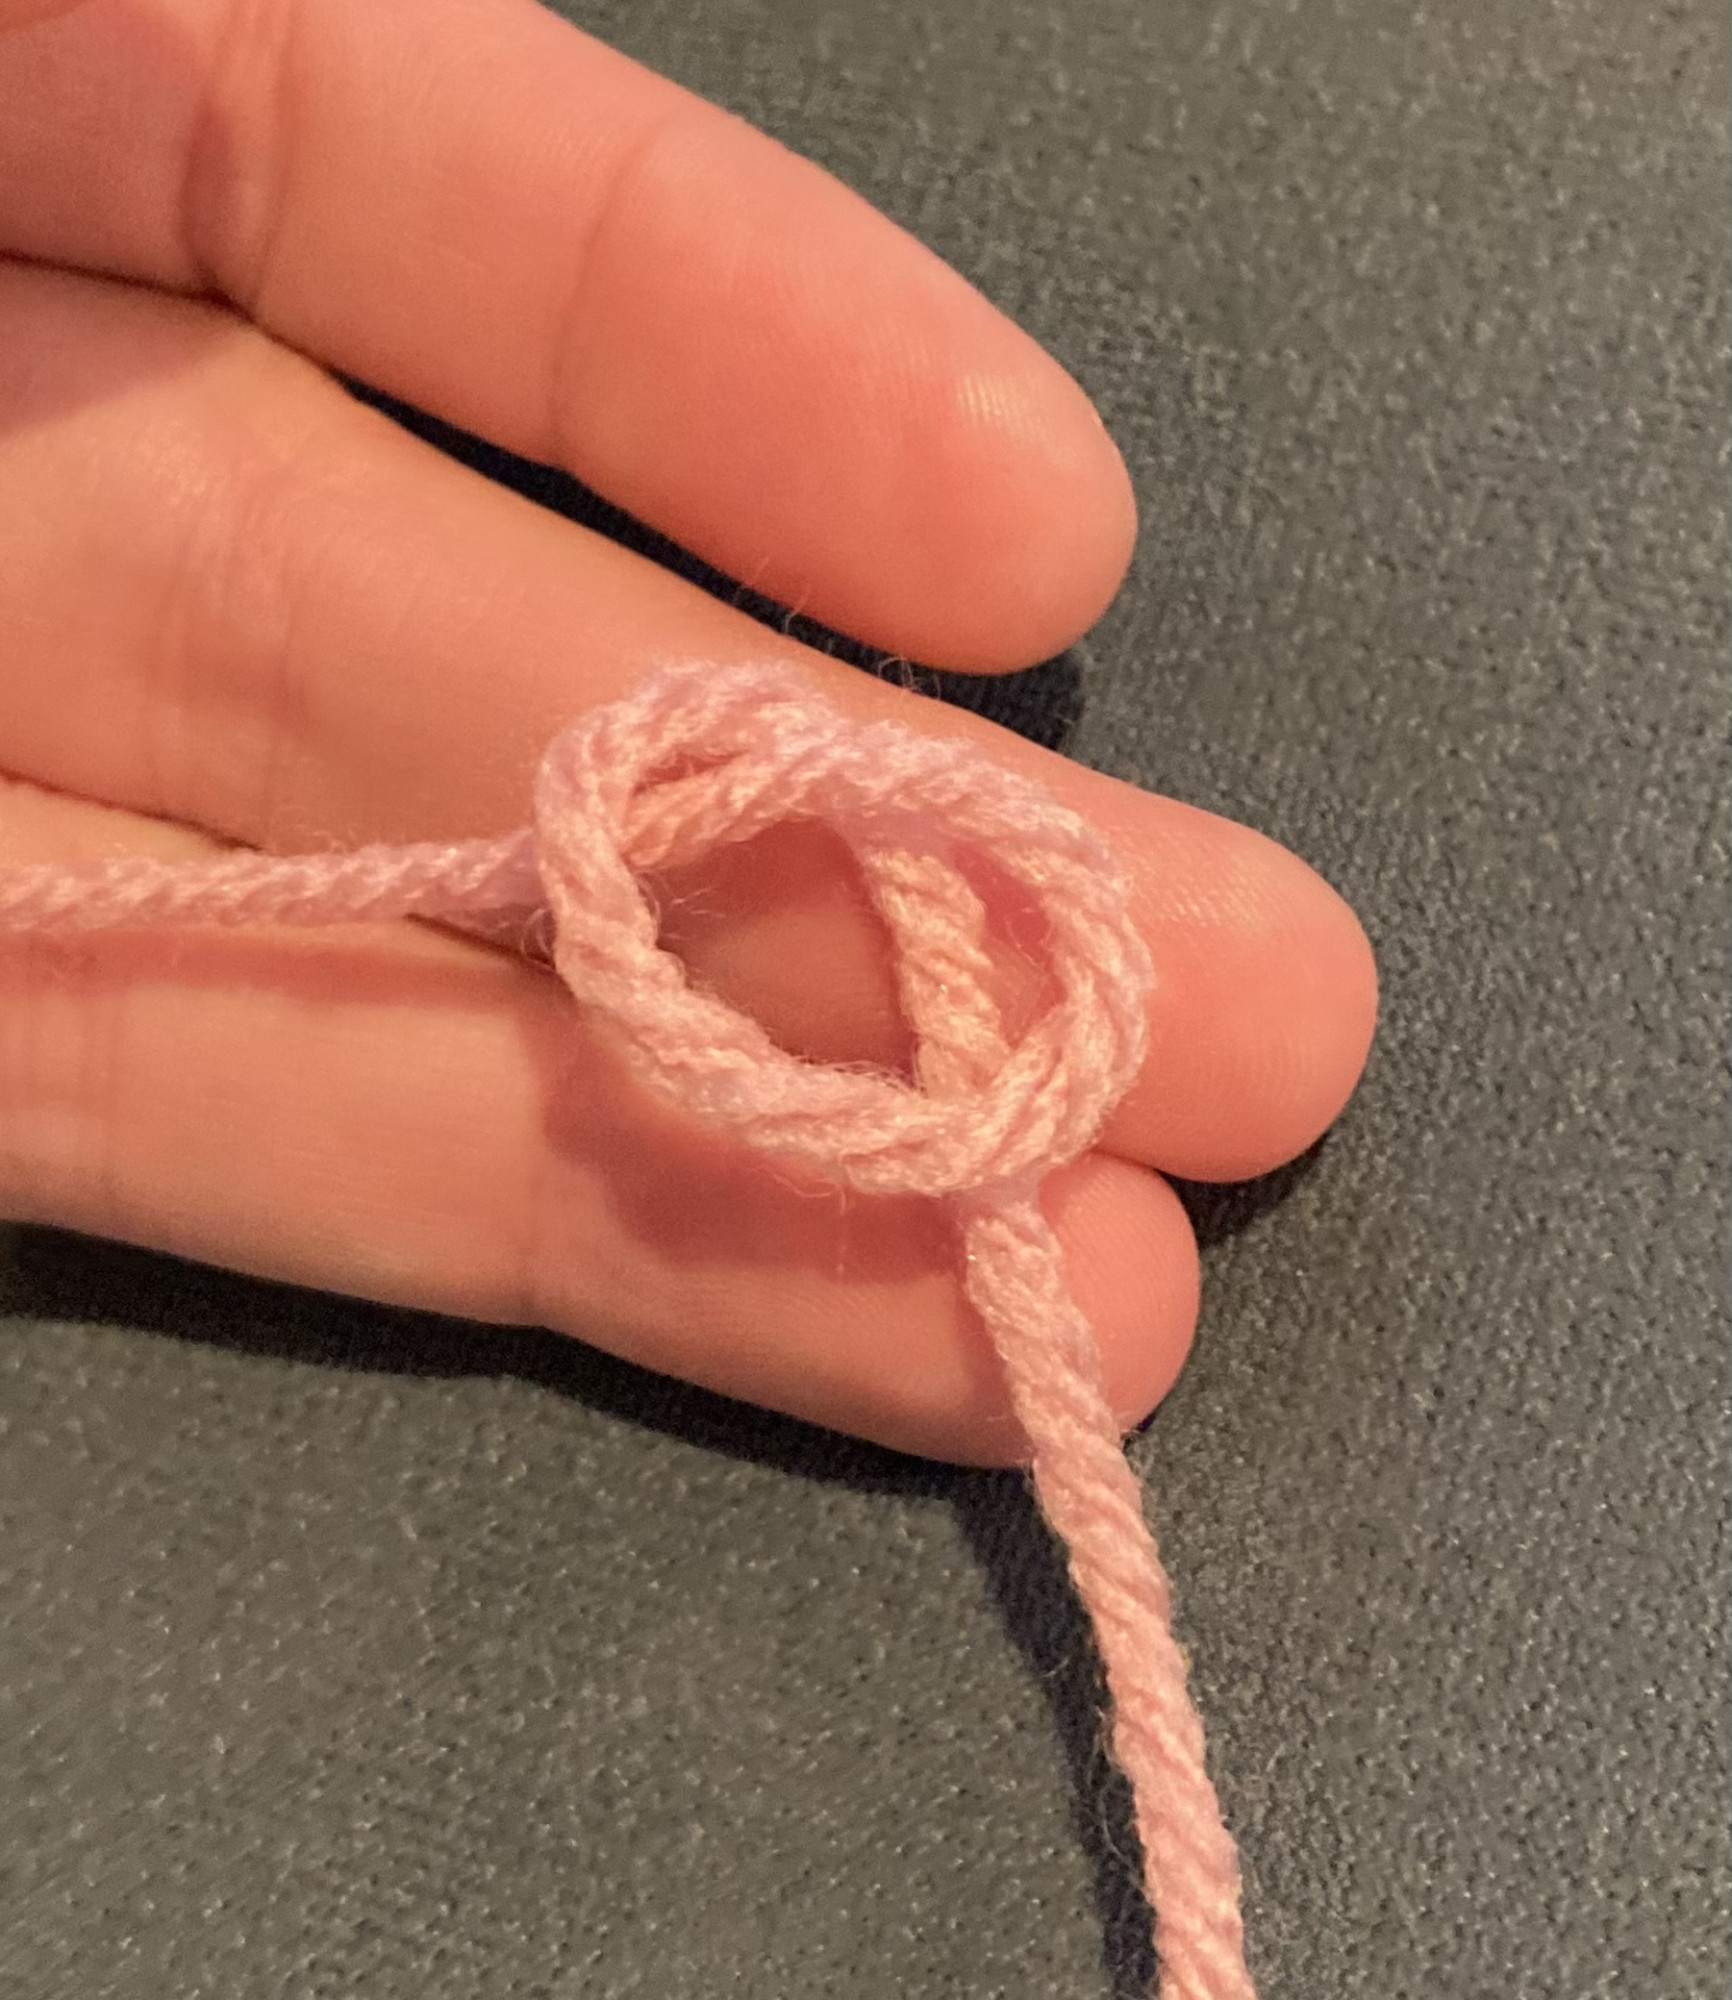
Then use the hook to pull up a loop from the middle of the pretzel.
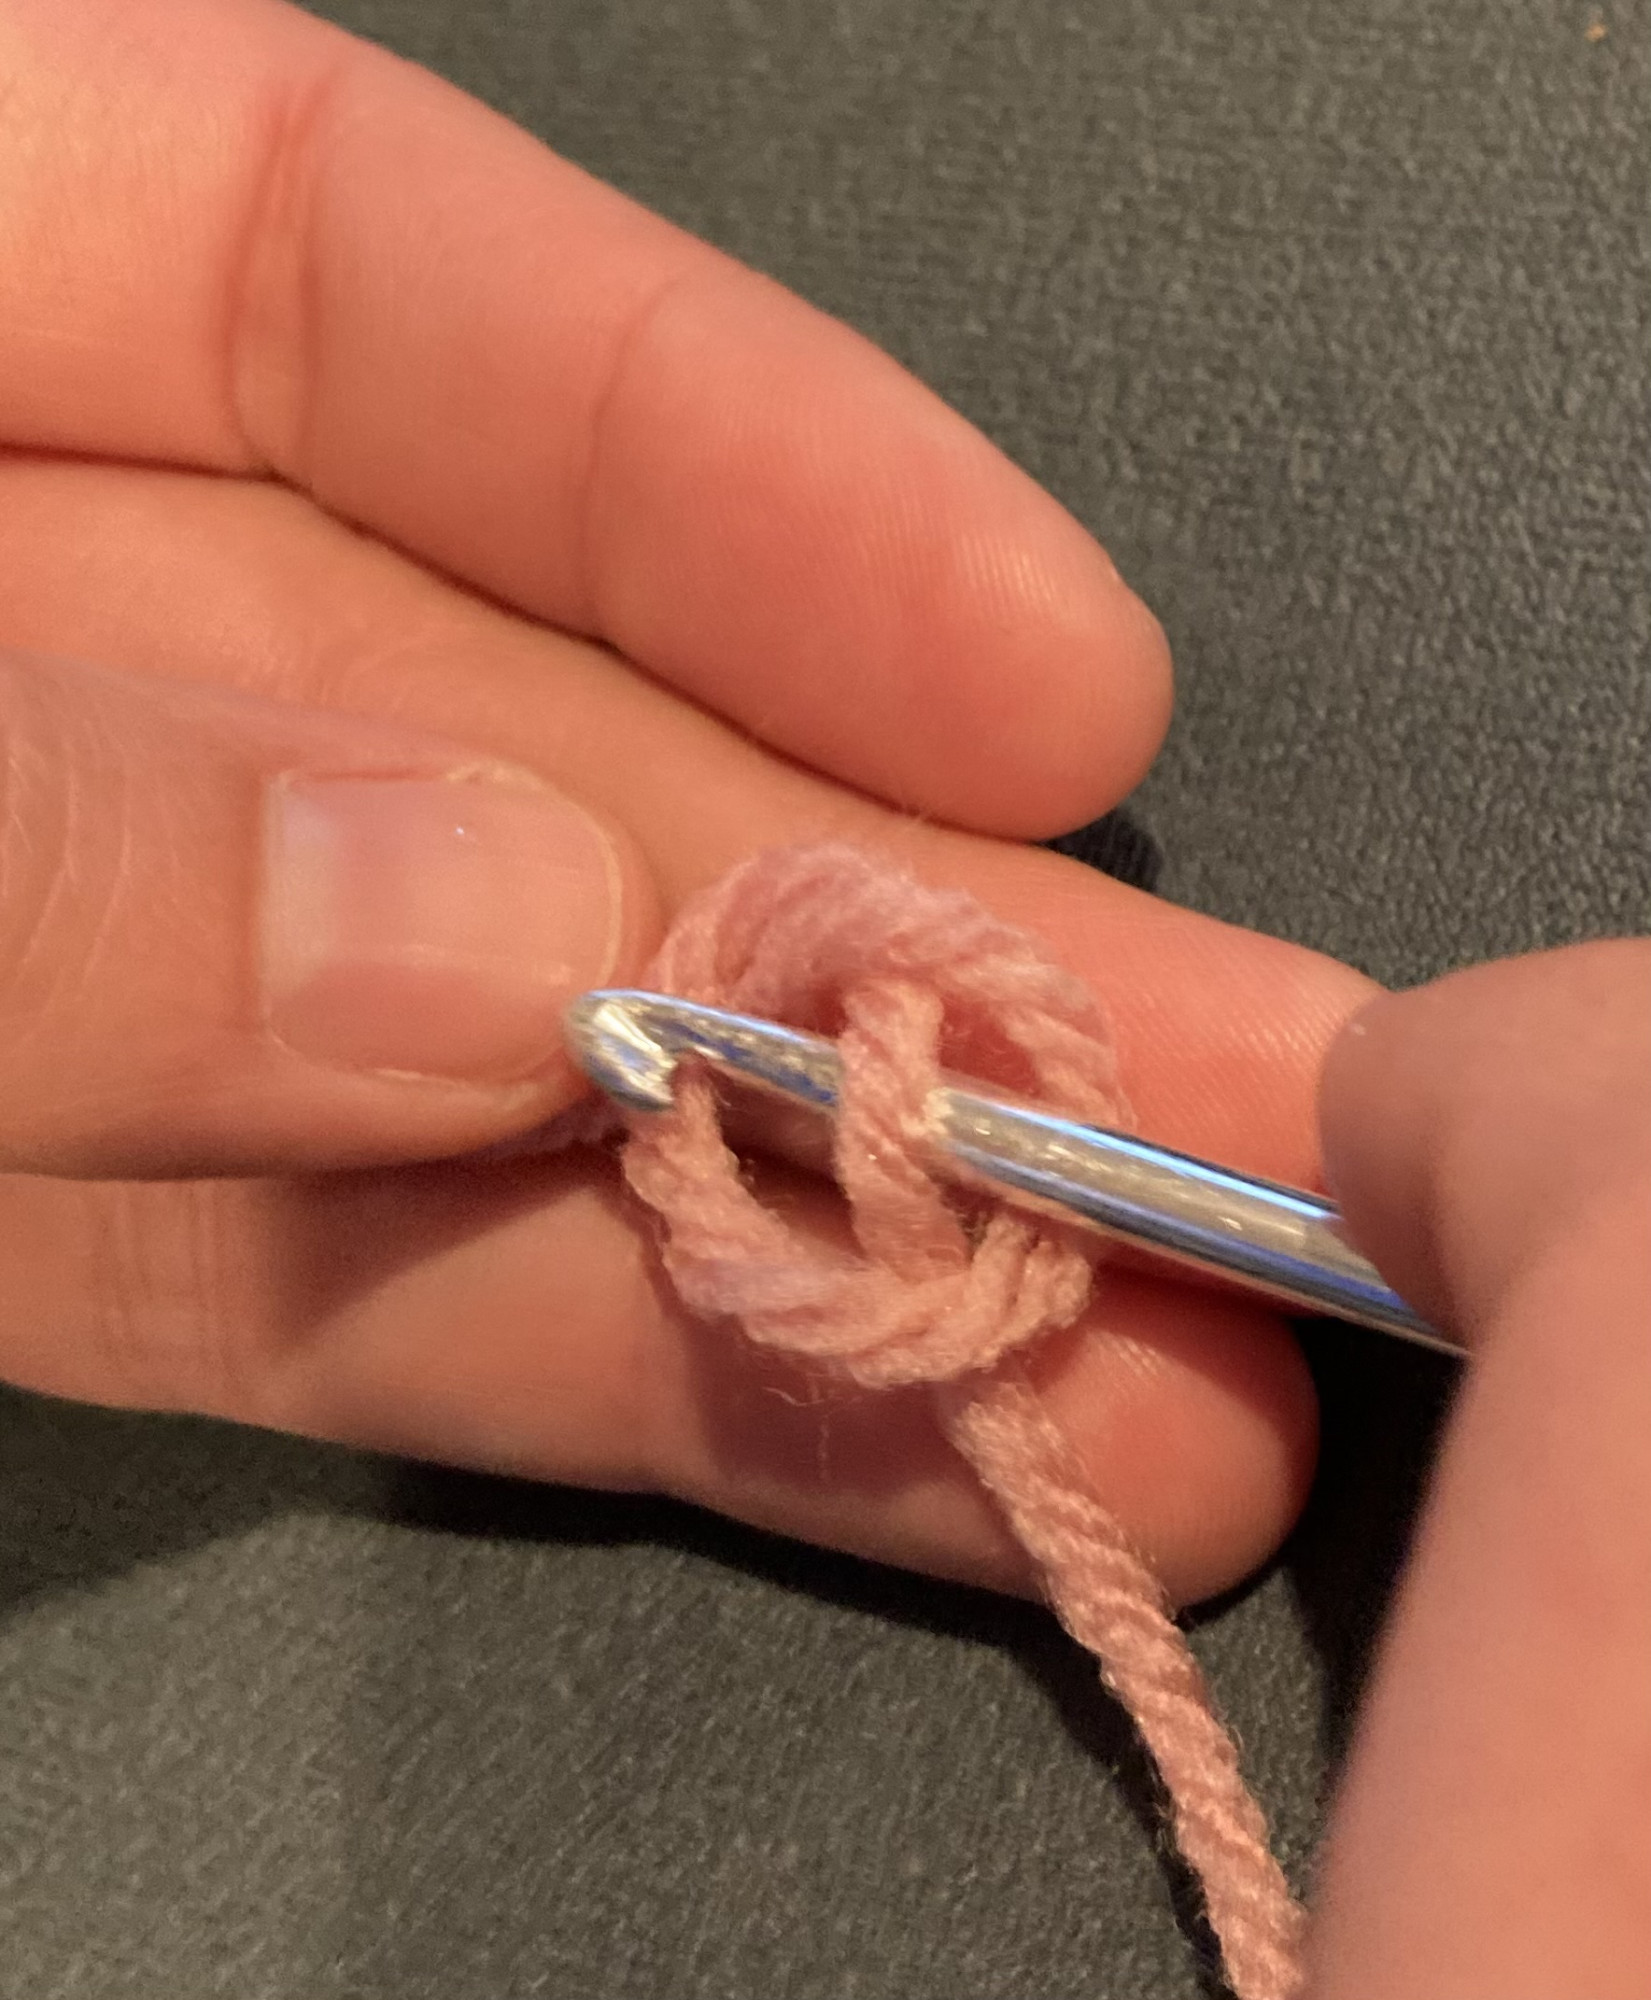
Make three chains and then slip stitch to the first chain. A slip stitch is the same thing you have been doing to create the chains, except with one extra step. You need to insert the hook into the chain space, as you can see, then wrap around the yarn and pull it through both of the loops that are on the hook. You can see this in the picture.
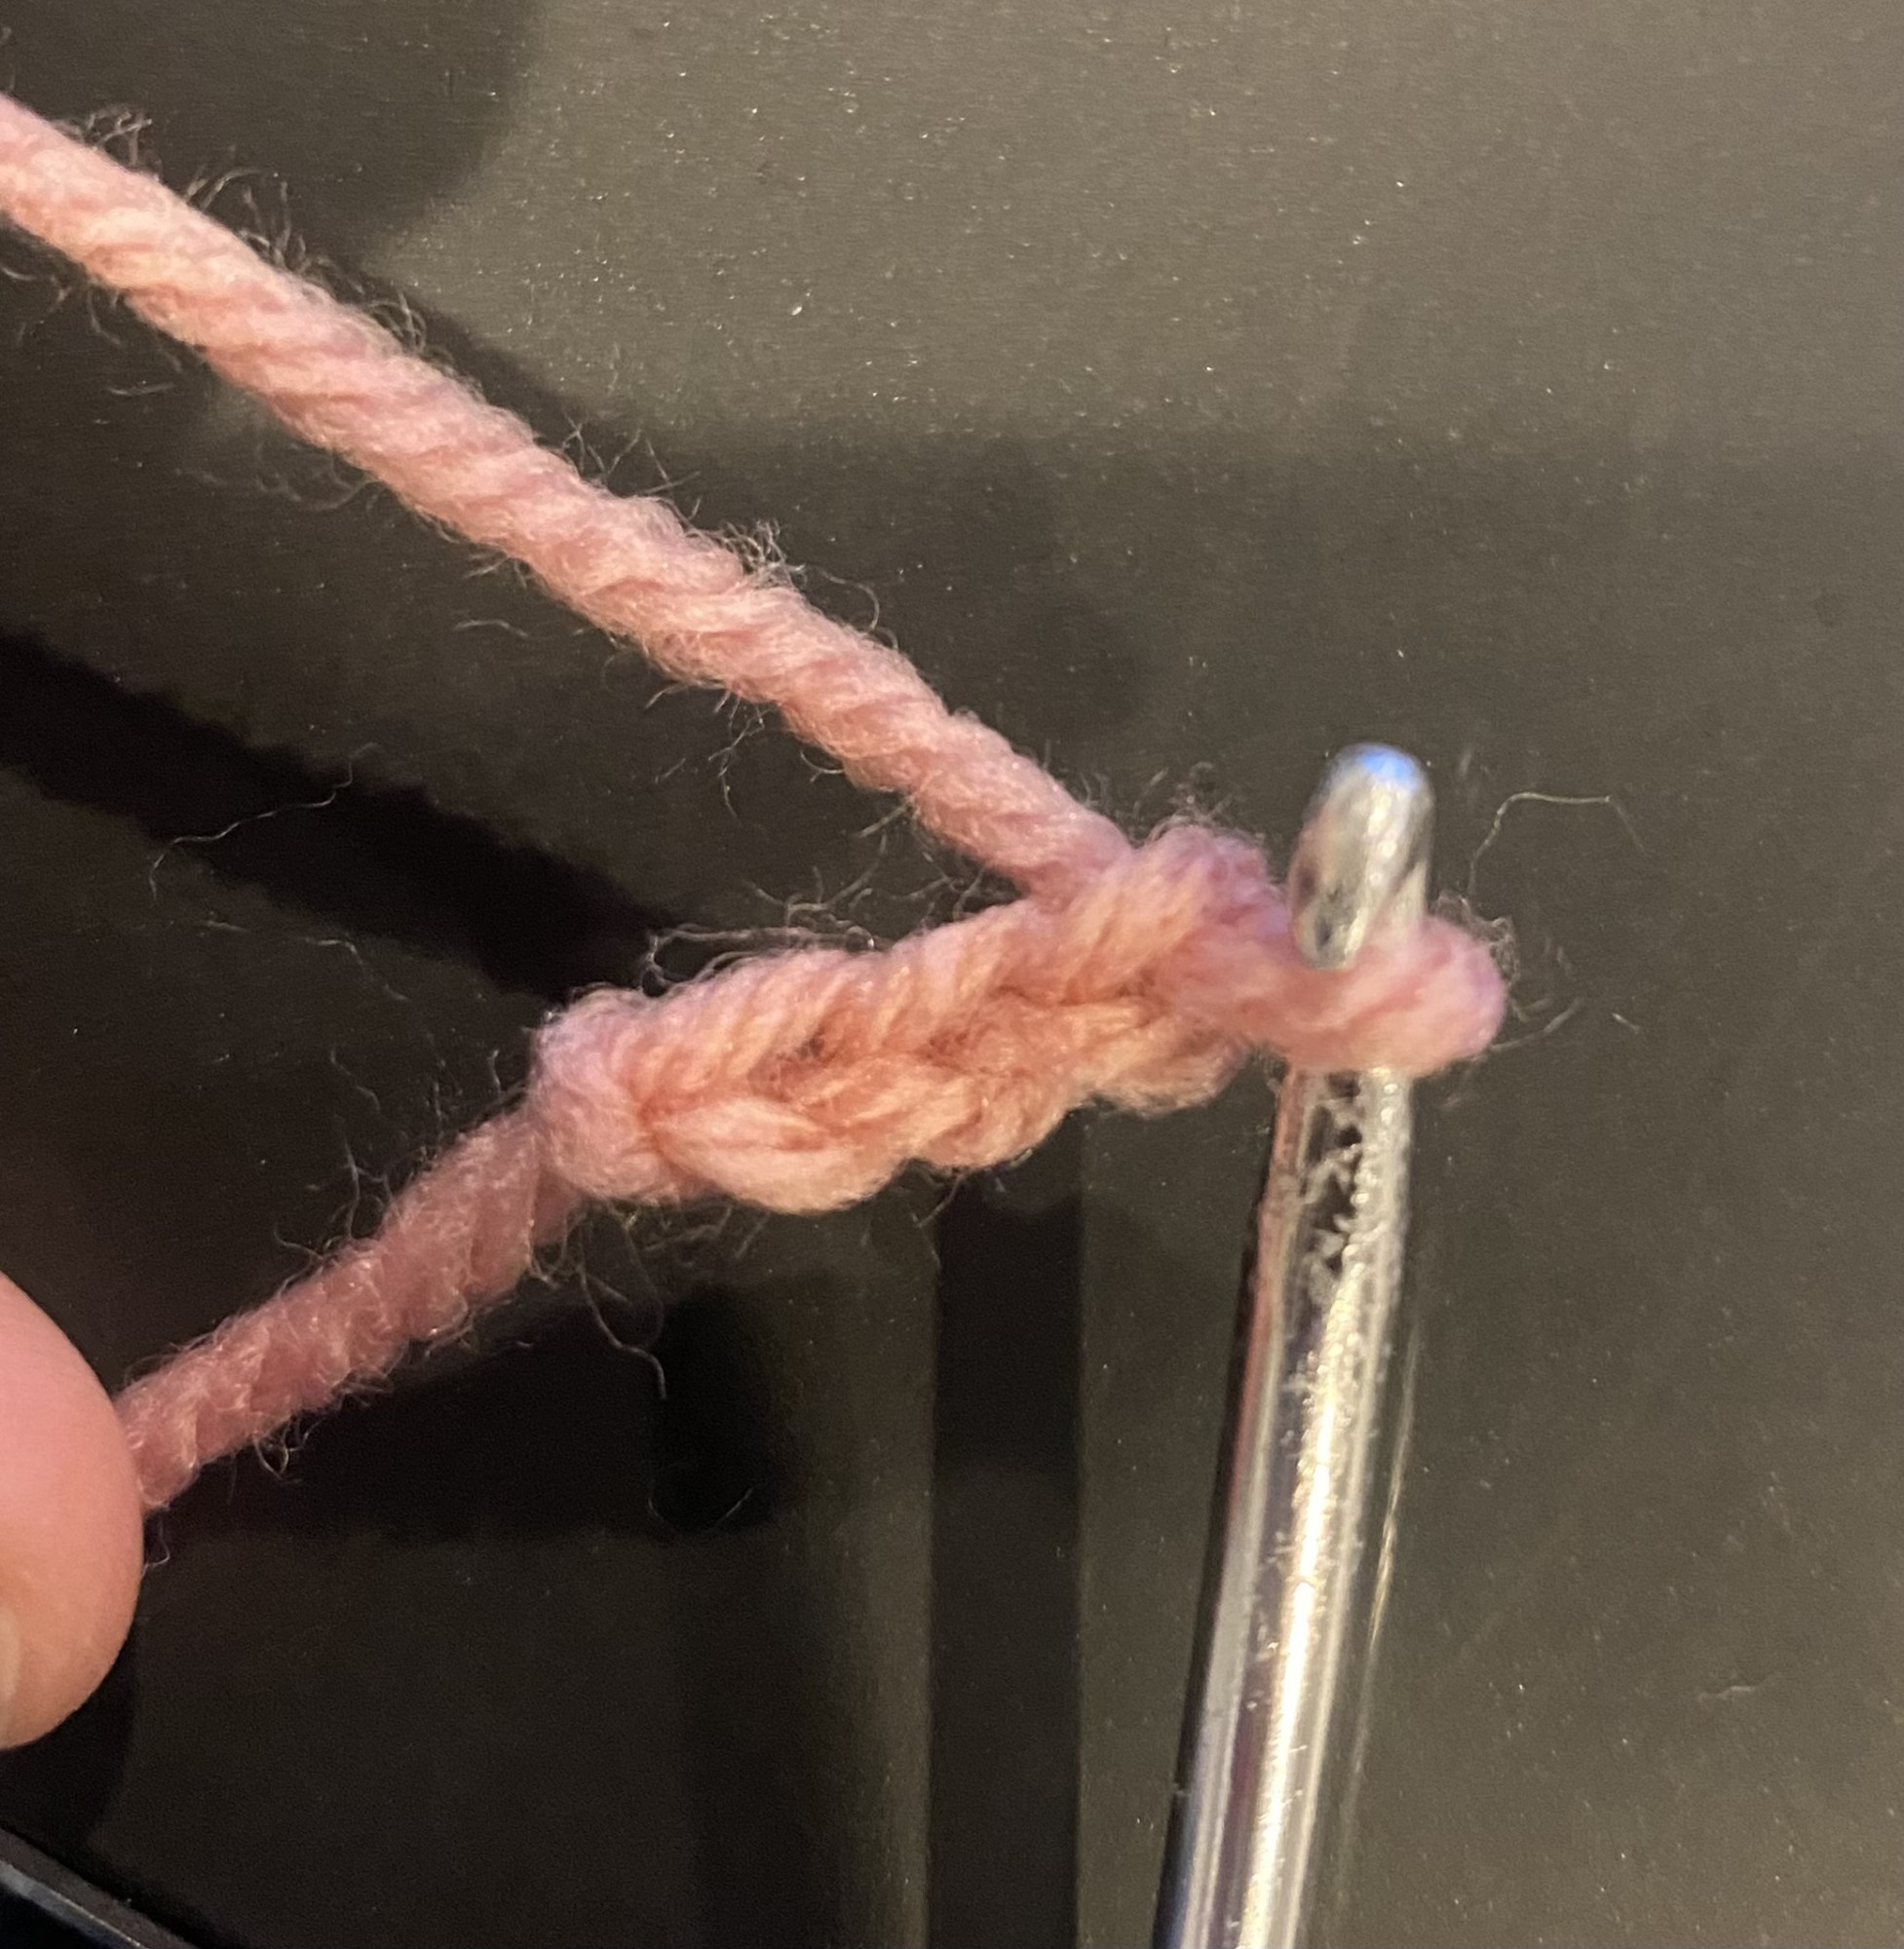
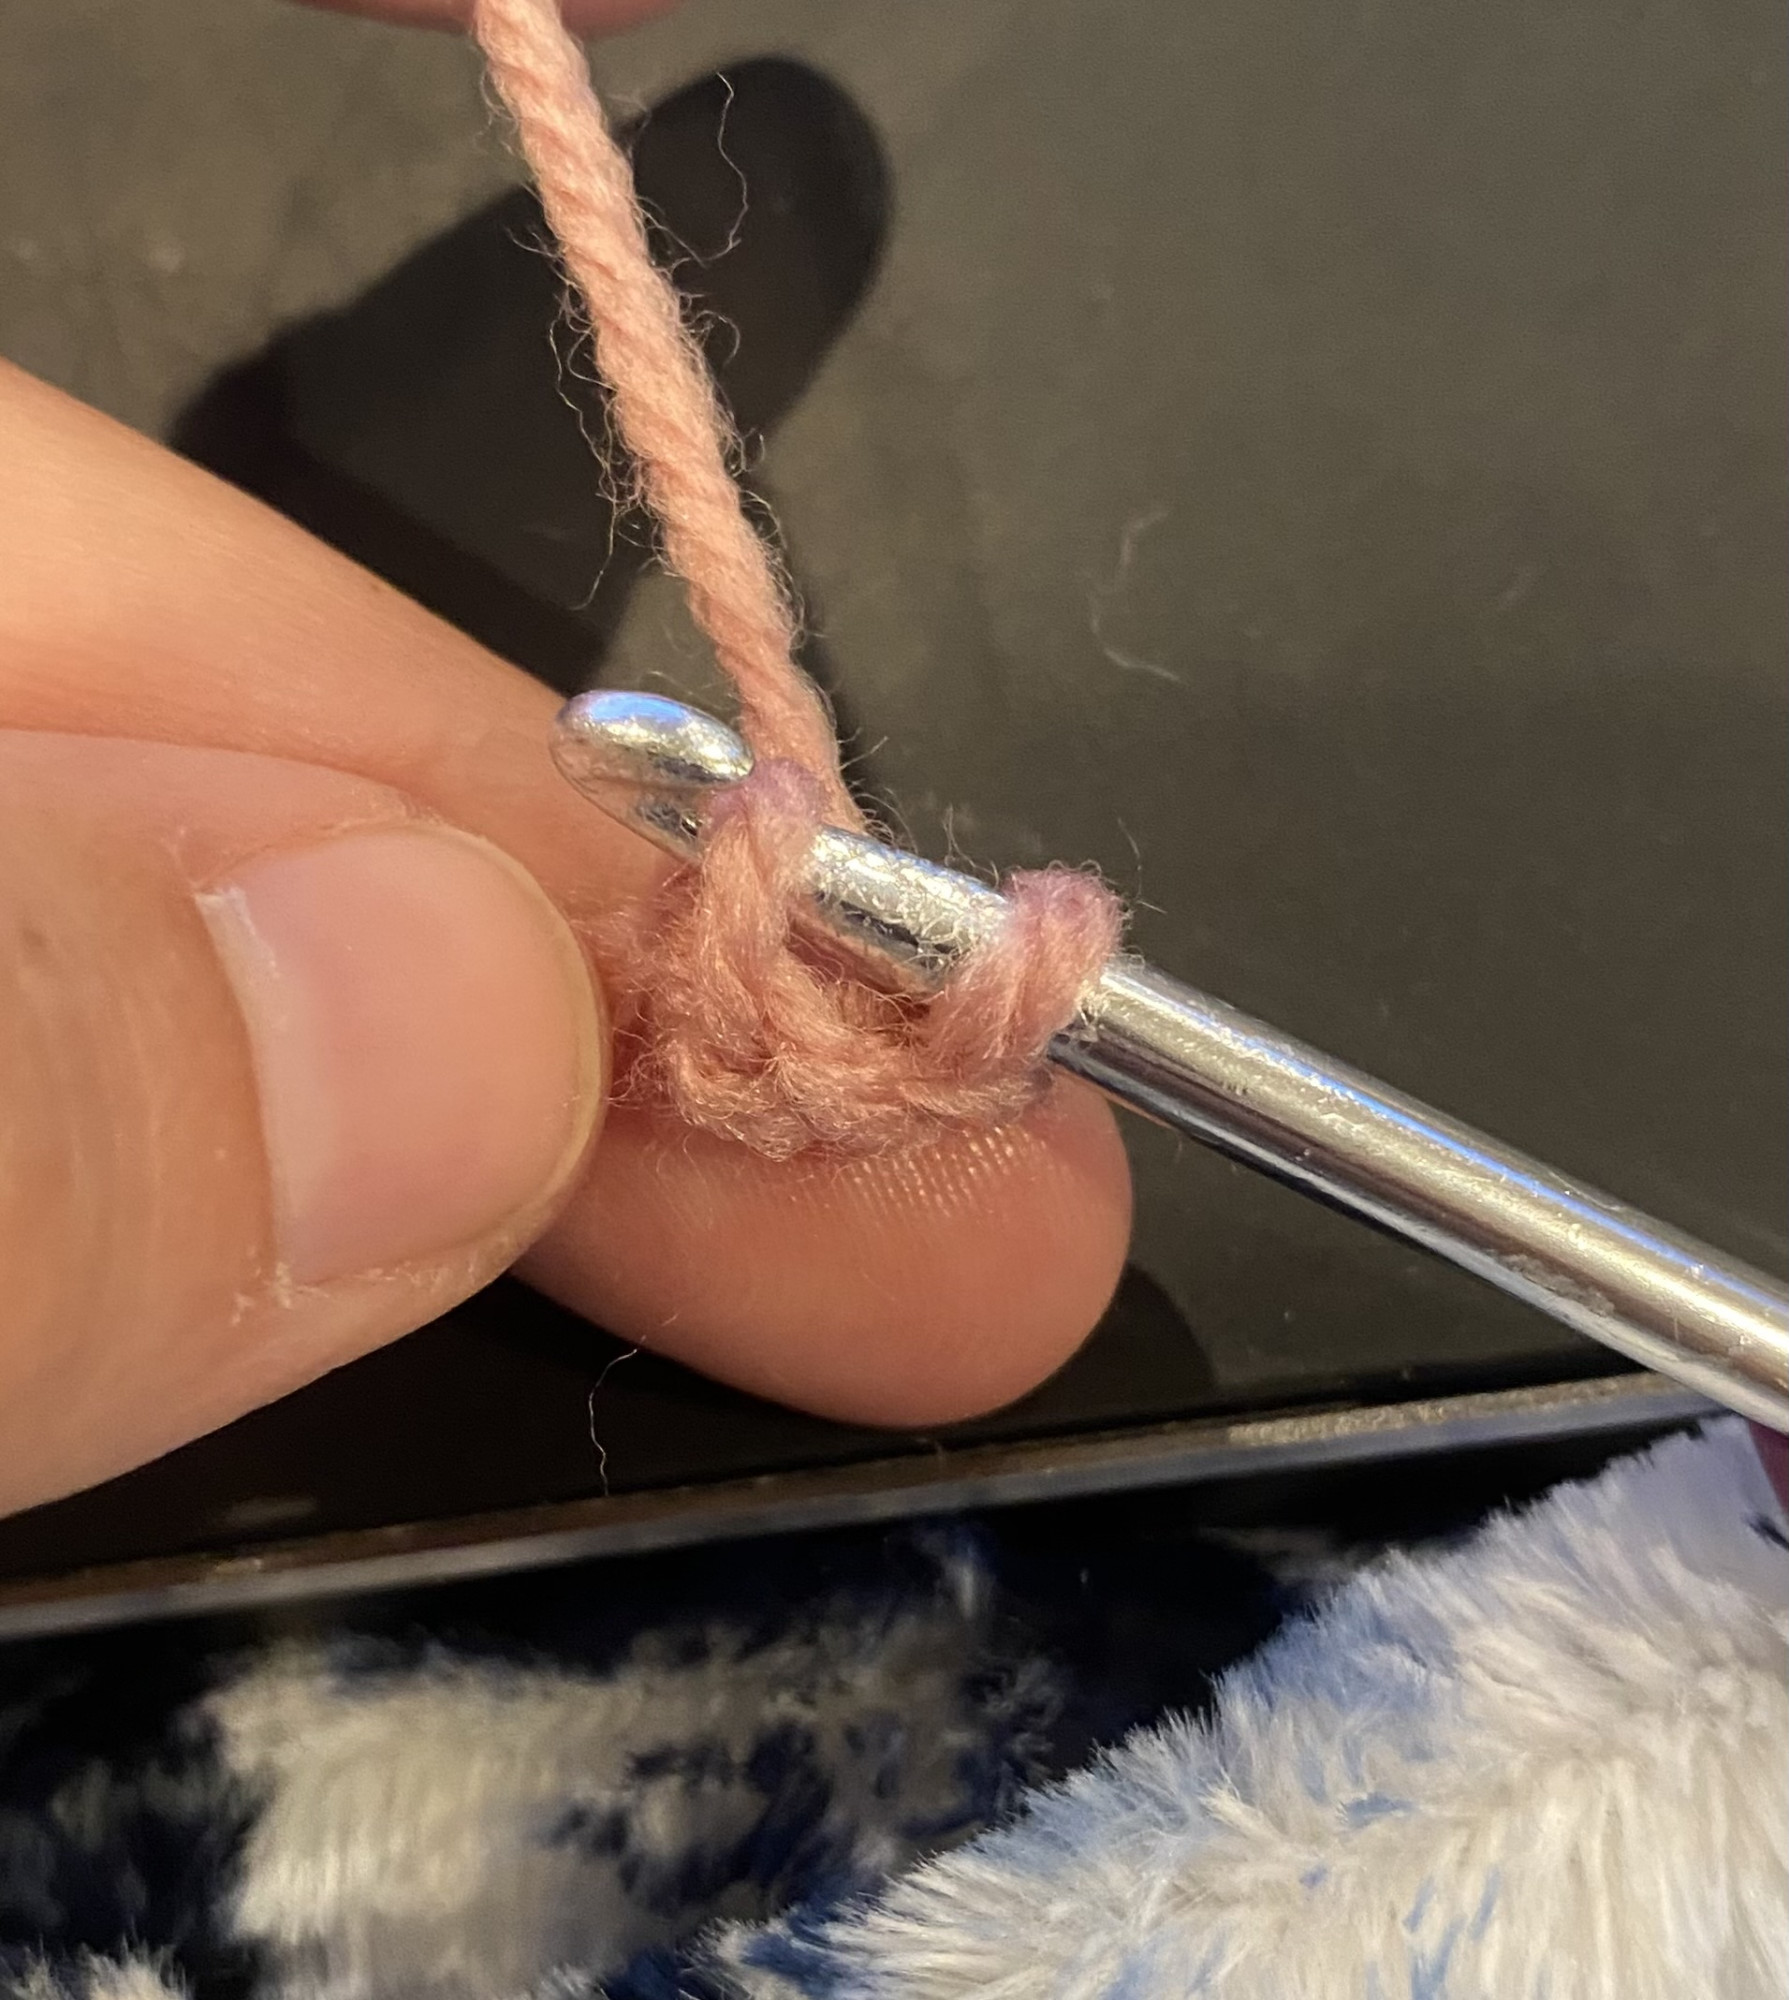
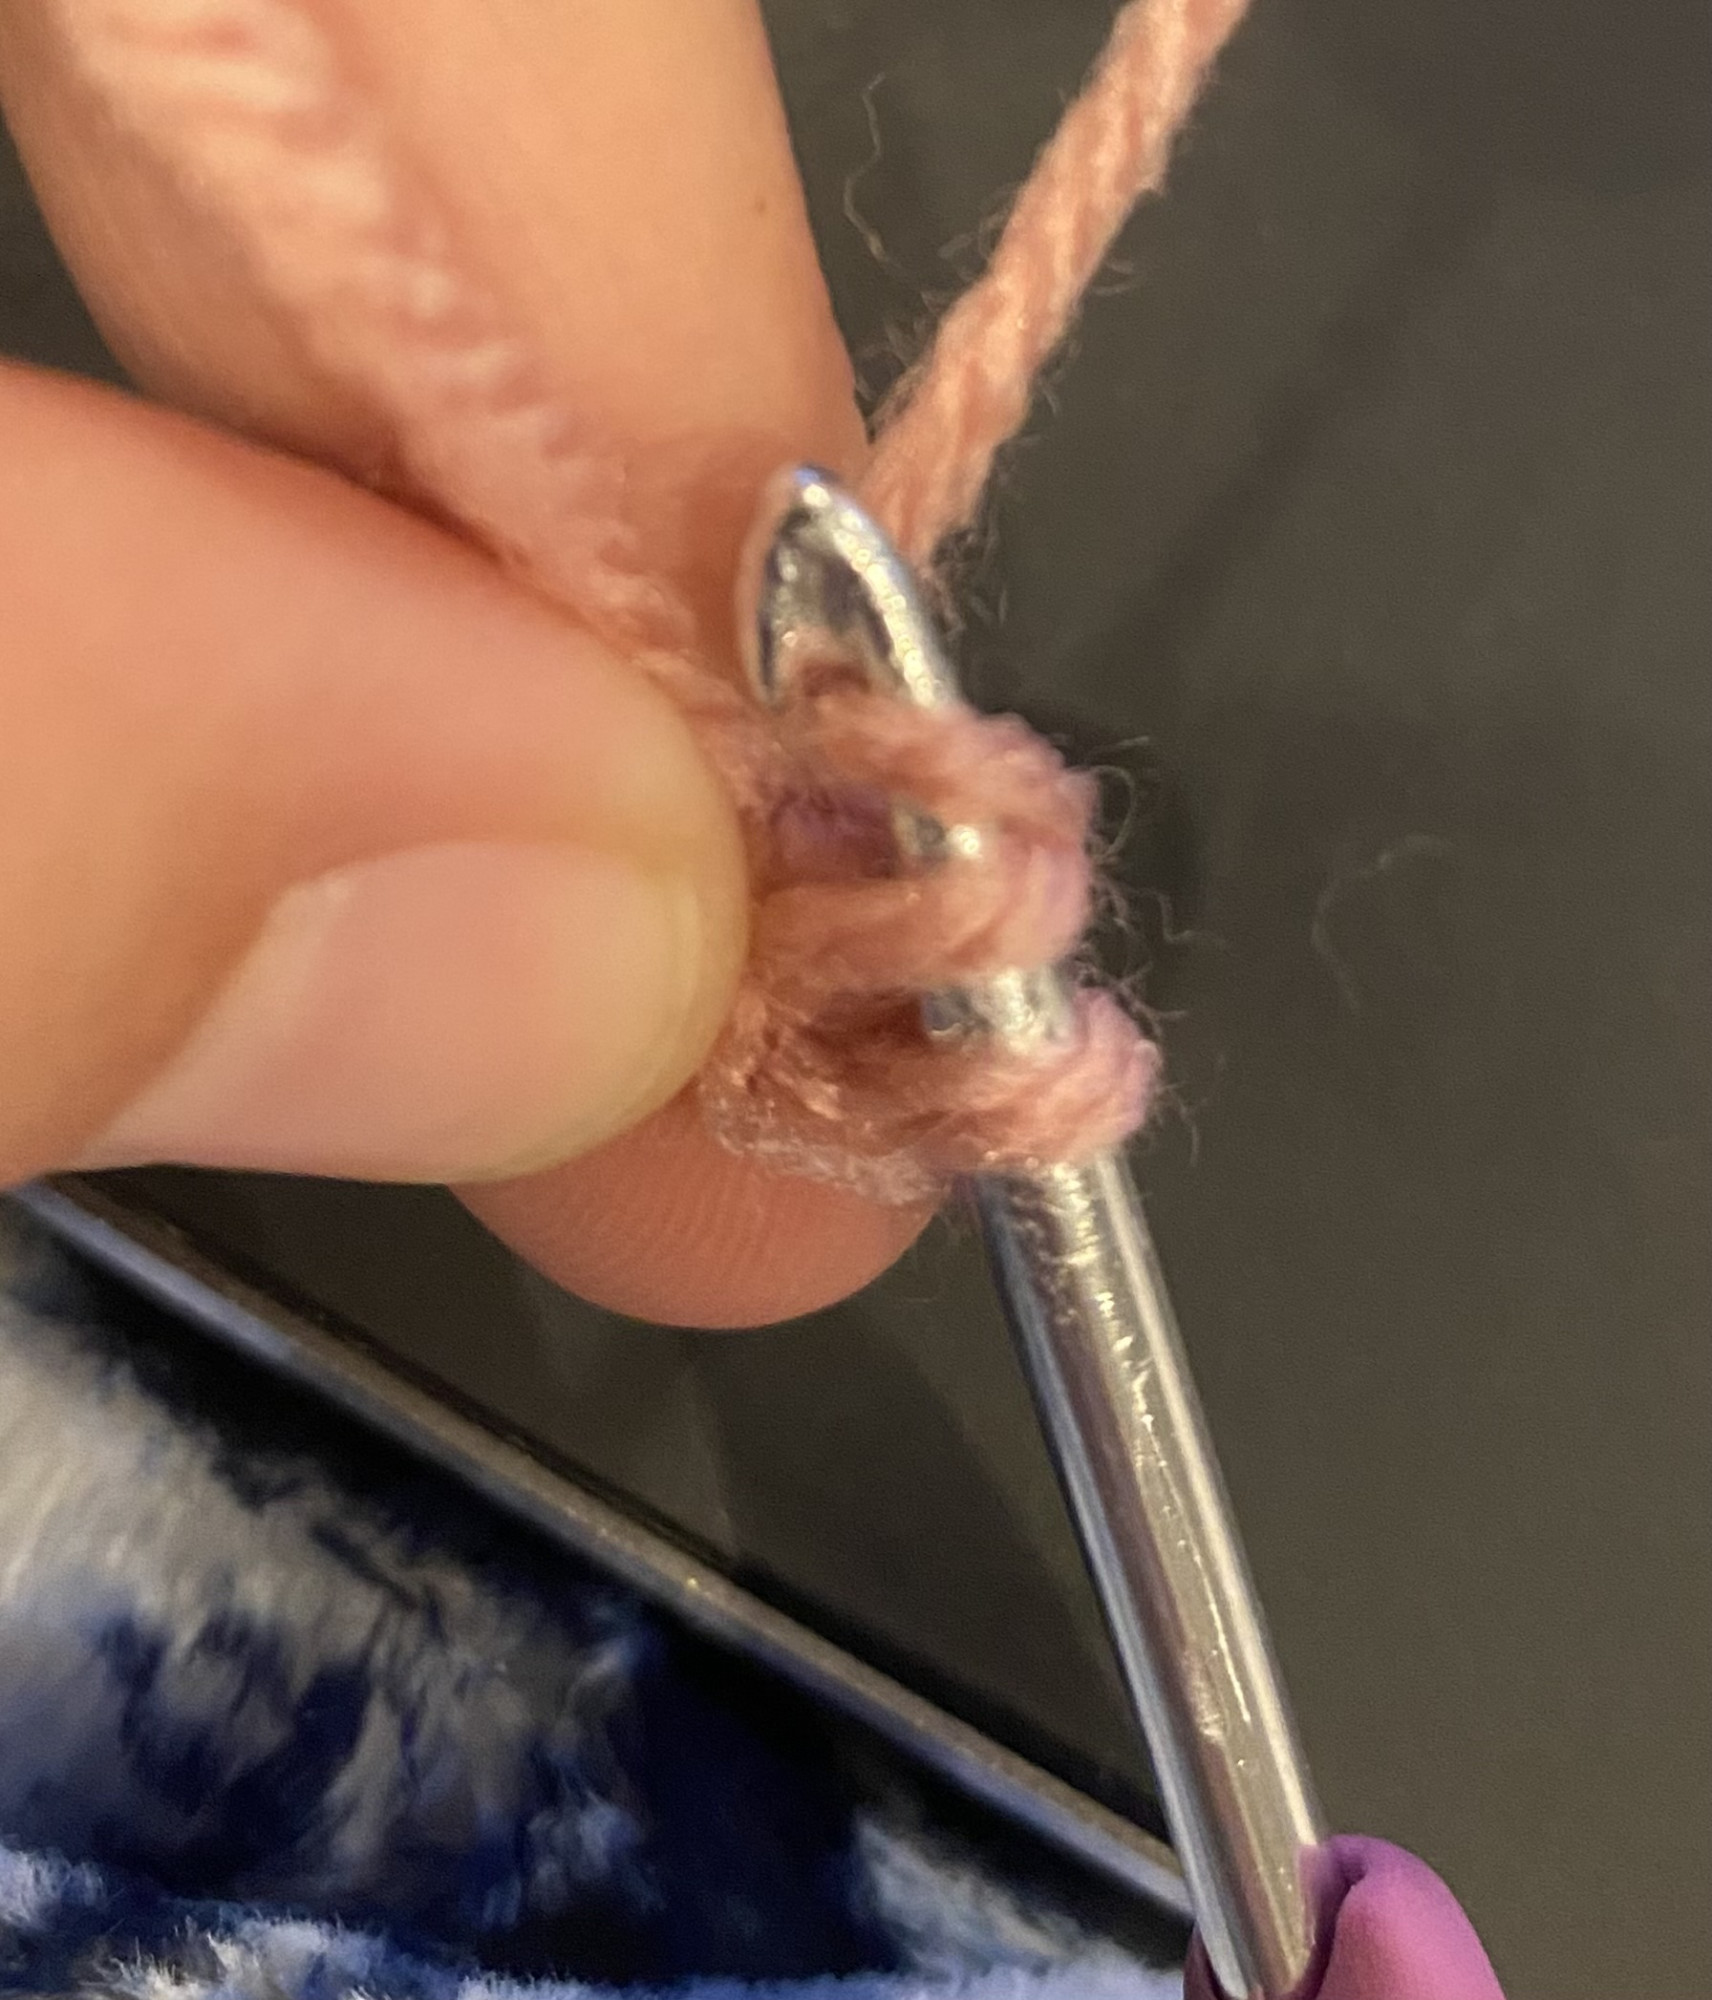
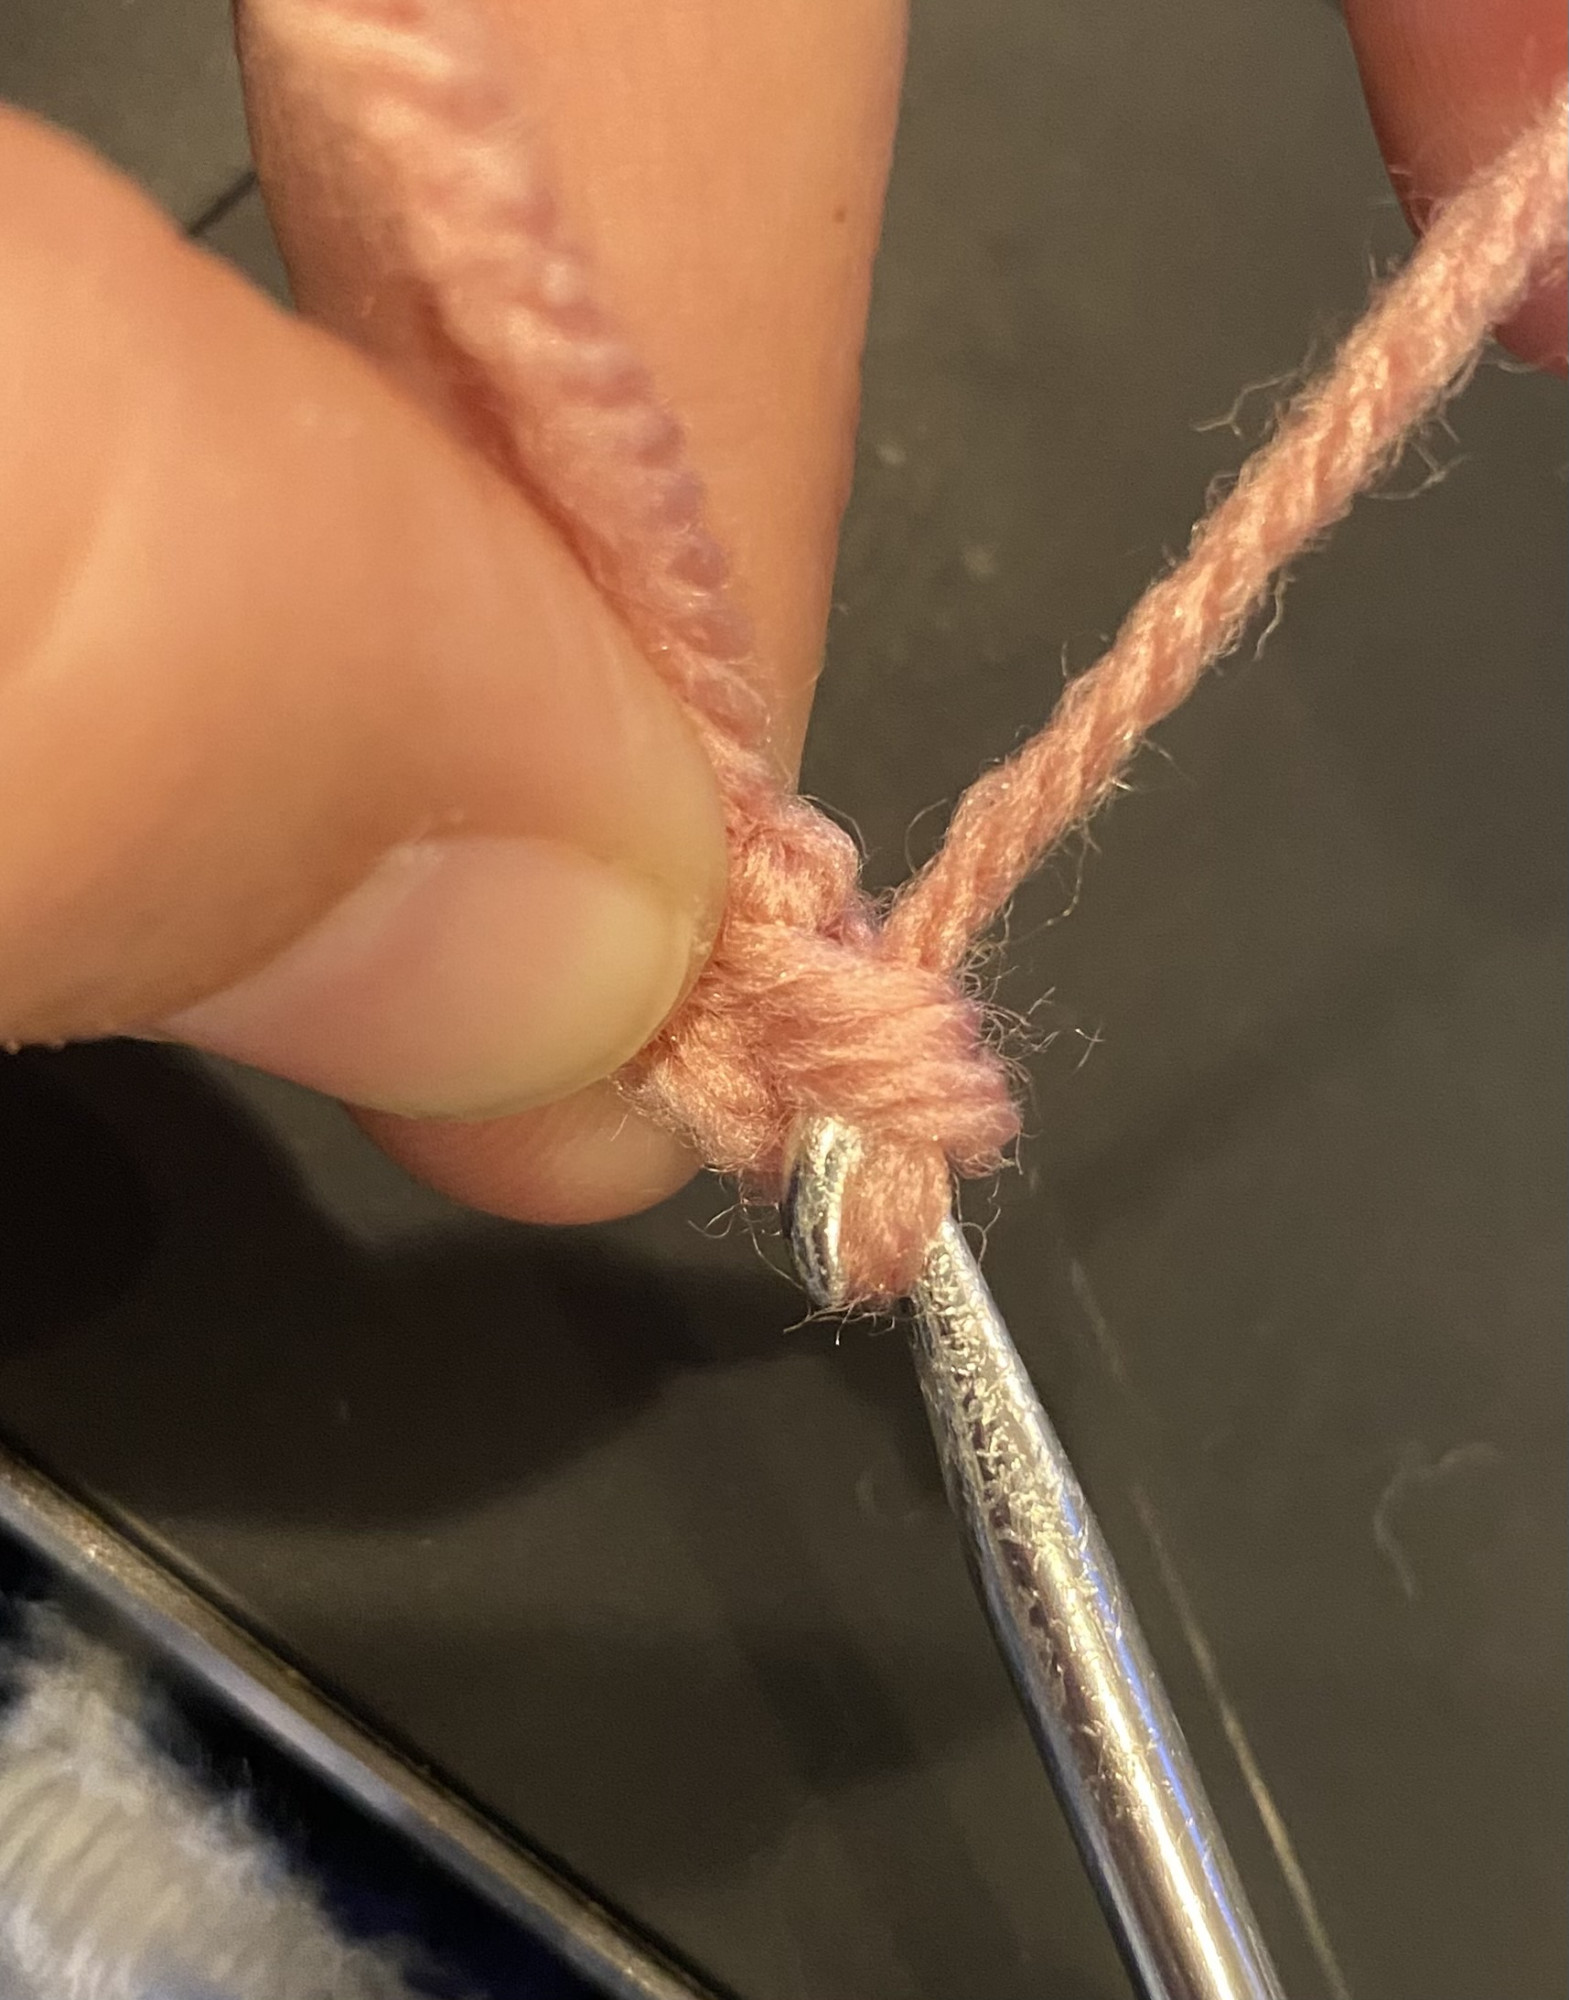
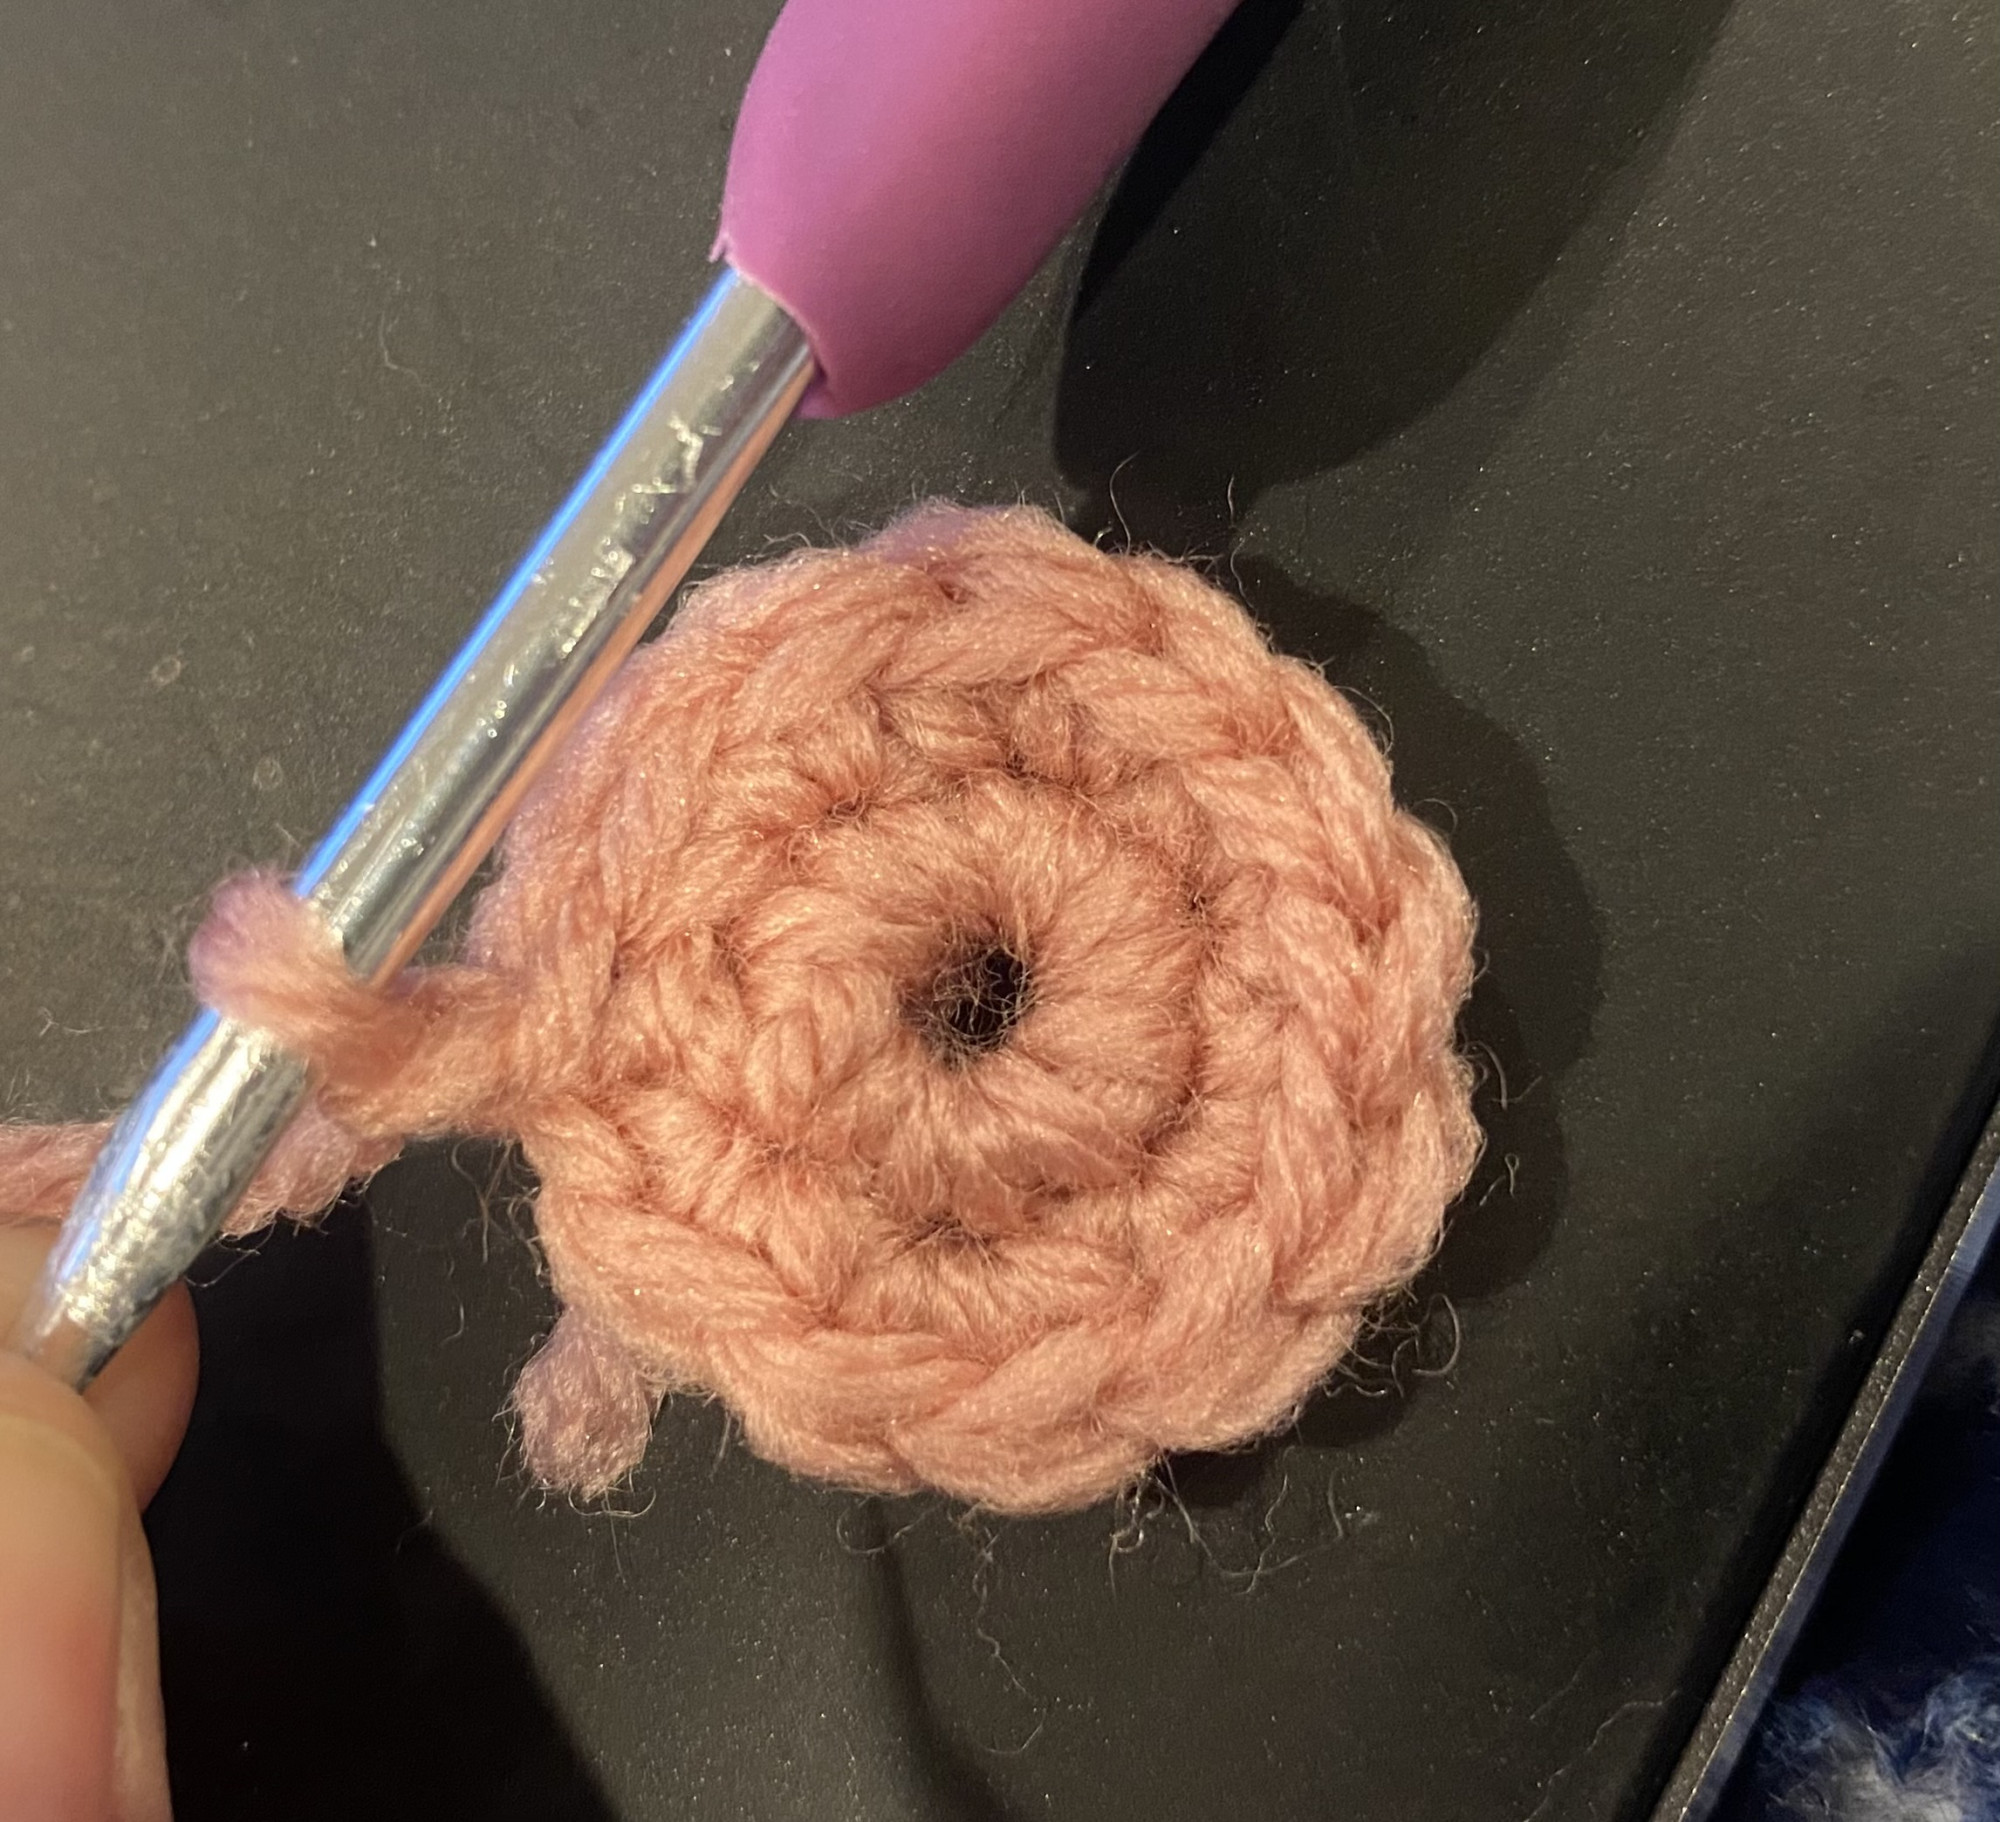 You will always have a little bit of a hole when using this method, but it will stay together. It is best for things like hats, where the holes aren't as big of a deal.
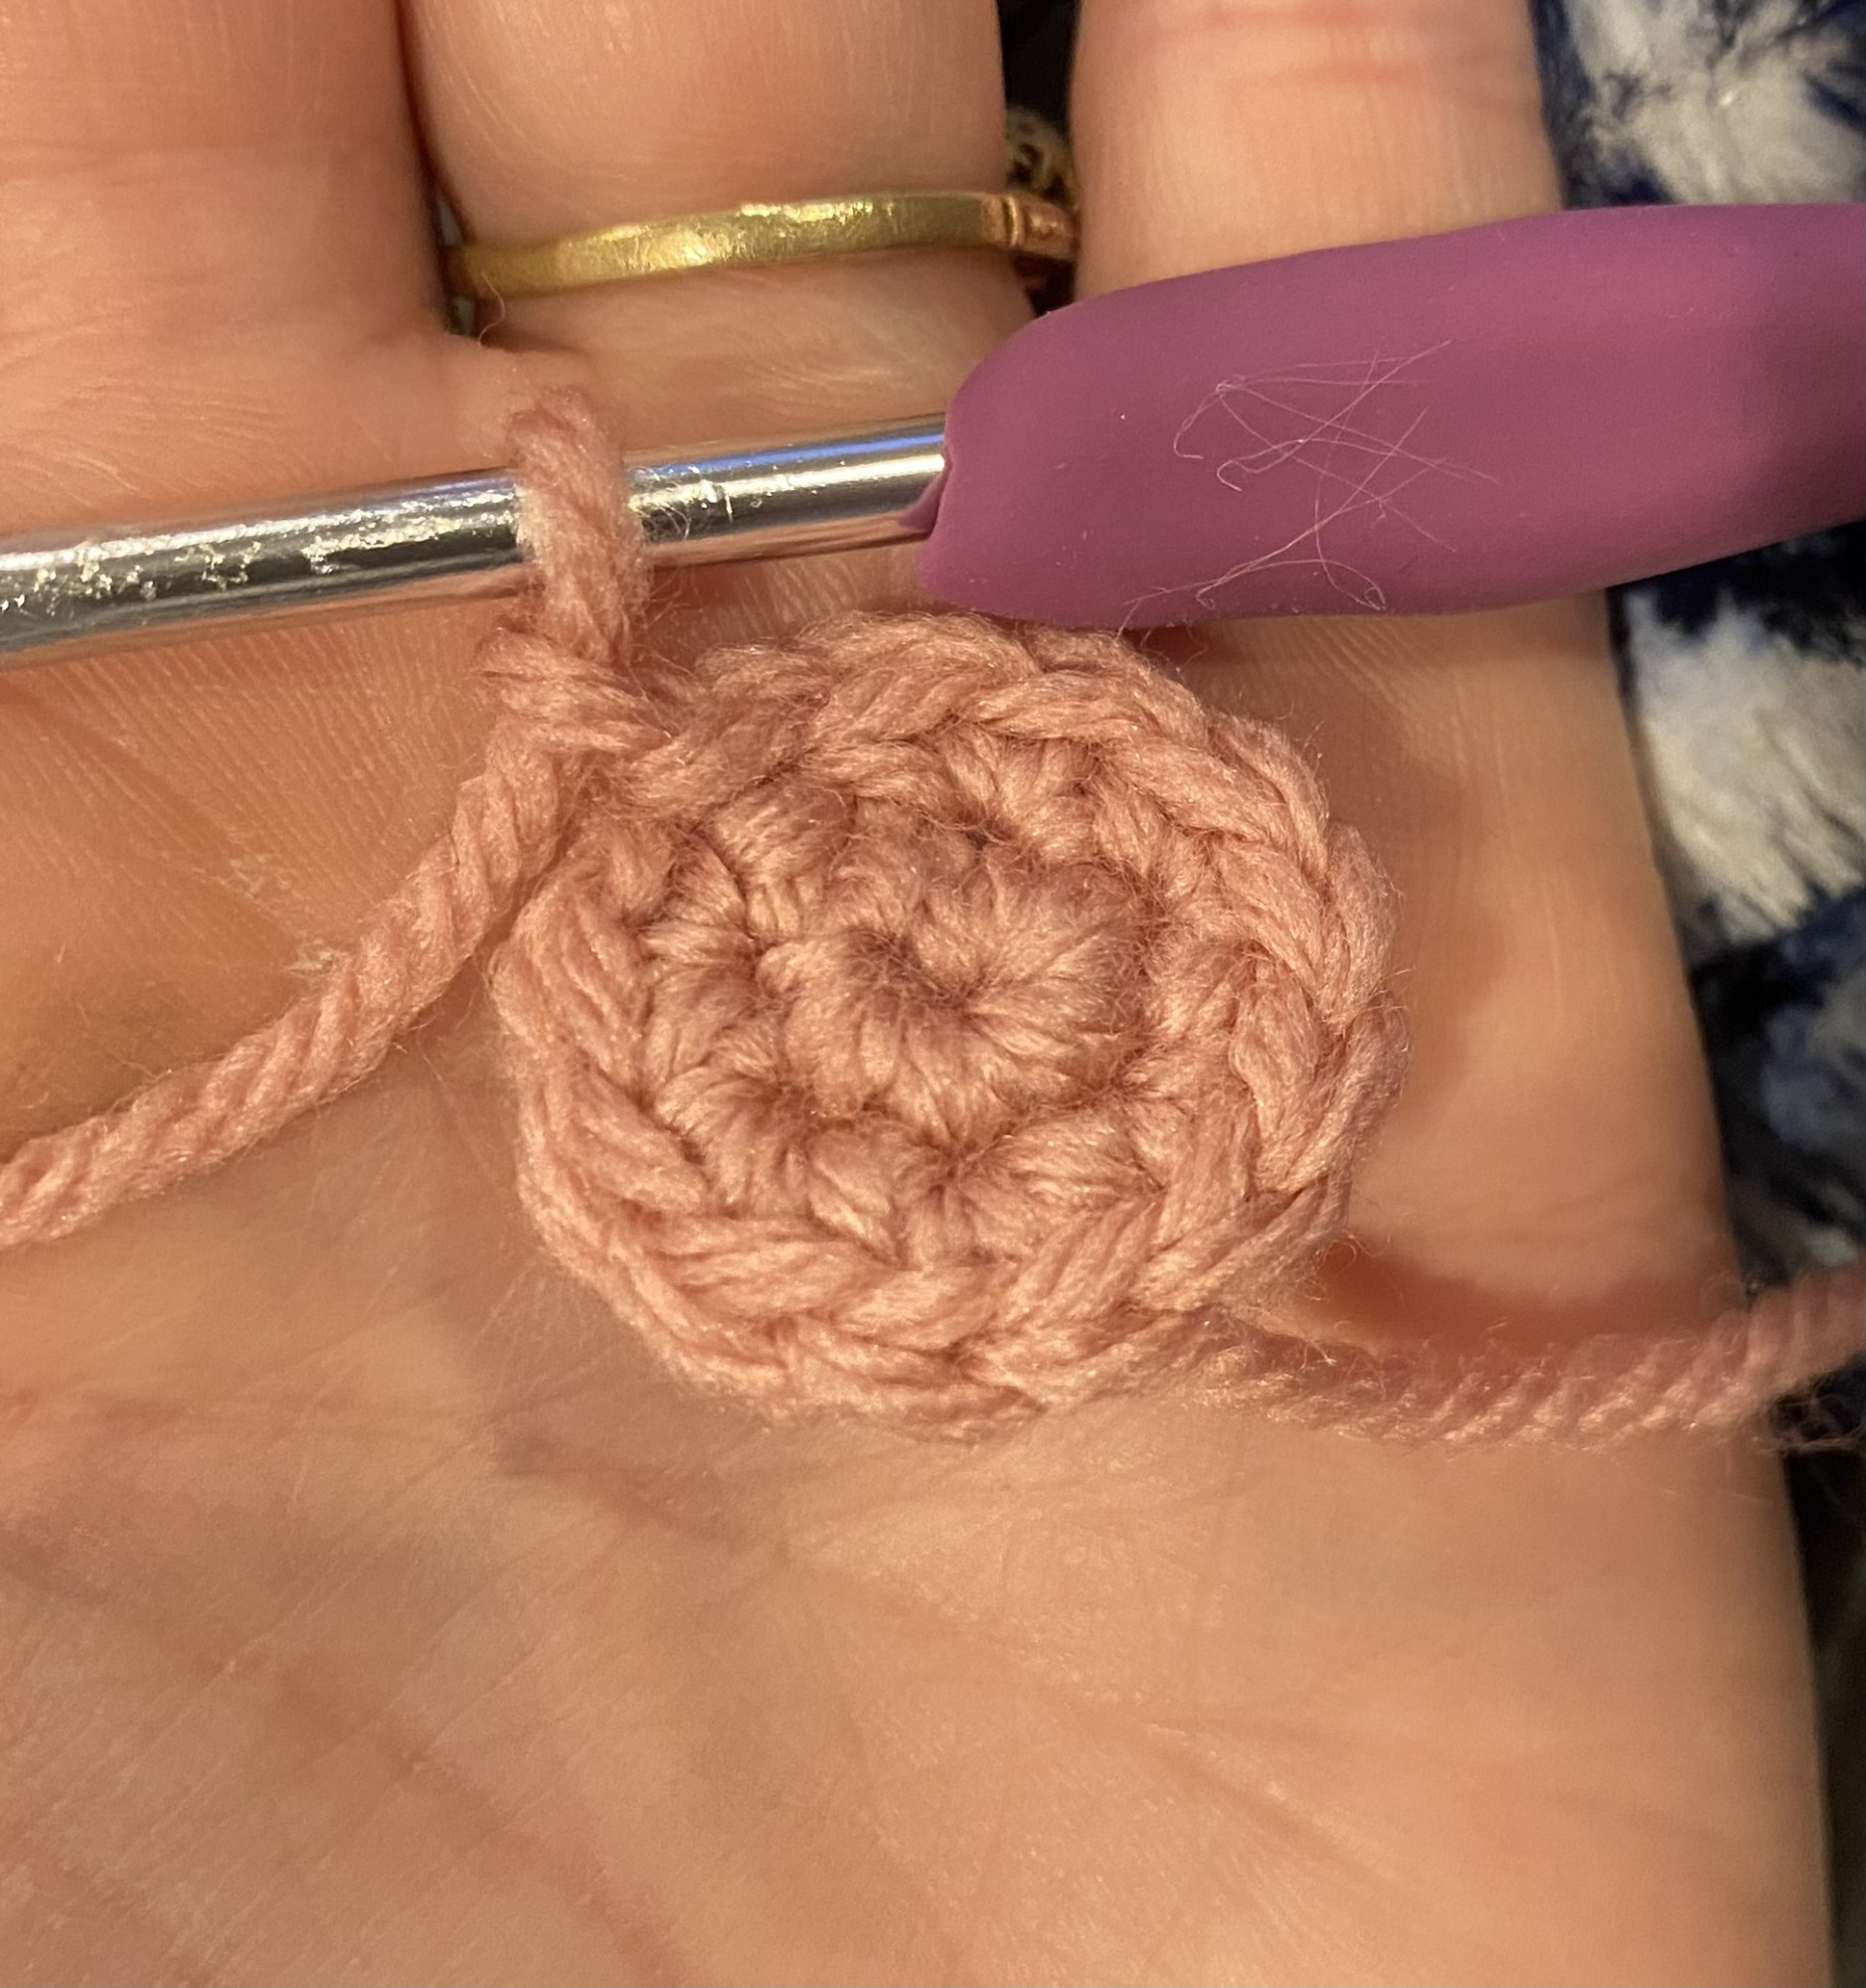
 Magic Circle
This is another way to start a crochet project that needs to be round or a circle. To create the magic circle, make a circle like this on your finger, with the end of the yarn piece under the long ball of yarn piece.
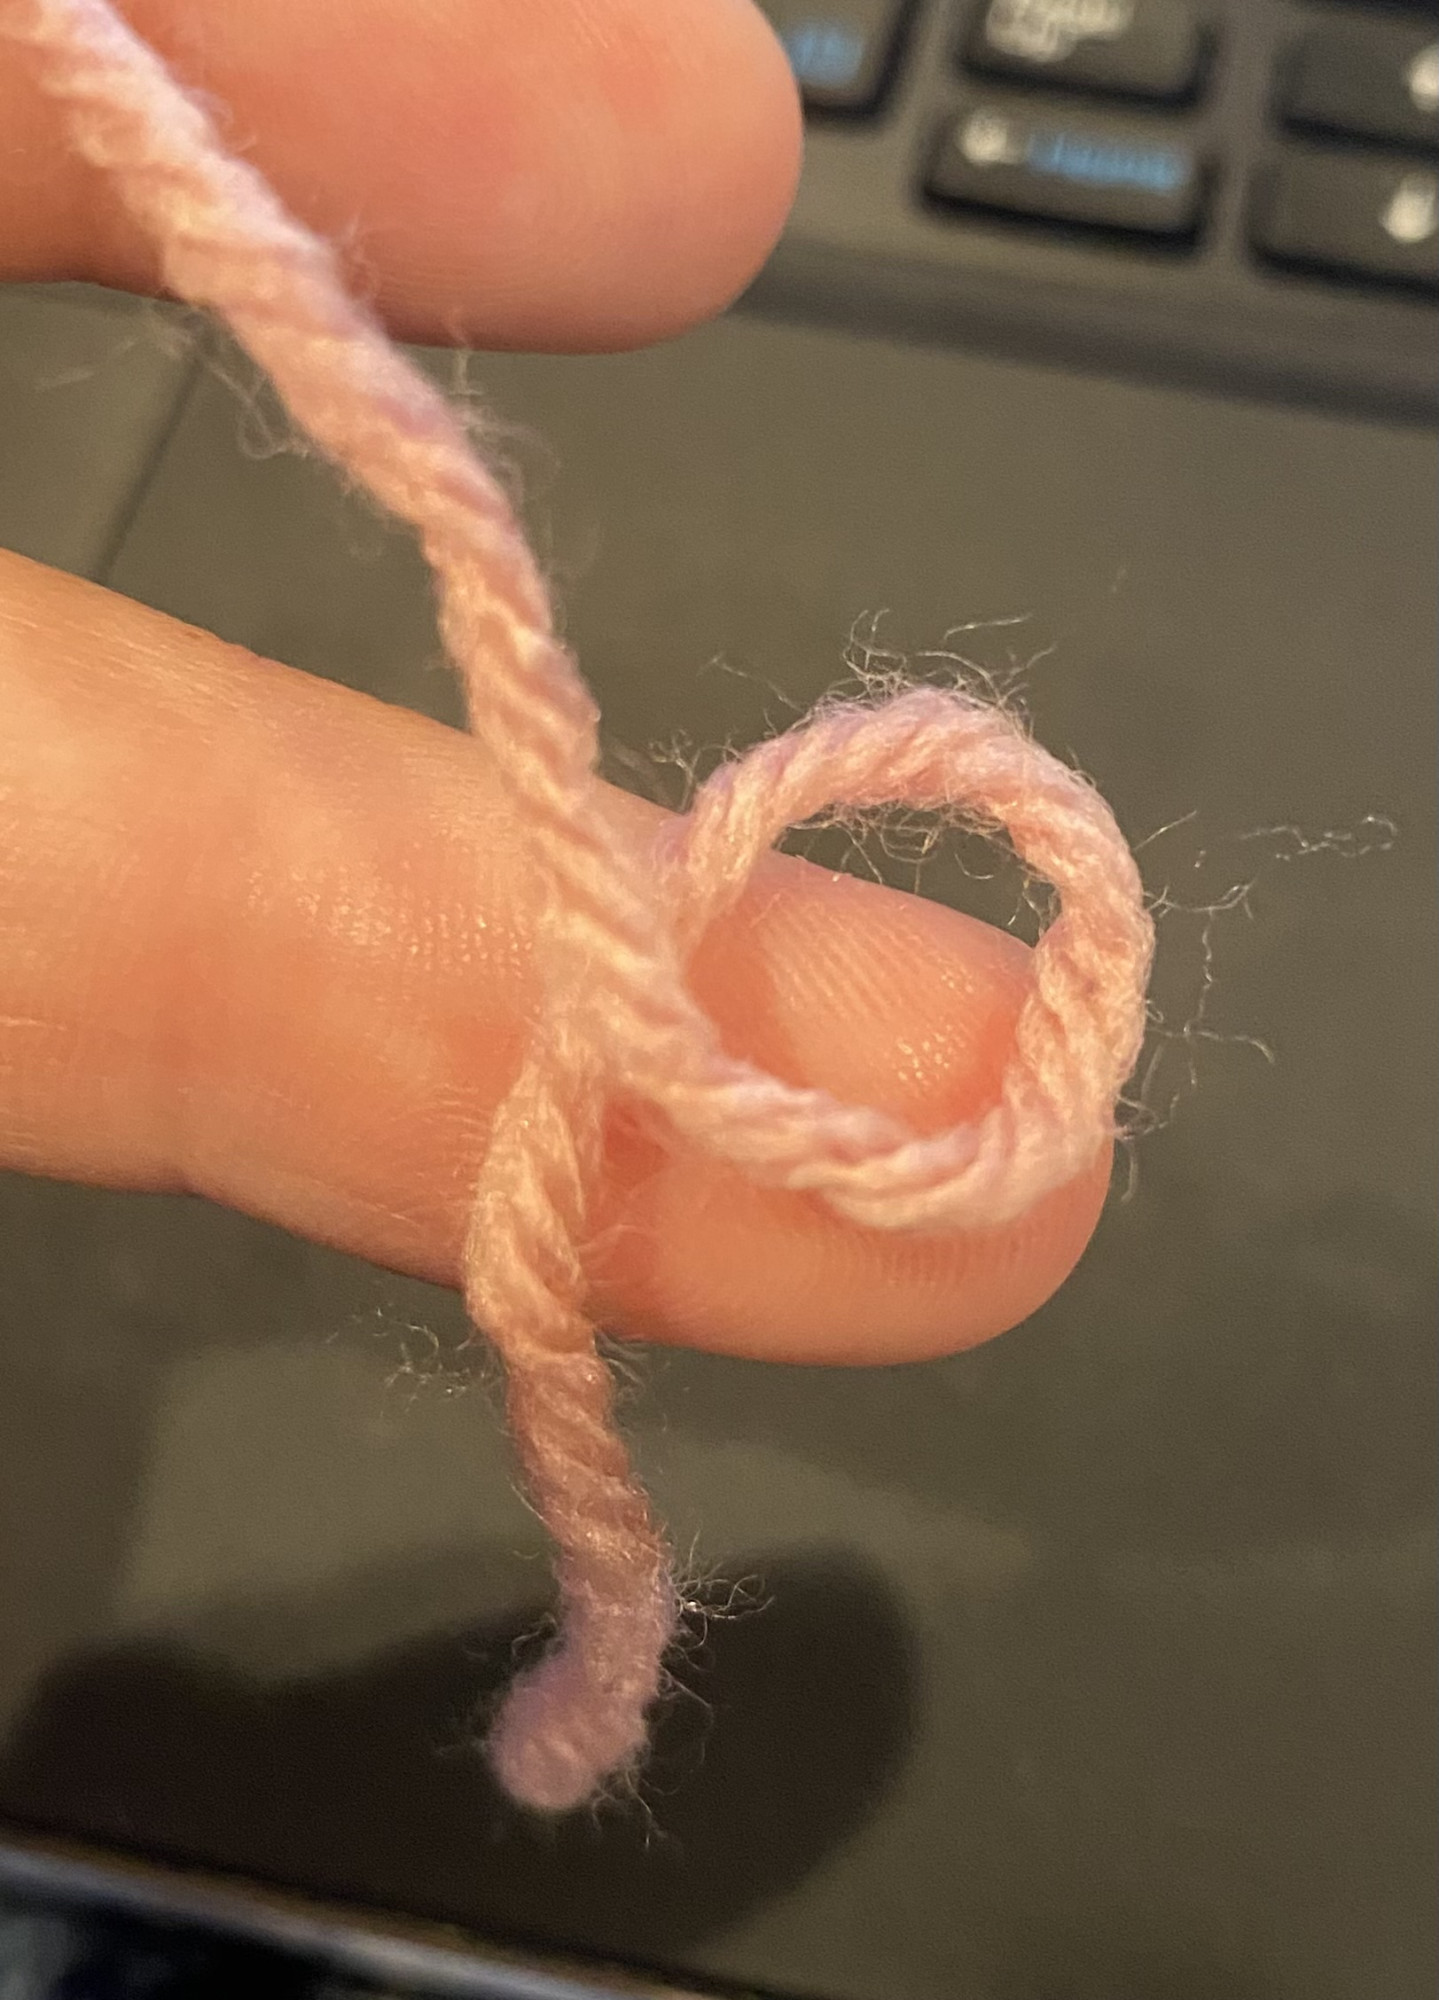
Then insert the hook through the circle and catch the piece of yarn, pull it back through the circle.
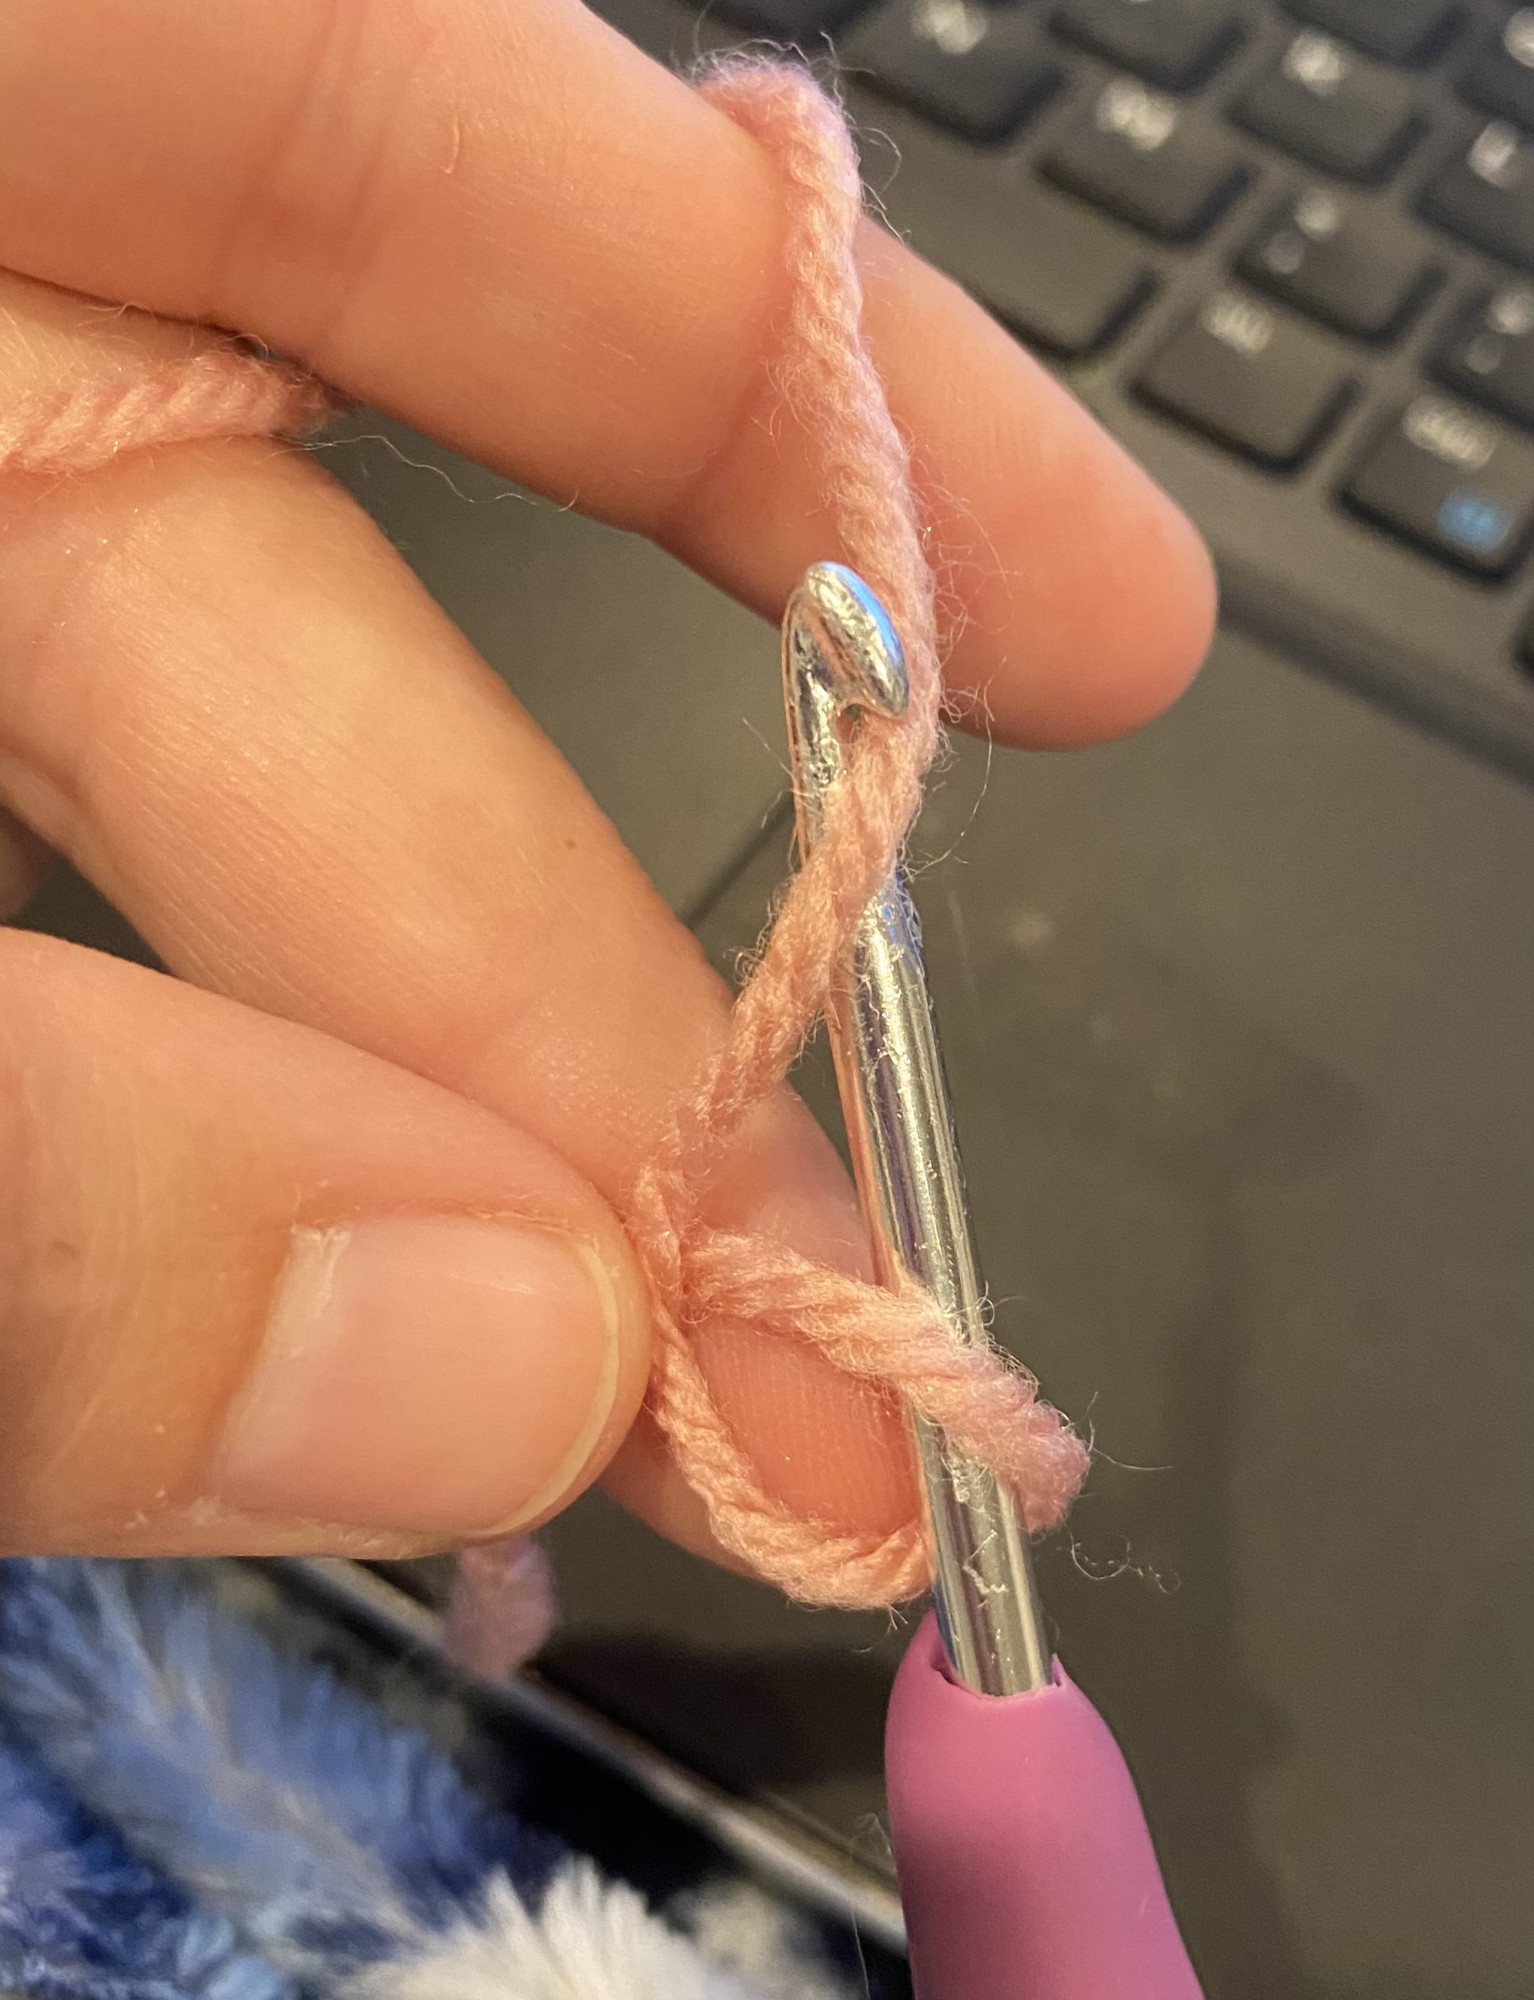
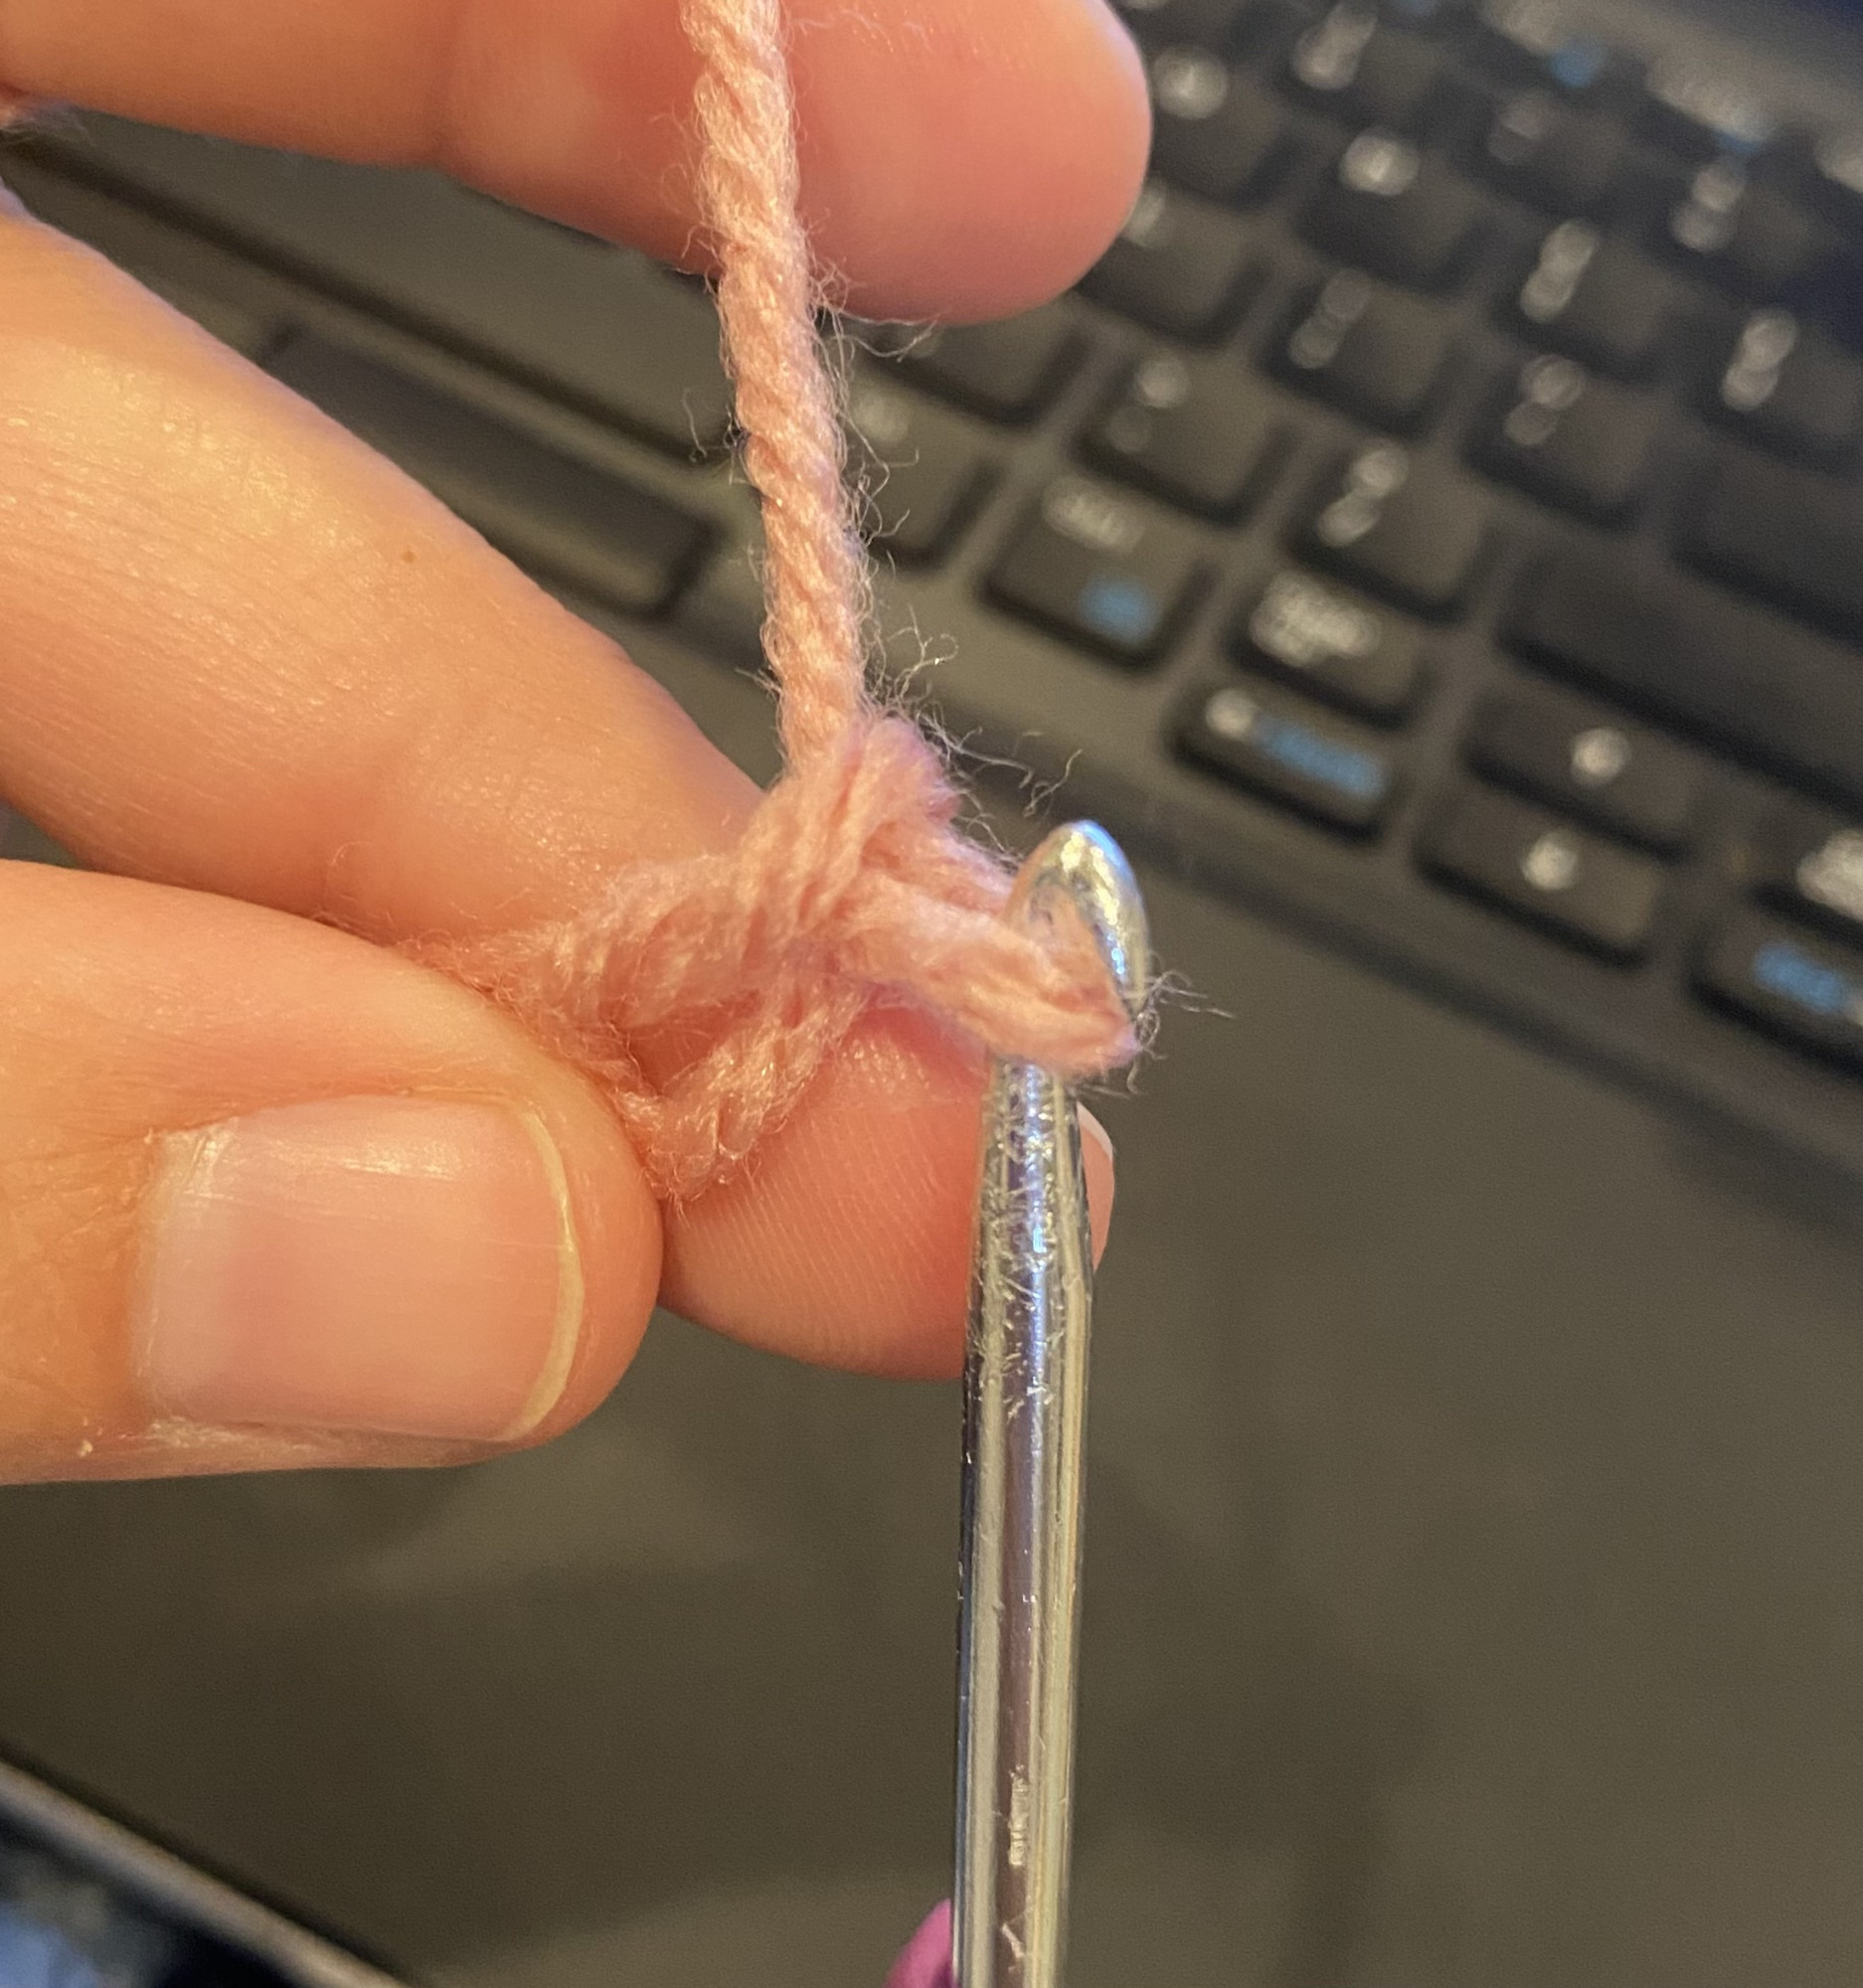
That's it! Super easy, so easy that a lot of people think they are doing it wrong! This method can have a large hole, but when you pull the end, you can tighten it as much as you need, so it works good for amigurumi.
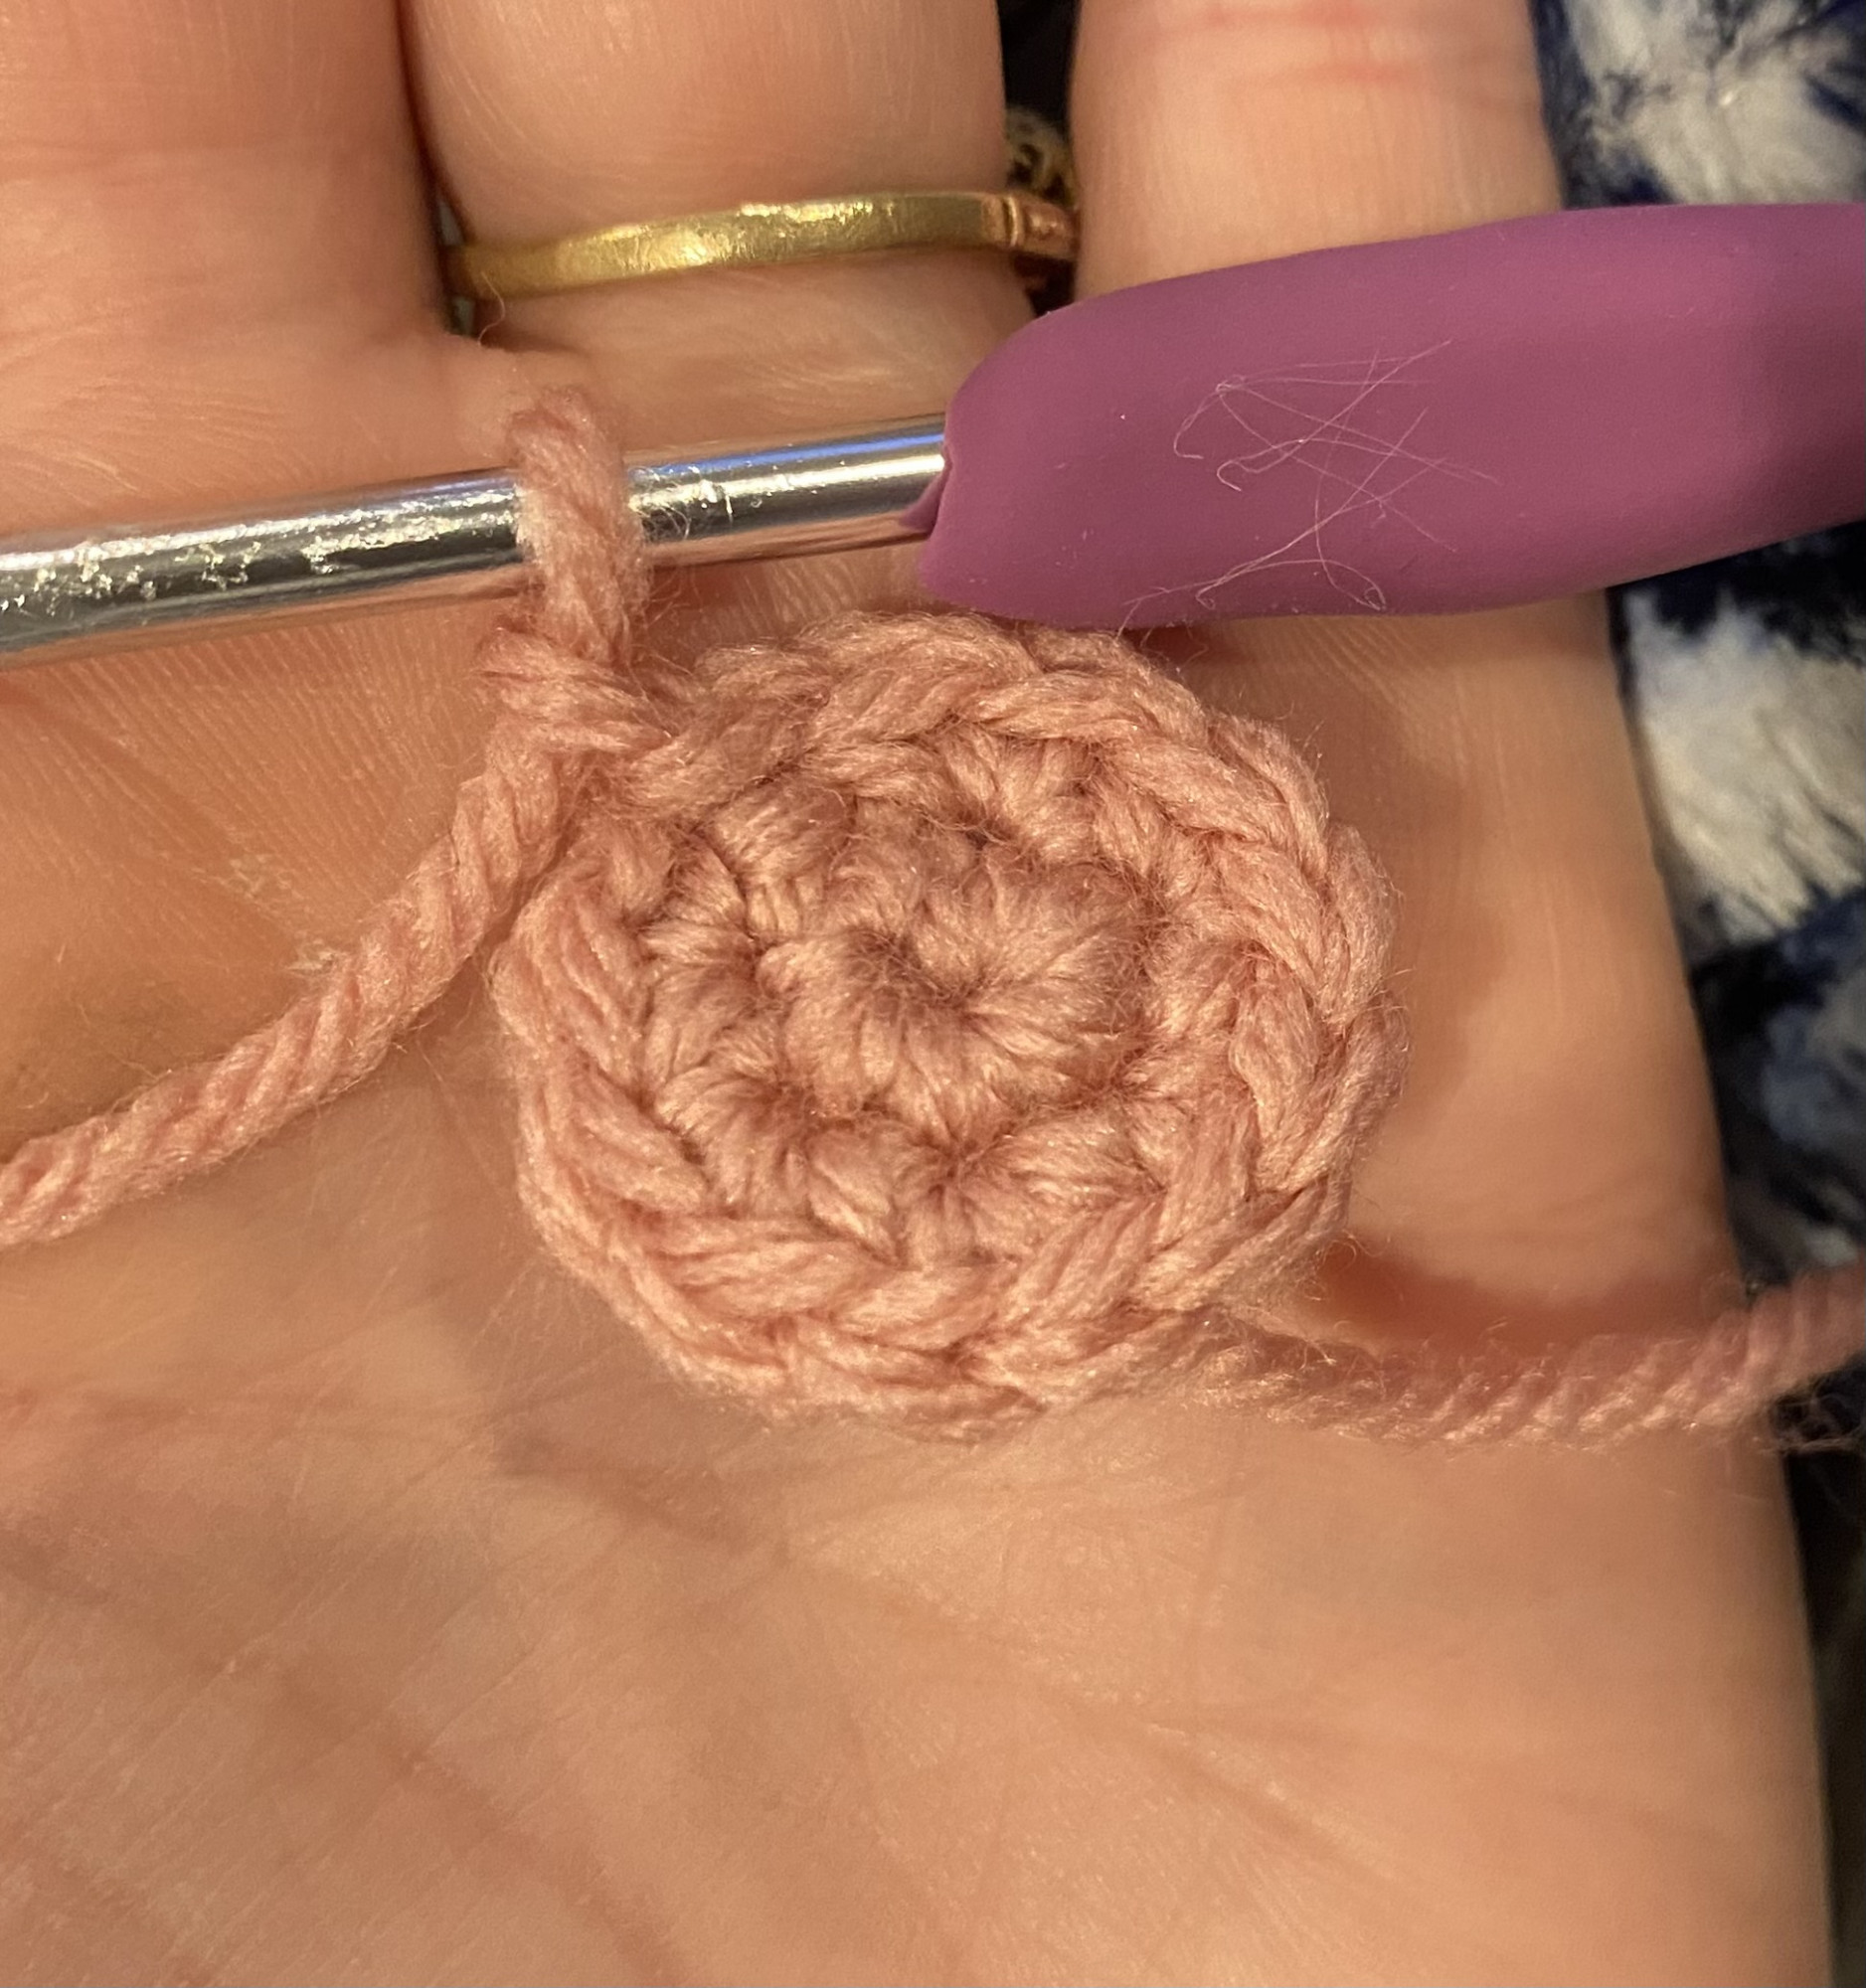
You can practice these different ways to start your work and figure out which you like more. Then head over to this post to see what to do next.
Learn about the importance of hook and yarn sizes in crocheting. Using the right combination is essential for achieving desired results. Smaller yarn requires smaller hooks to avoid holes in your work, while larger hooks can be used with bigger yarn for creating blankets or doilies. If you're making dolls or toys, it is important to choose the right yarn and hook size to ensure that the stuffing does not show through. The blog post provides examples of different yarn and hook sizes used to create various sized toys, as well as a conversion chart for hook sizes and a chart for yarn weights and sizes.
Read more...Learn how to make amigurumi with this super easy chicken pattern that can be used and tweaked to make a dog, bear, chick, and whale!
Read more...
