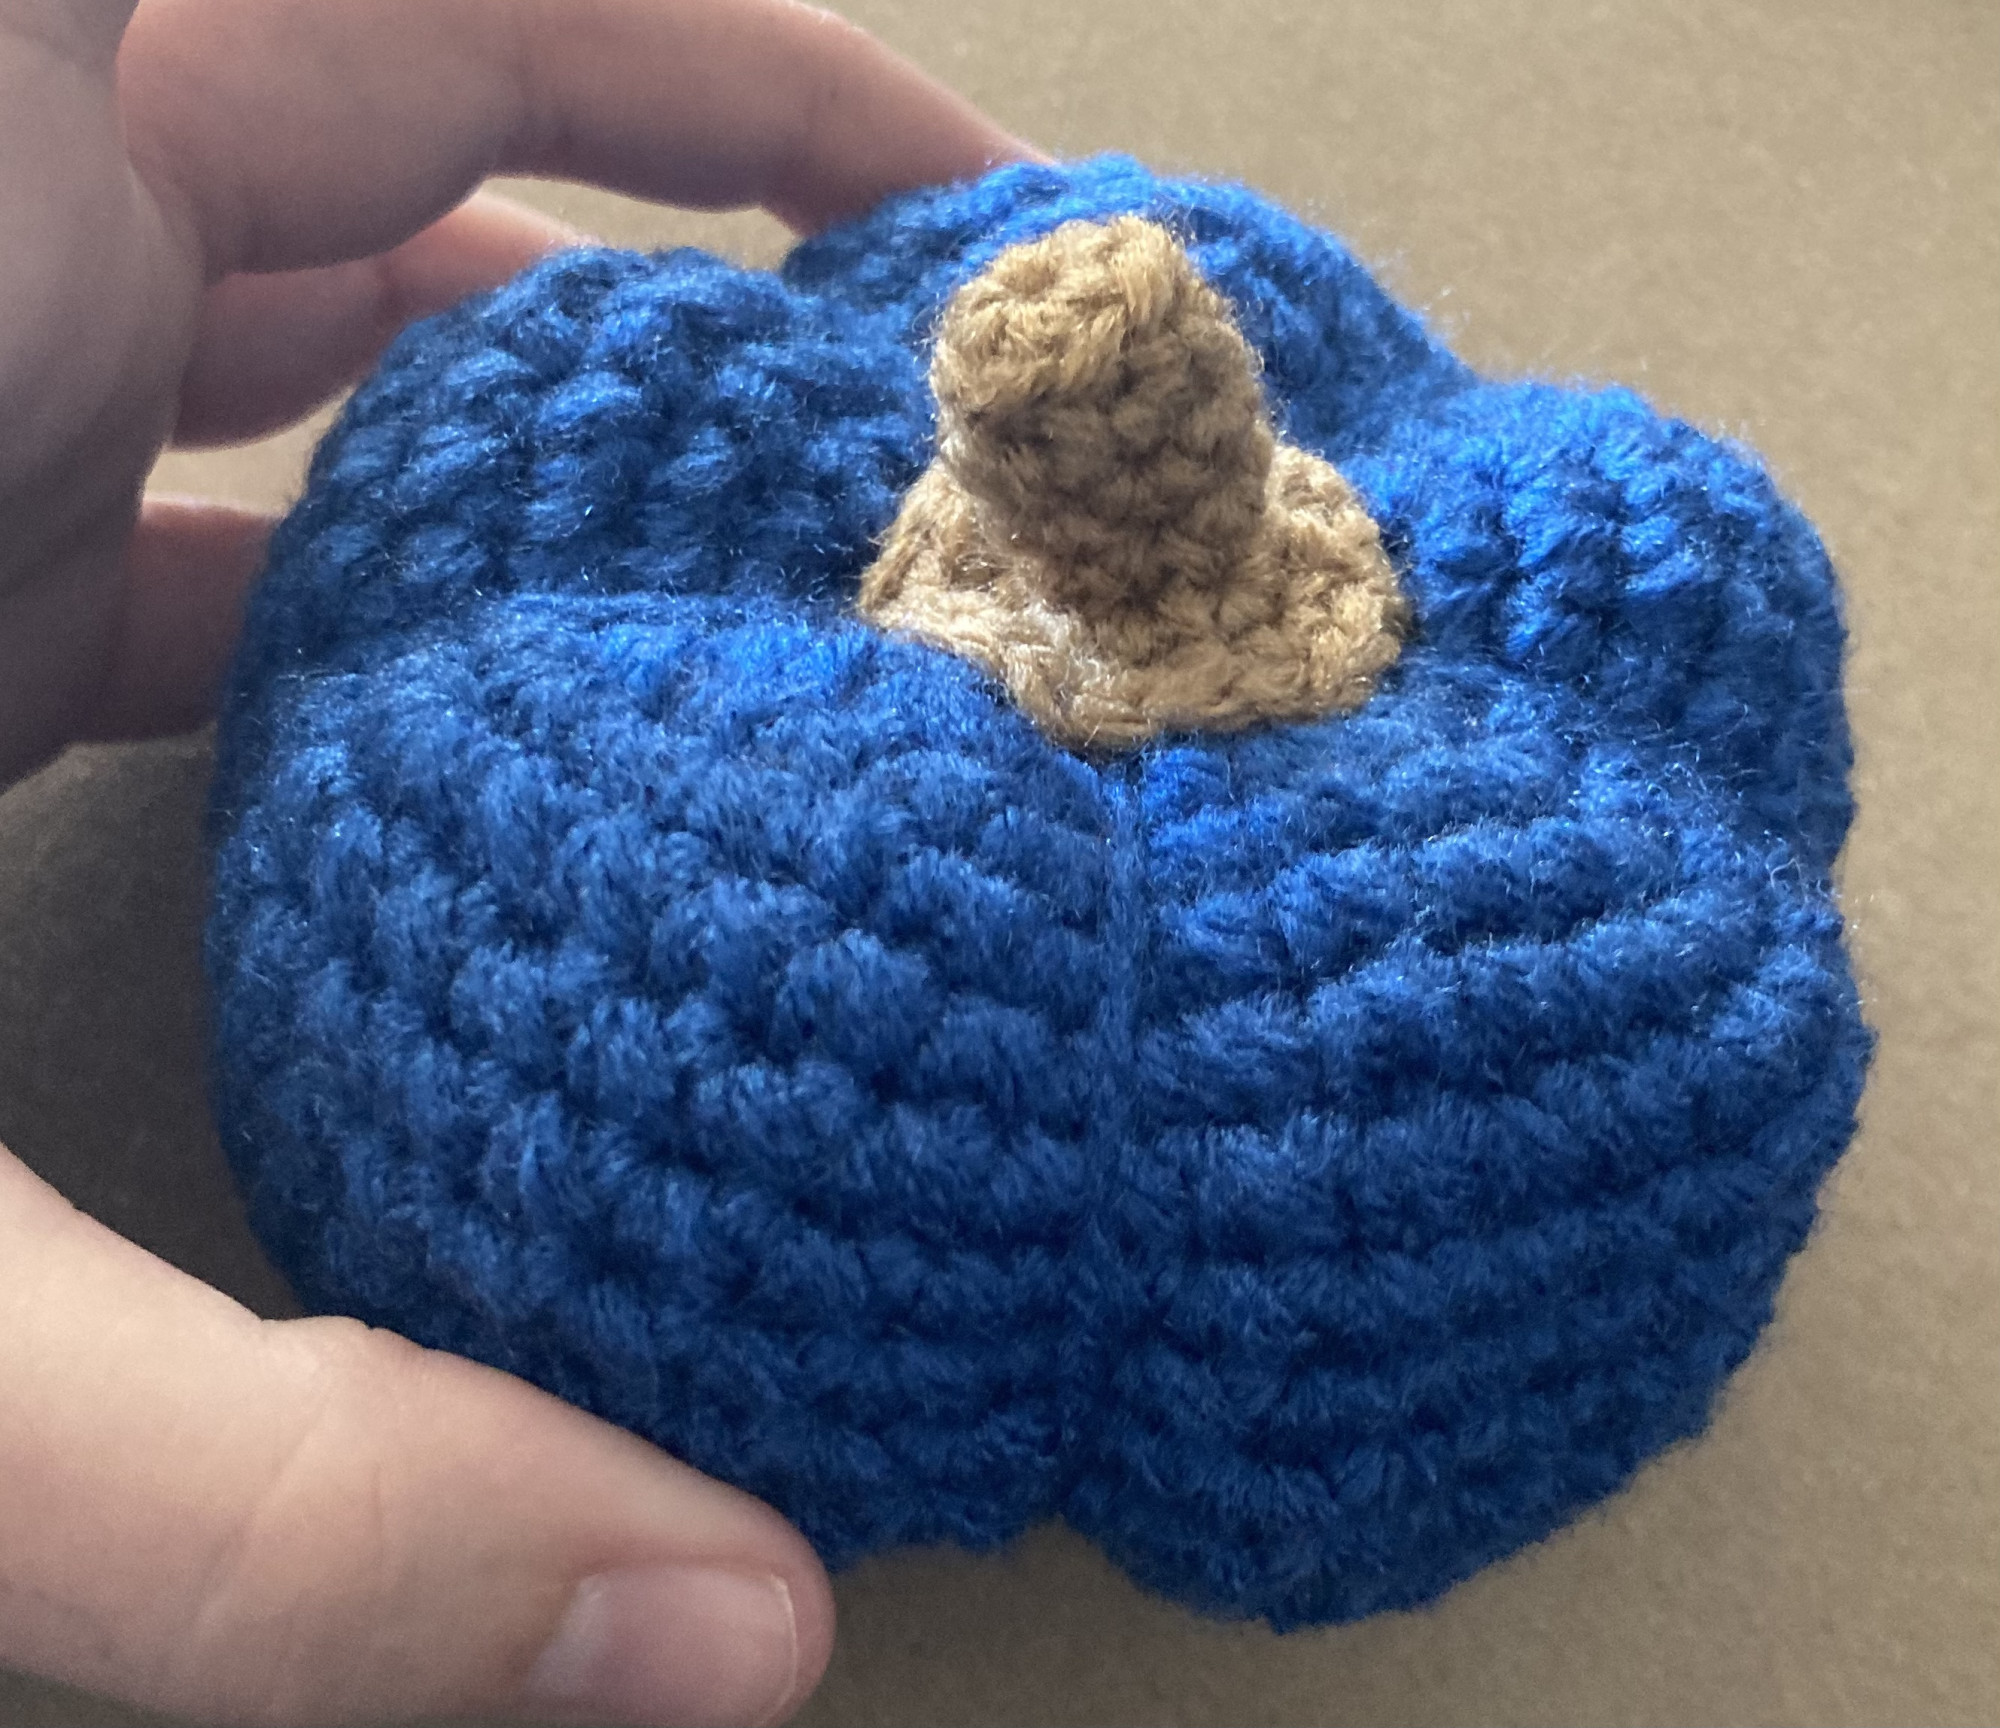
It's here.... a free and easy pumpkin crochet pattern. This pattern is perfect for beginners to amigurumi and uses only a few simple stitches.
Hook: 4.0 mm
Yarn: Worsted weight in whatever color you want for the pumpkin body and another color for the stem. You will be working with two strands held together as if they were one.
Abbreviations
sc: single crochet
blo: back loop only
inc: increase, or two sc in the same stitch
Rnd: round
sc2tog: single crochet 2 stitches together
Rnd1: 6sc in magic ring (6)
Rnd2: incx6 (12)
Rnd3: sc, incx6 (18)
Rnd4: 2sc, incx6 (24)
Rnd5: 3sc, incx6 (30)
Rnd6: 4sc, incx6 (36)
Rnd7: 5sc, incx6 (42)
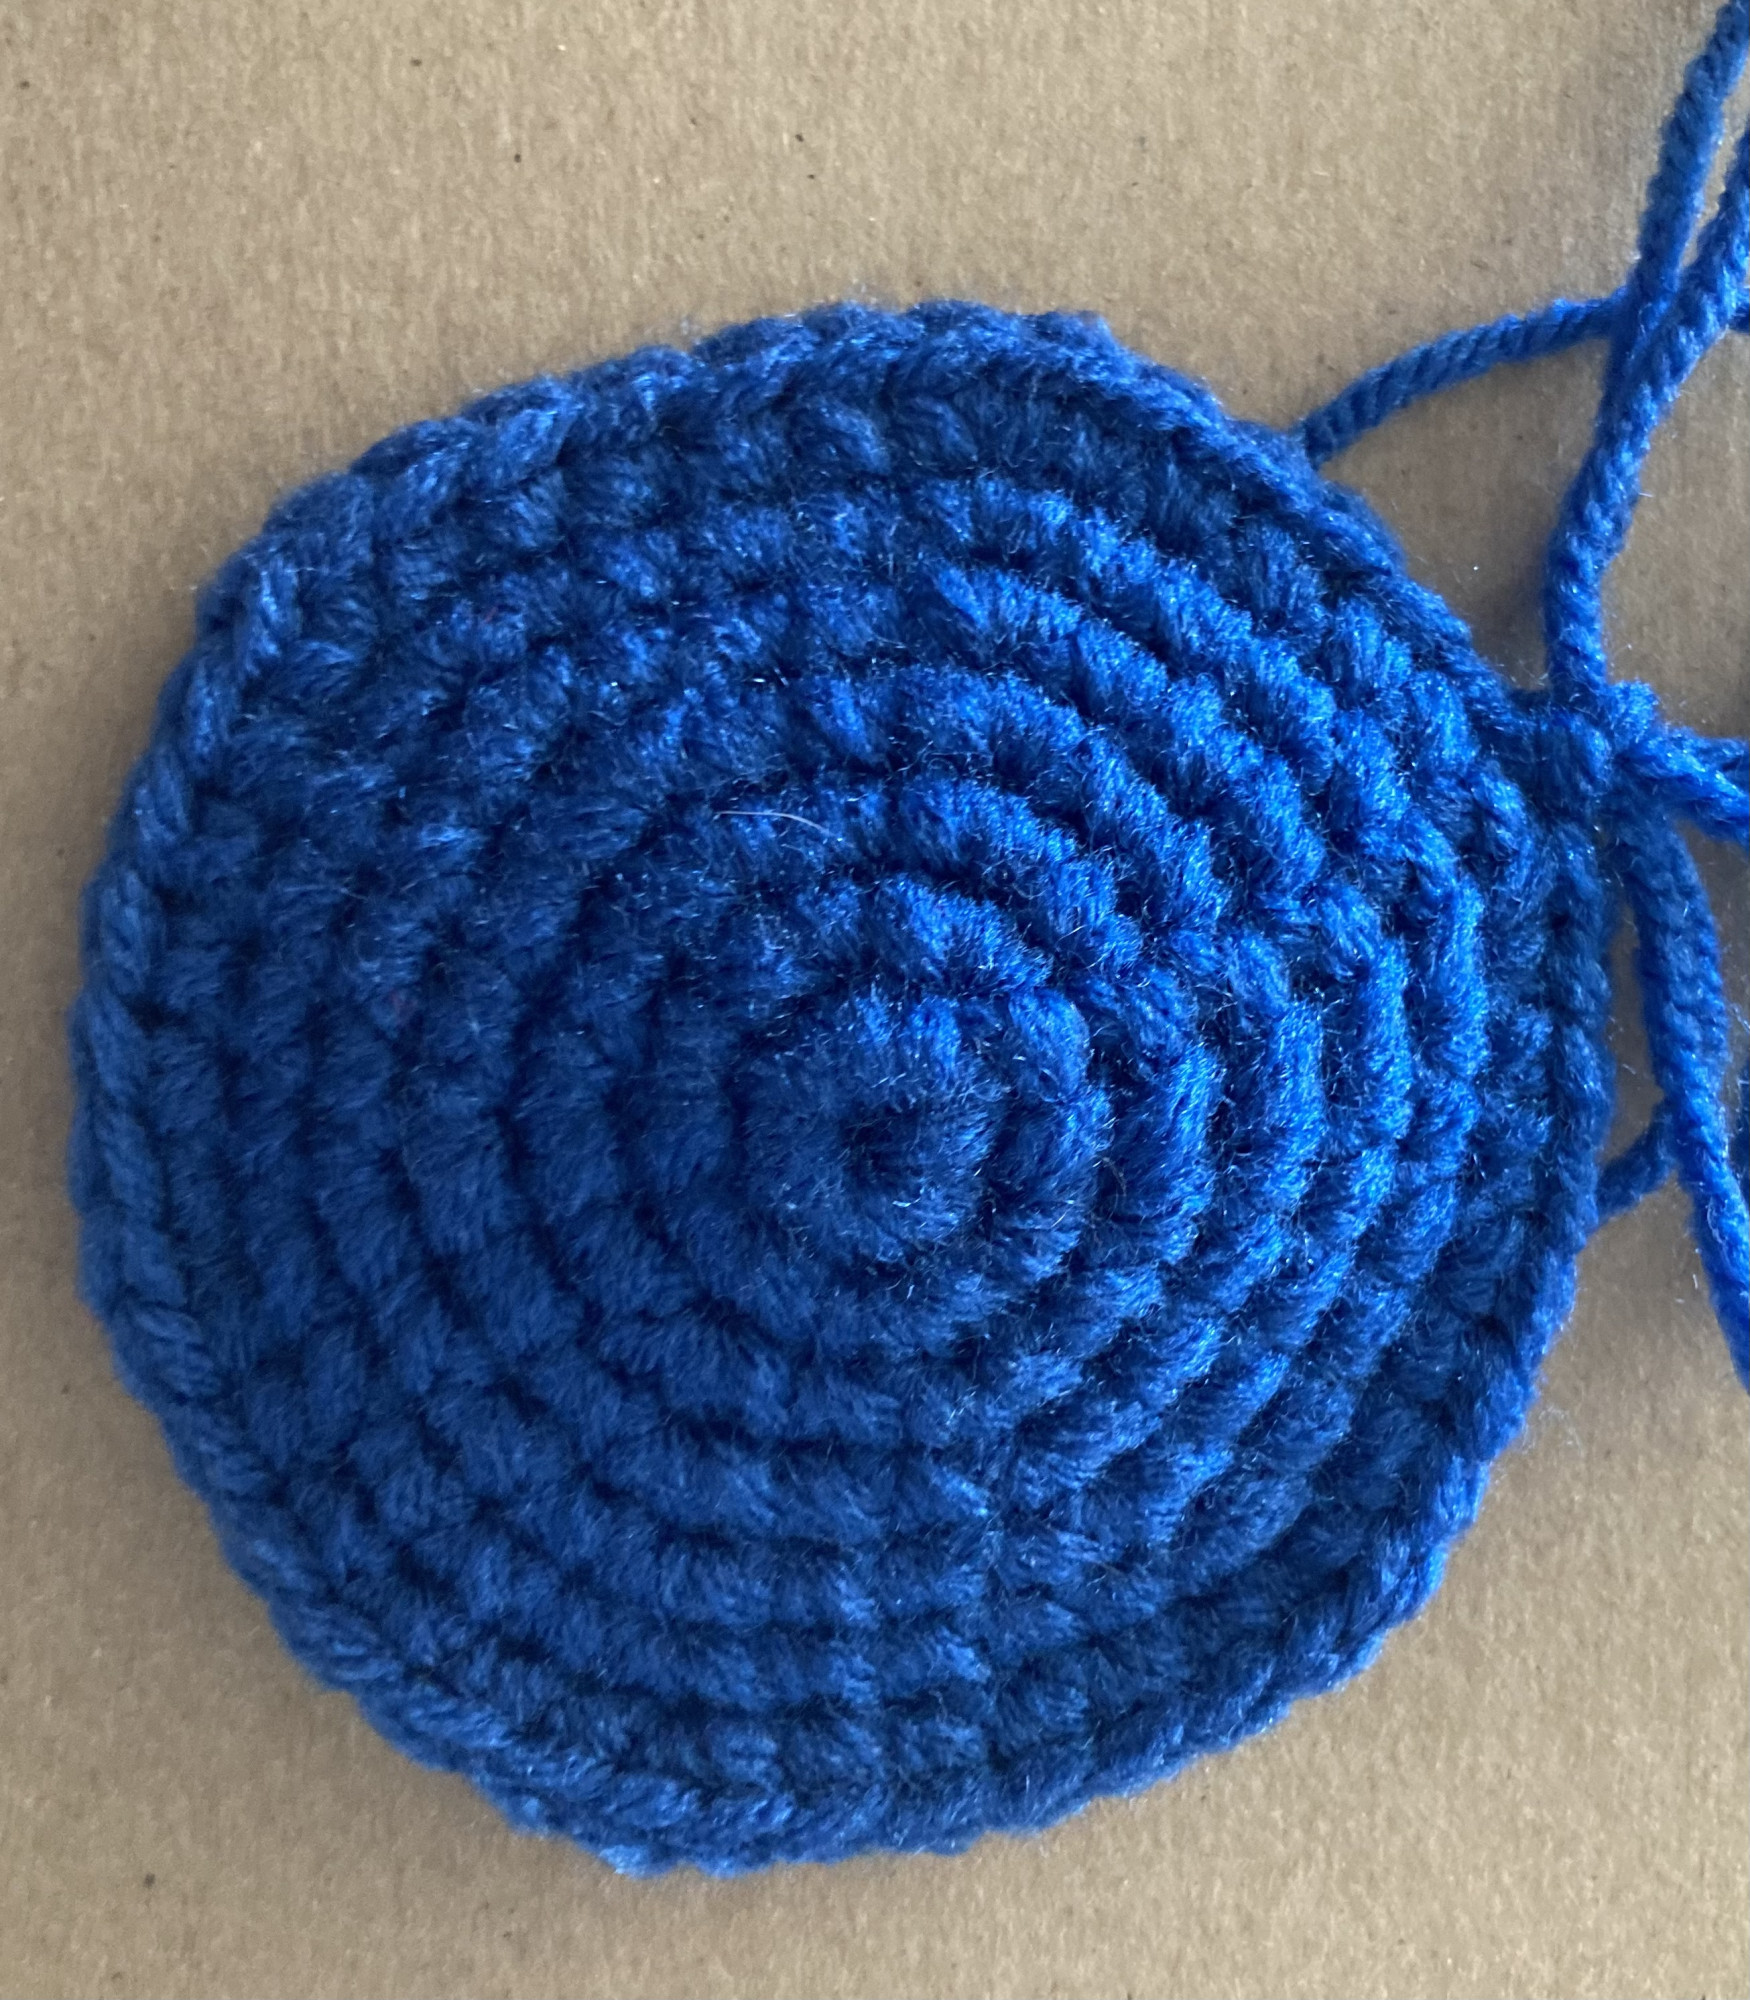
Rnd8-14: 42sc (42)
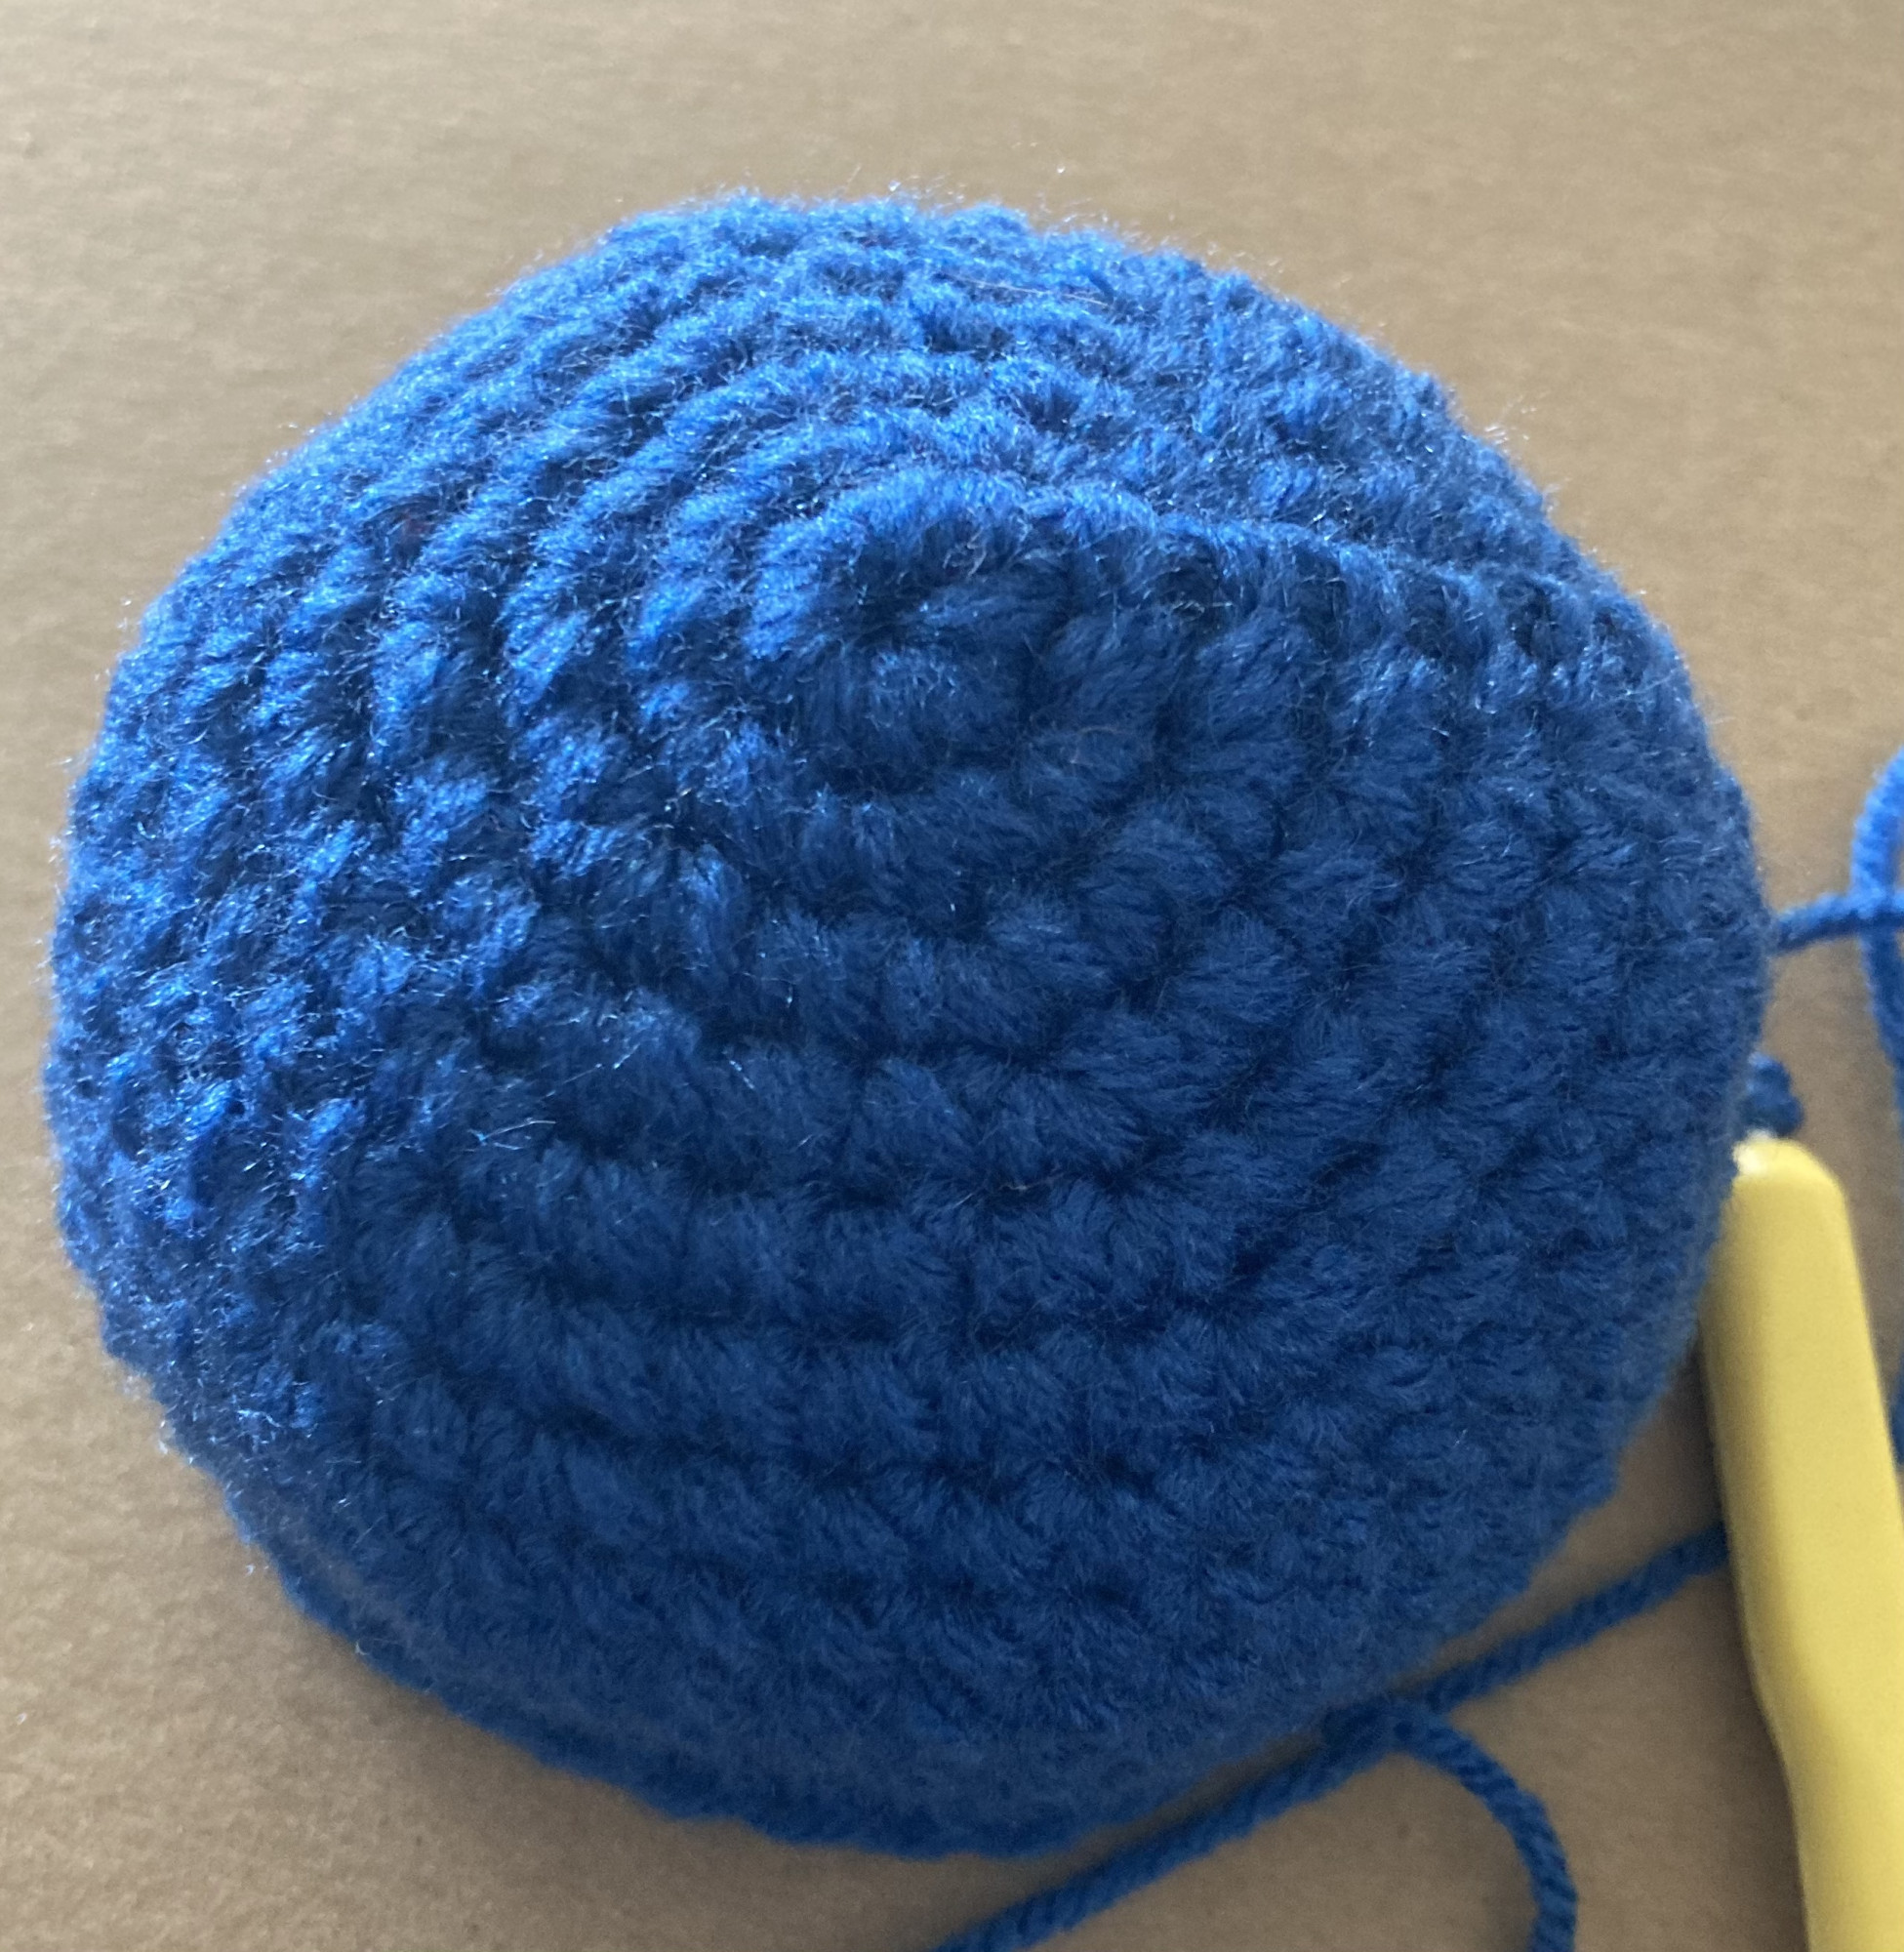
Rnd15: (5sc, sc2tog)x6 (36)
Rnd16: (4sc, sc2tog)x6 (30)
Rnd17:( 3sc, sc2tog)x6 (24)
Rnd18: (2sc, sc2tog)x6 (28)
Lightly stuff the pumpkin, don't fill it too full. You want to be able to make creases and it is easier if the pumpkin isn't full.
Rnd19: (sc,sc2tog)x6 (12)
Rnd20: (sc2tog)x6 (6)
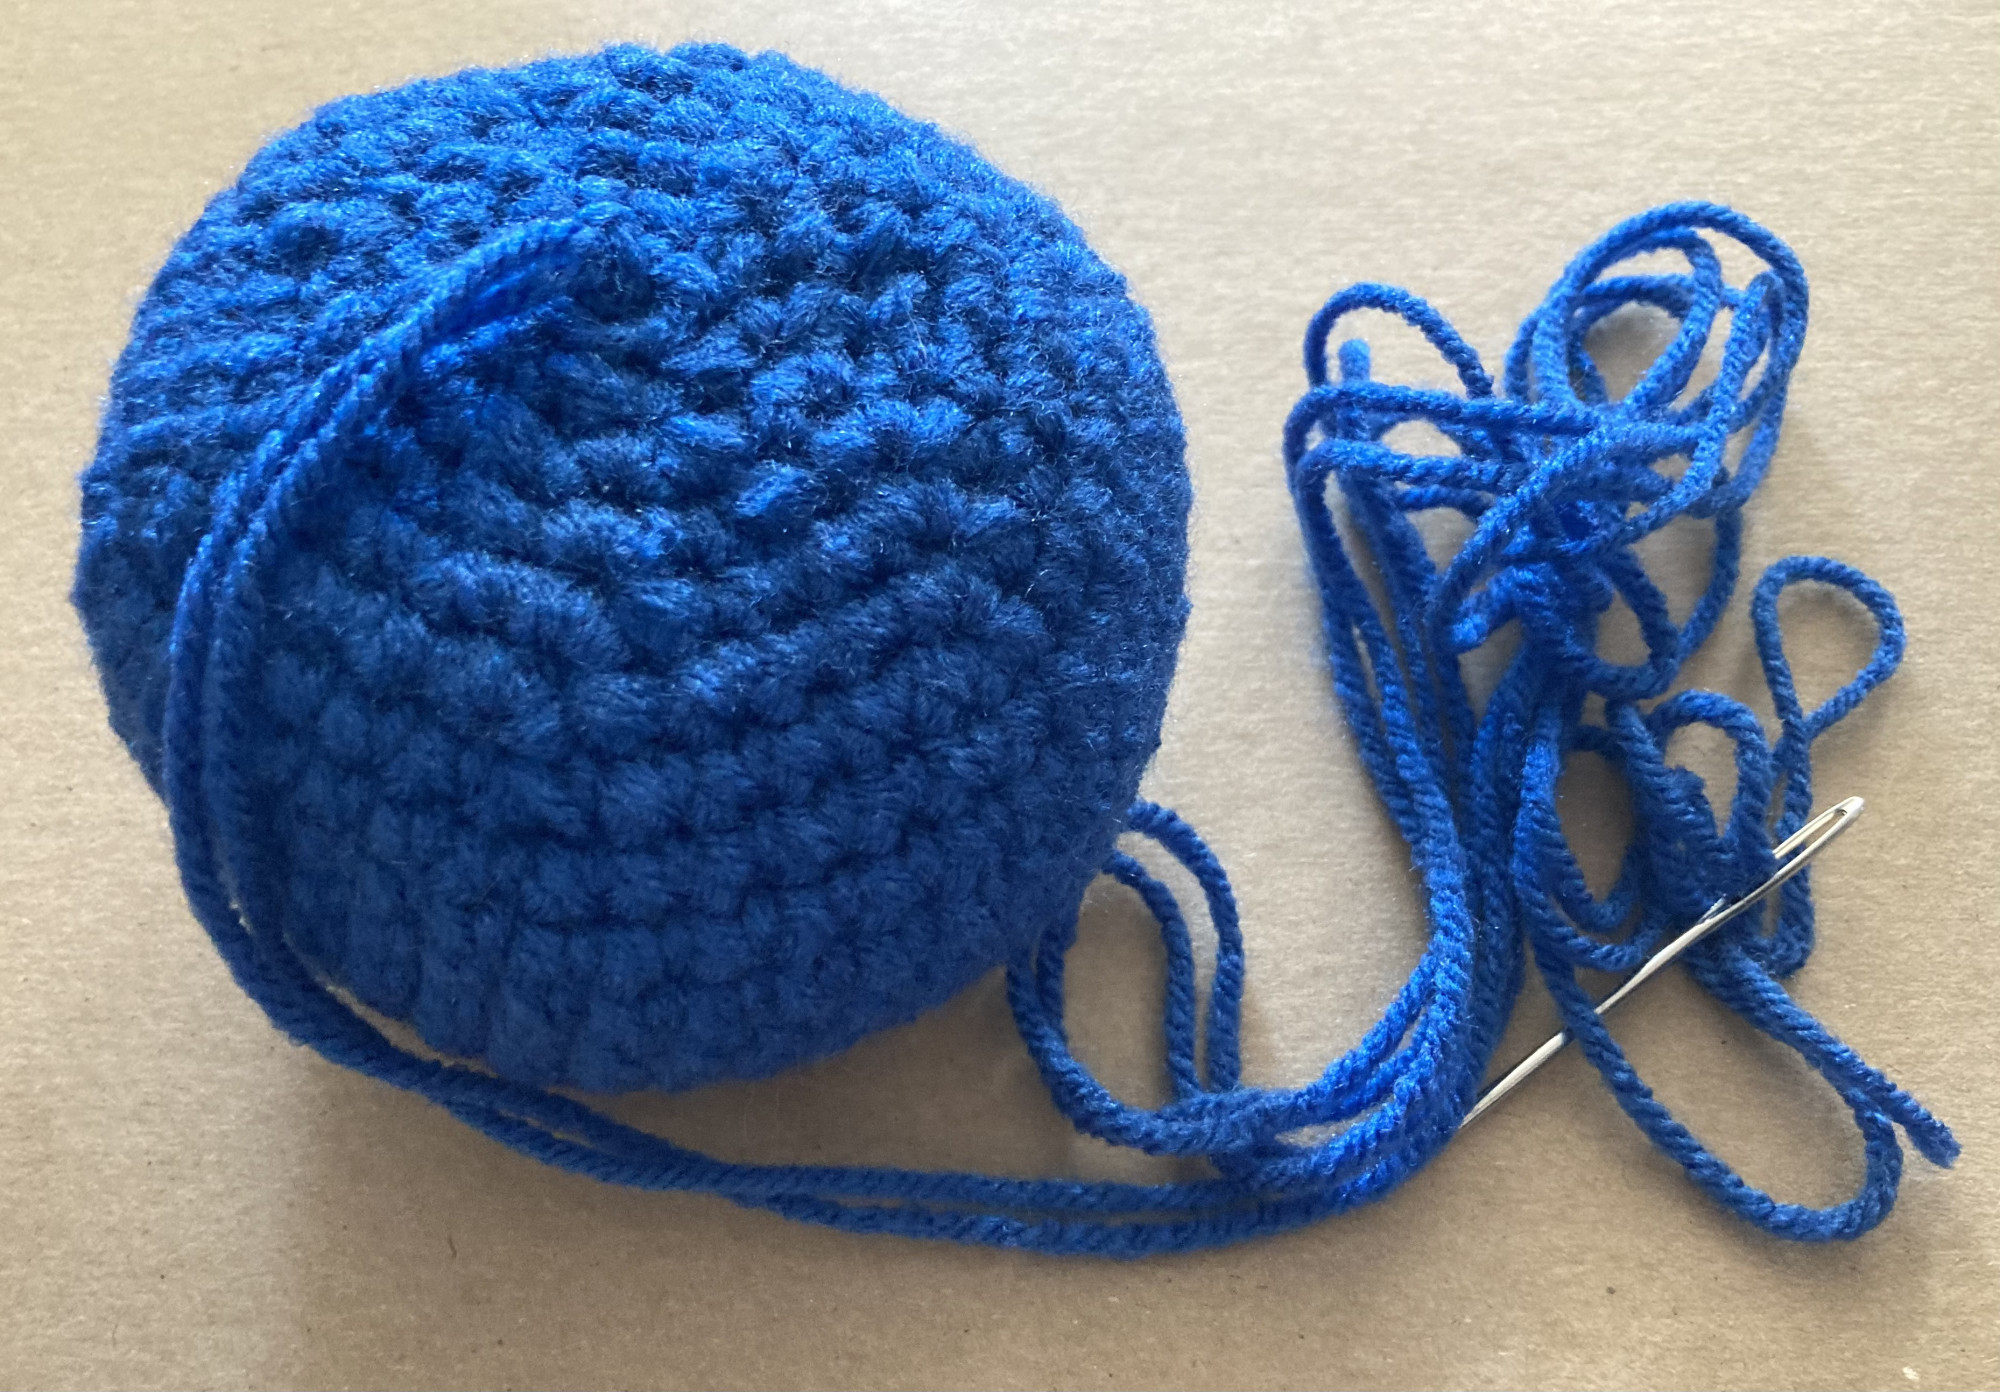
Fasten off, leaving a really long tail to create the creases in the pumpkin.
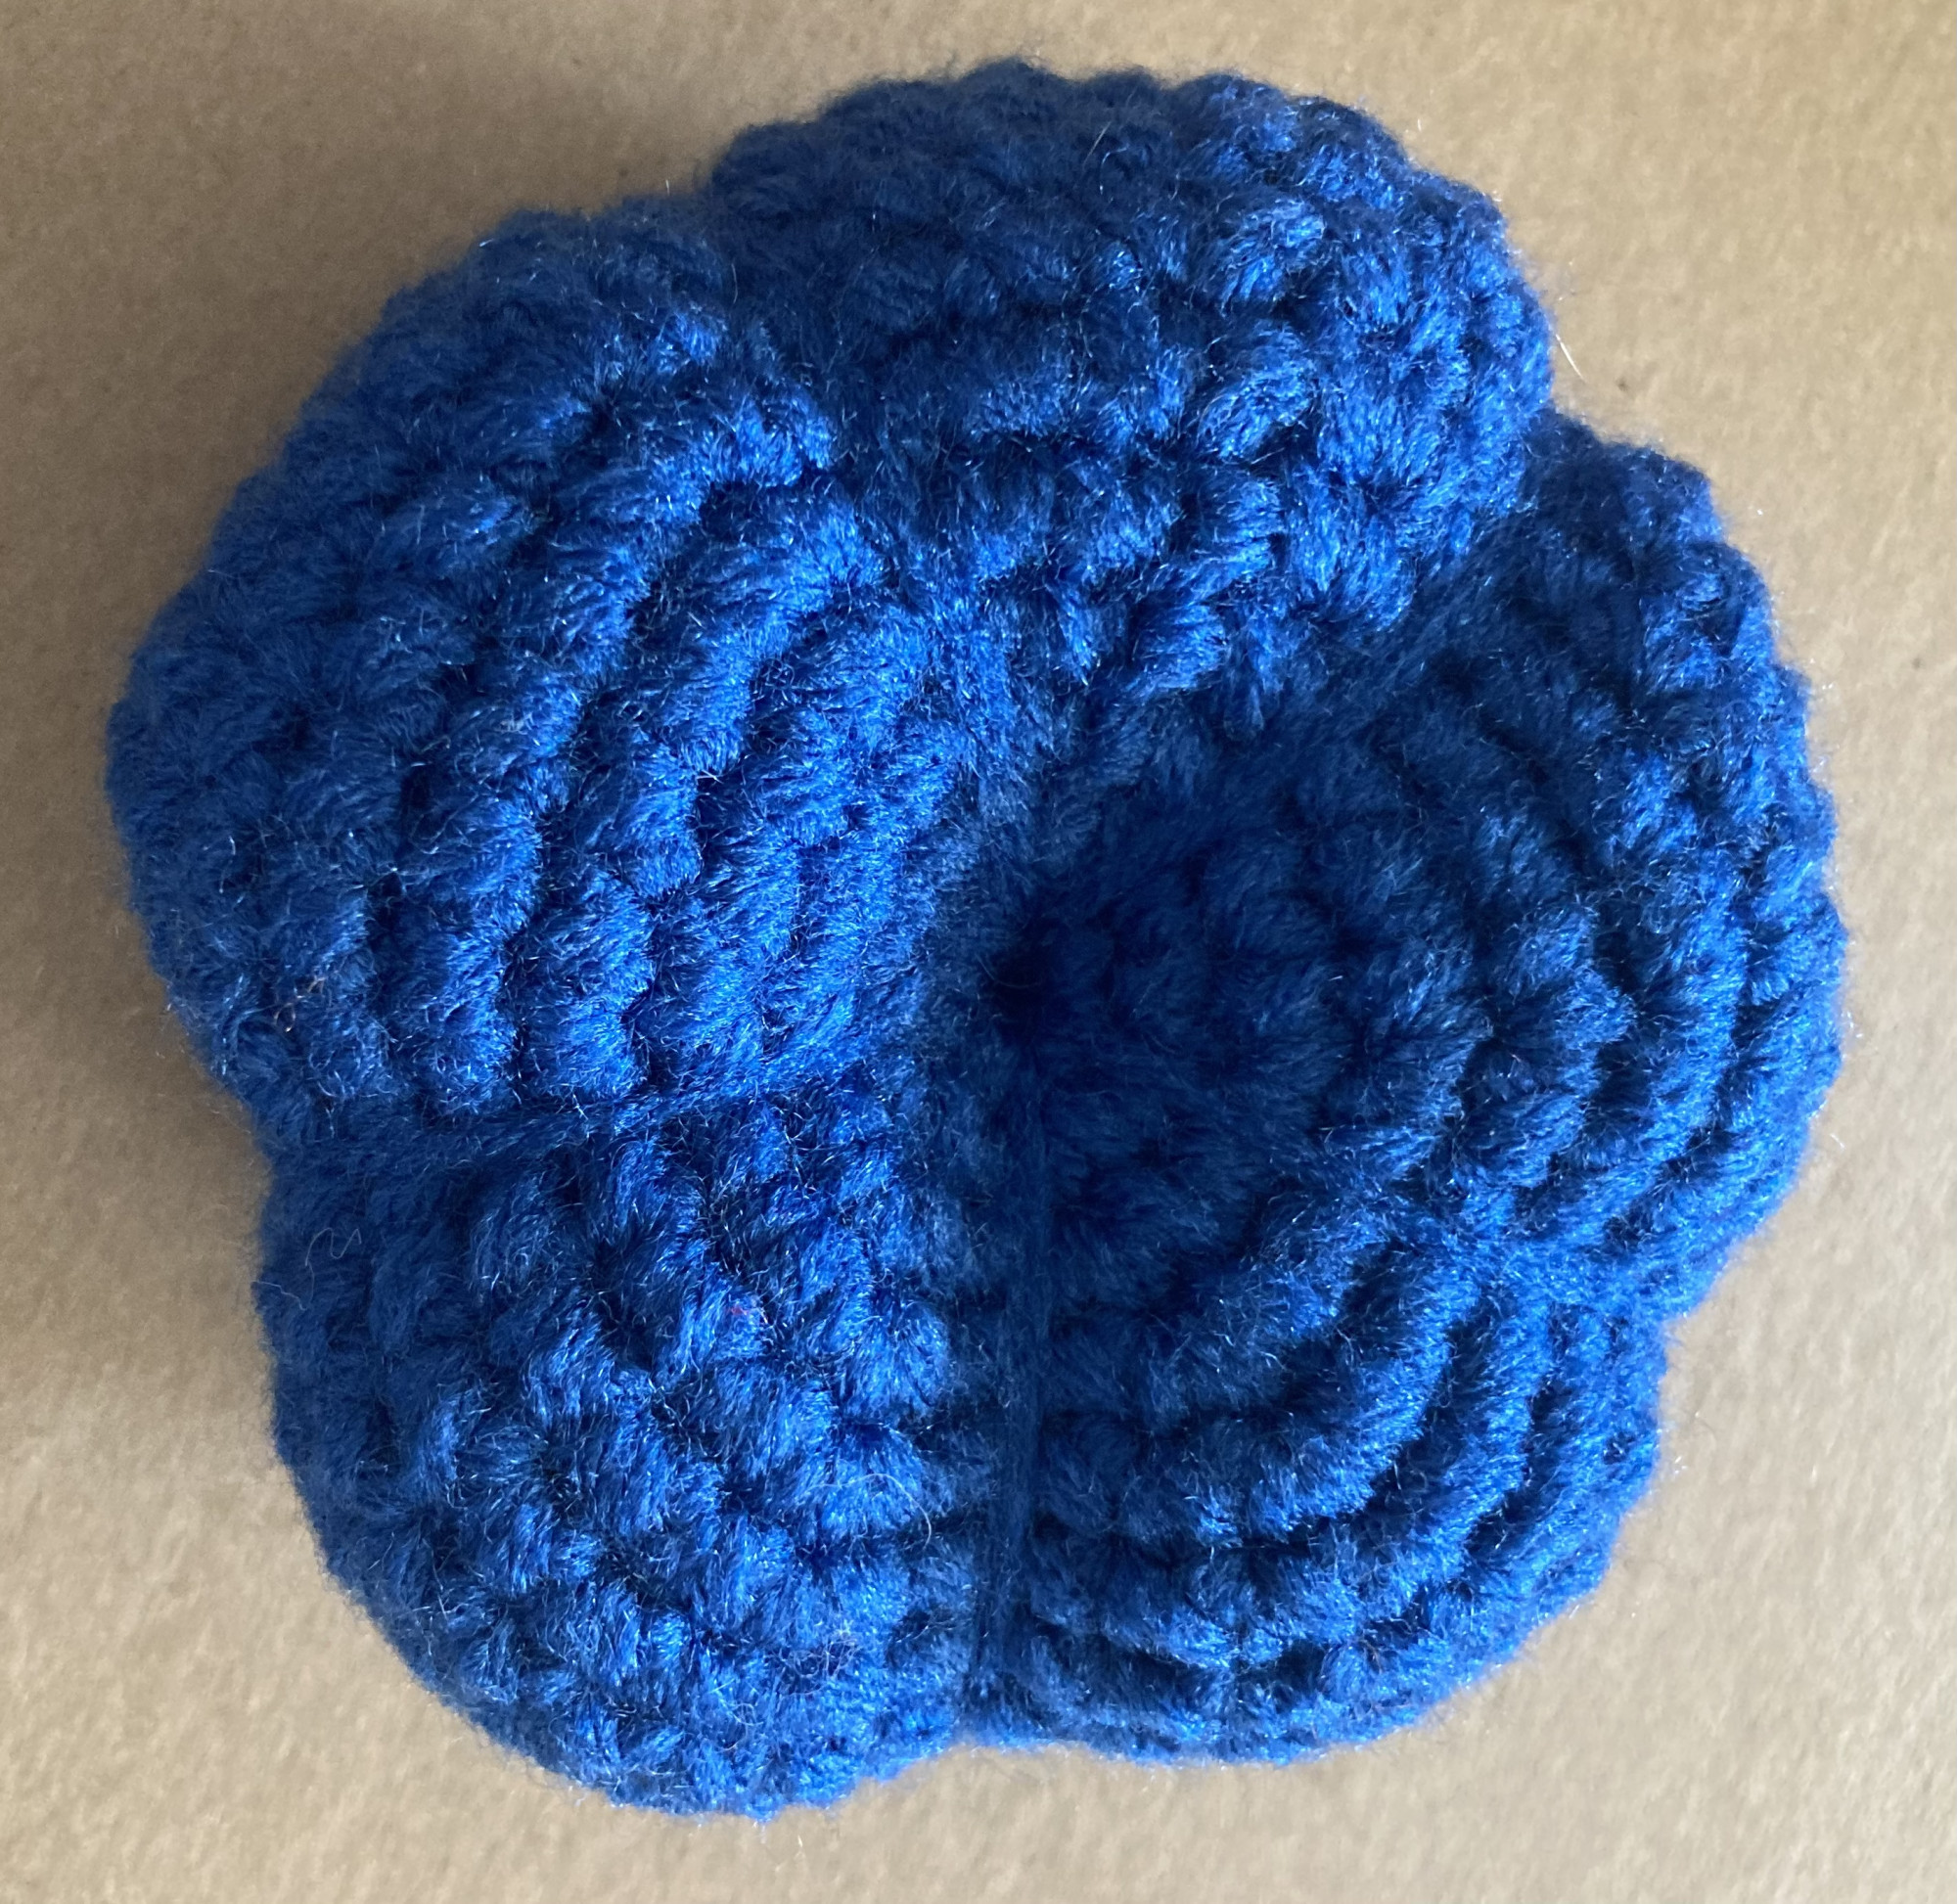
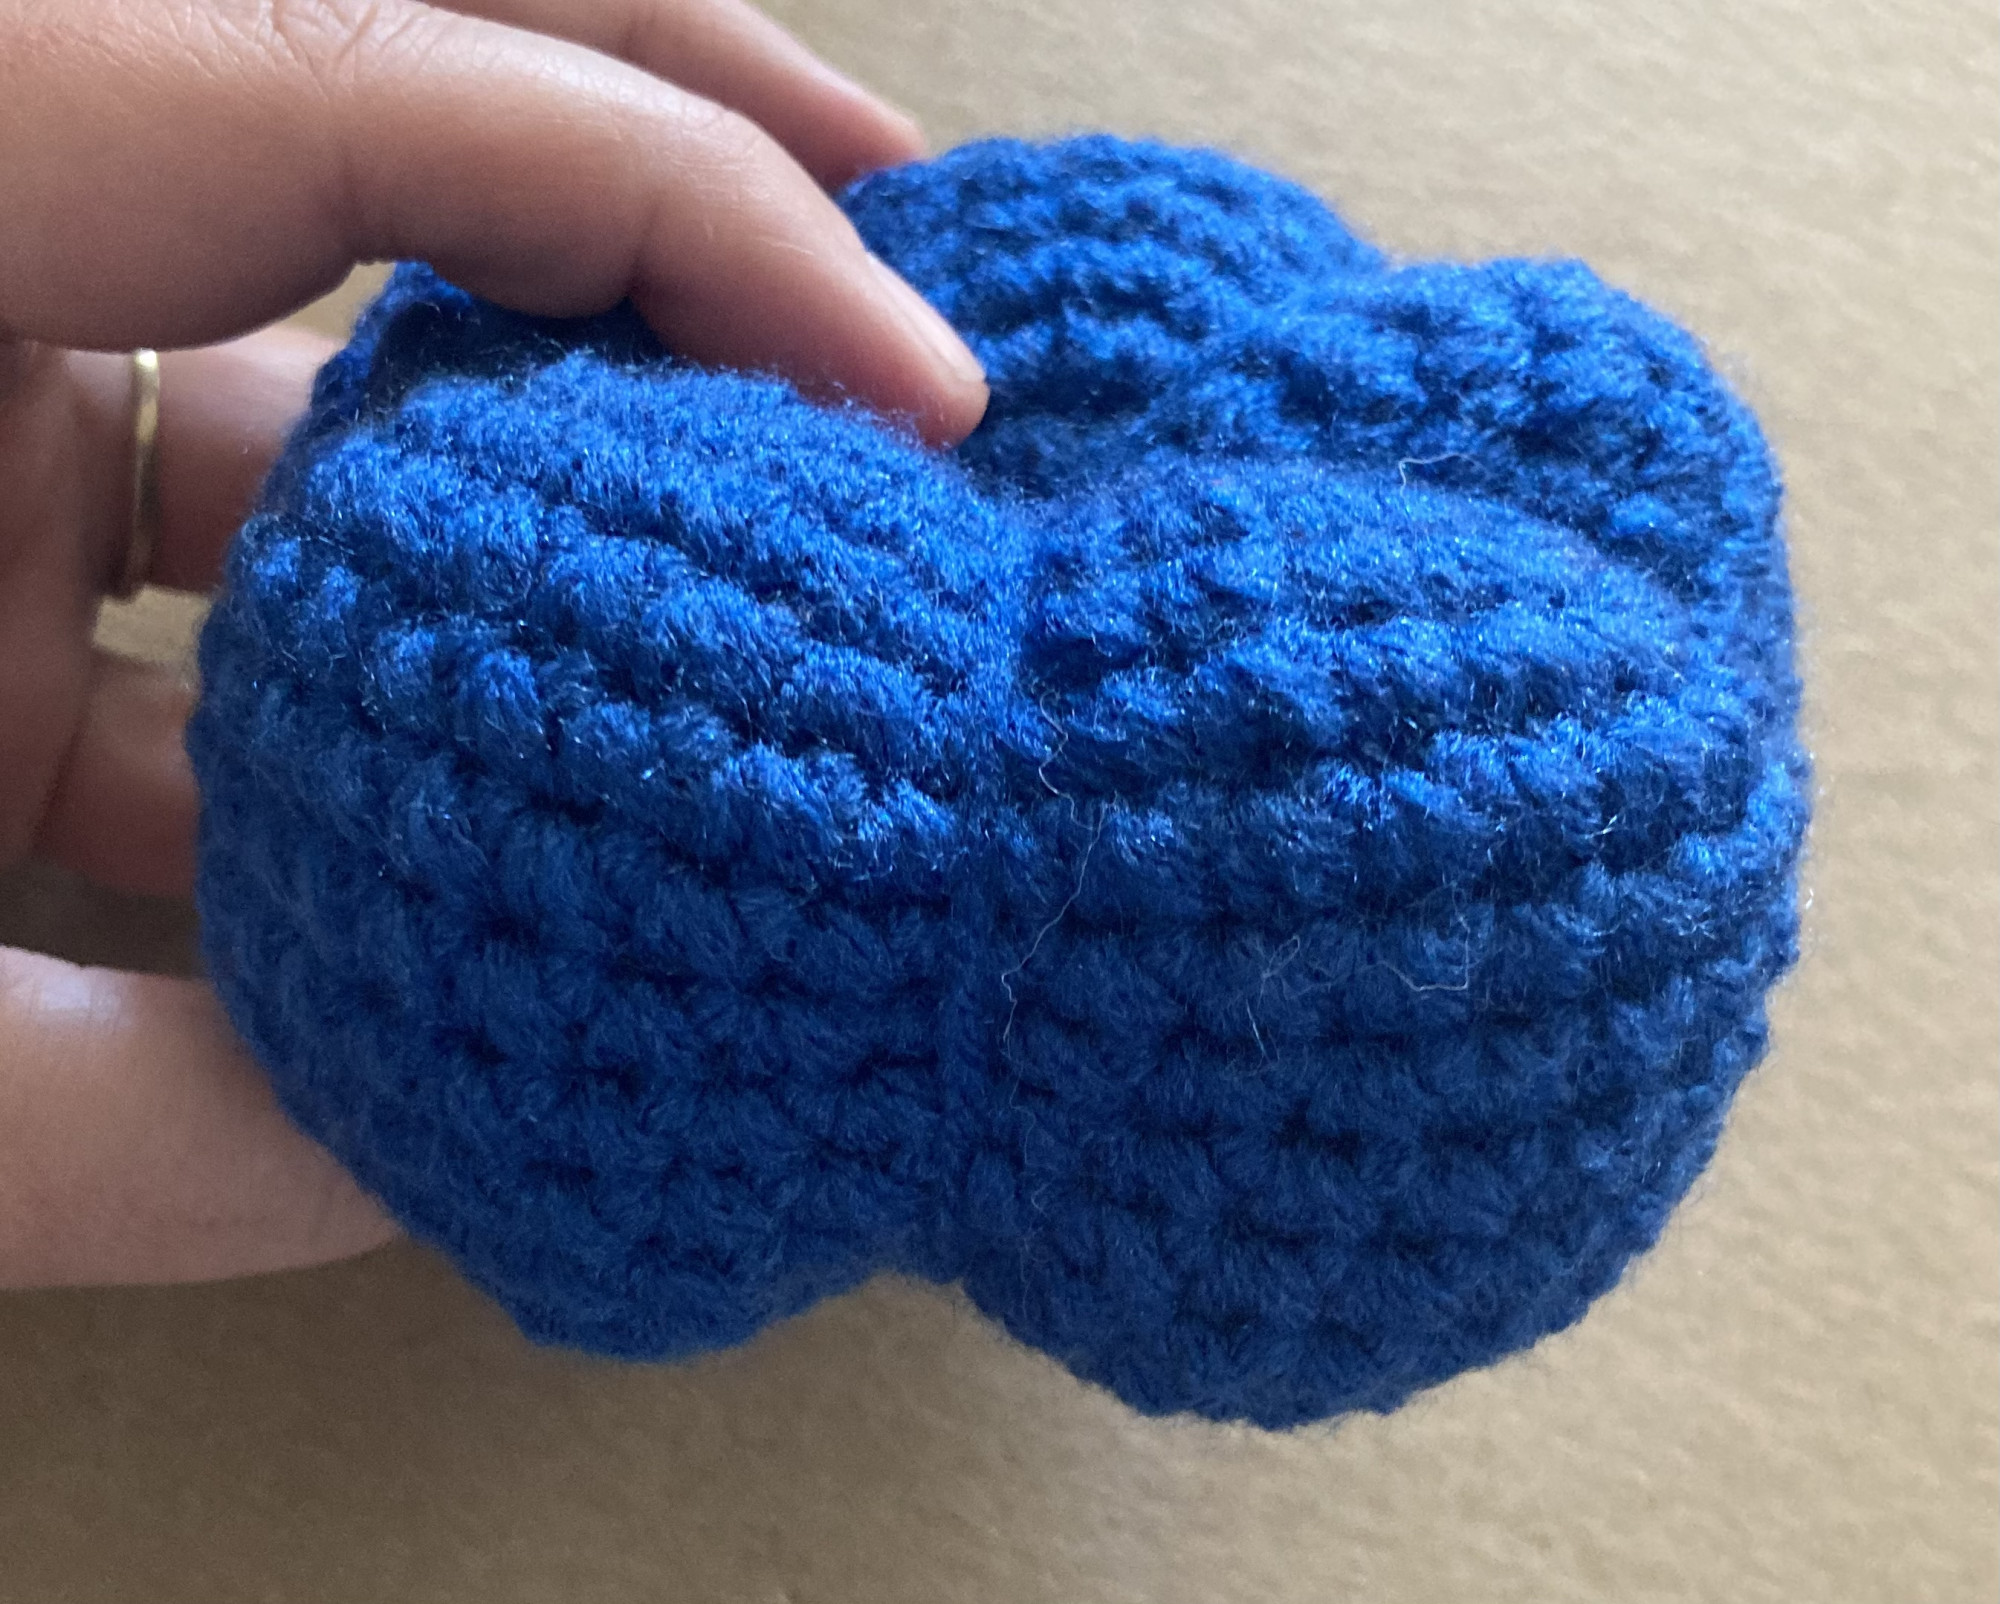
Sew through the middle of the pumpkin out through the other end, then around the side and into the top middle again. Do this 5 times around the pumpkin to create the 5 creases. Tie the string and fasten off.
Stem
Rnd1: 6sc in the magic ring. (6)
Rnd2: 6sc in blo (6)
Rnd3: 6sc (6)
Rnd4: 6sc (6)
Rnd5: incx6 (12)
Rnd6: (sc, inc)x6 (18)
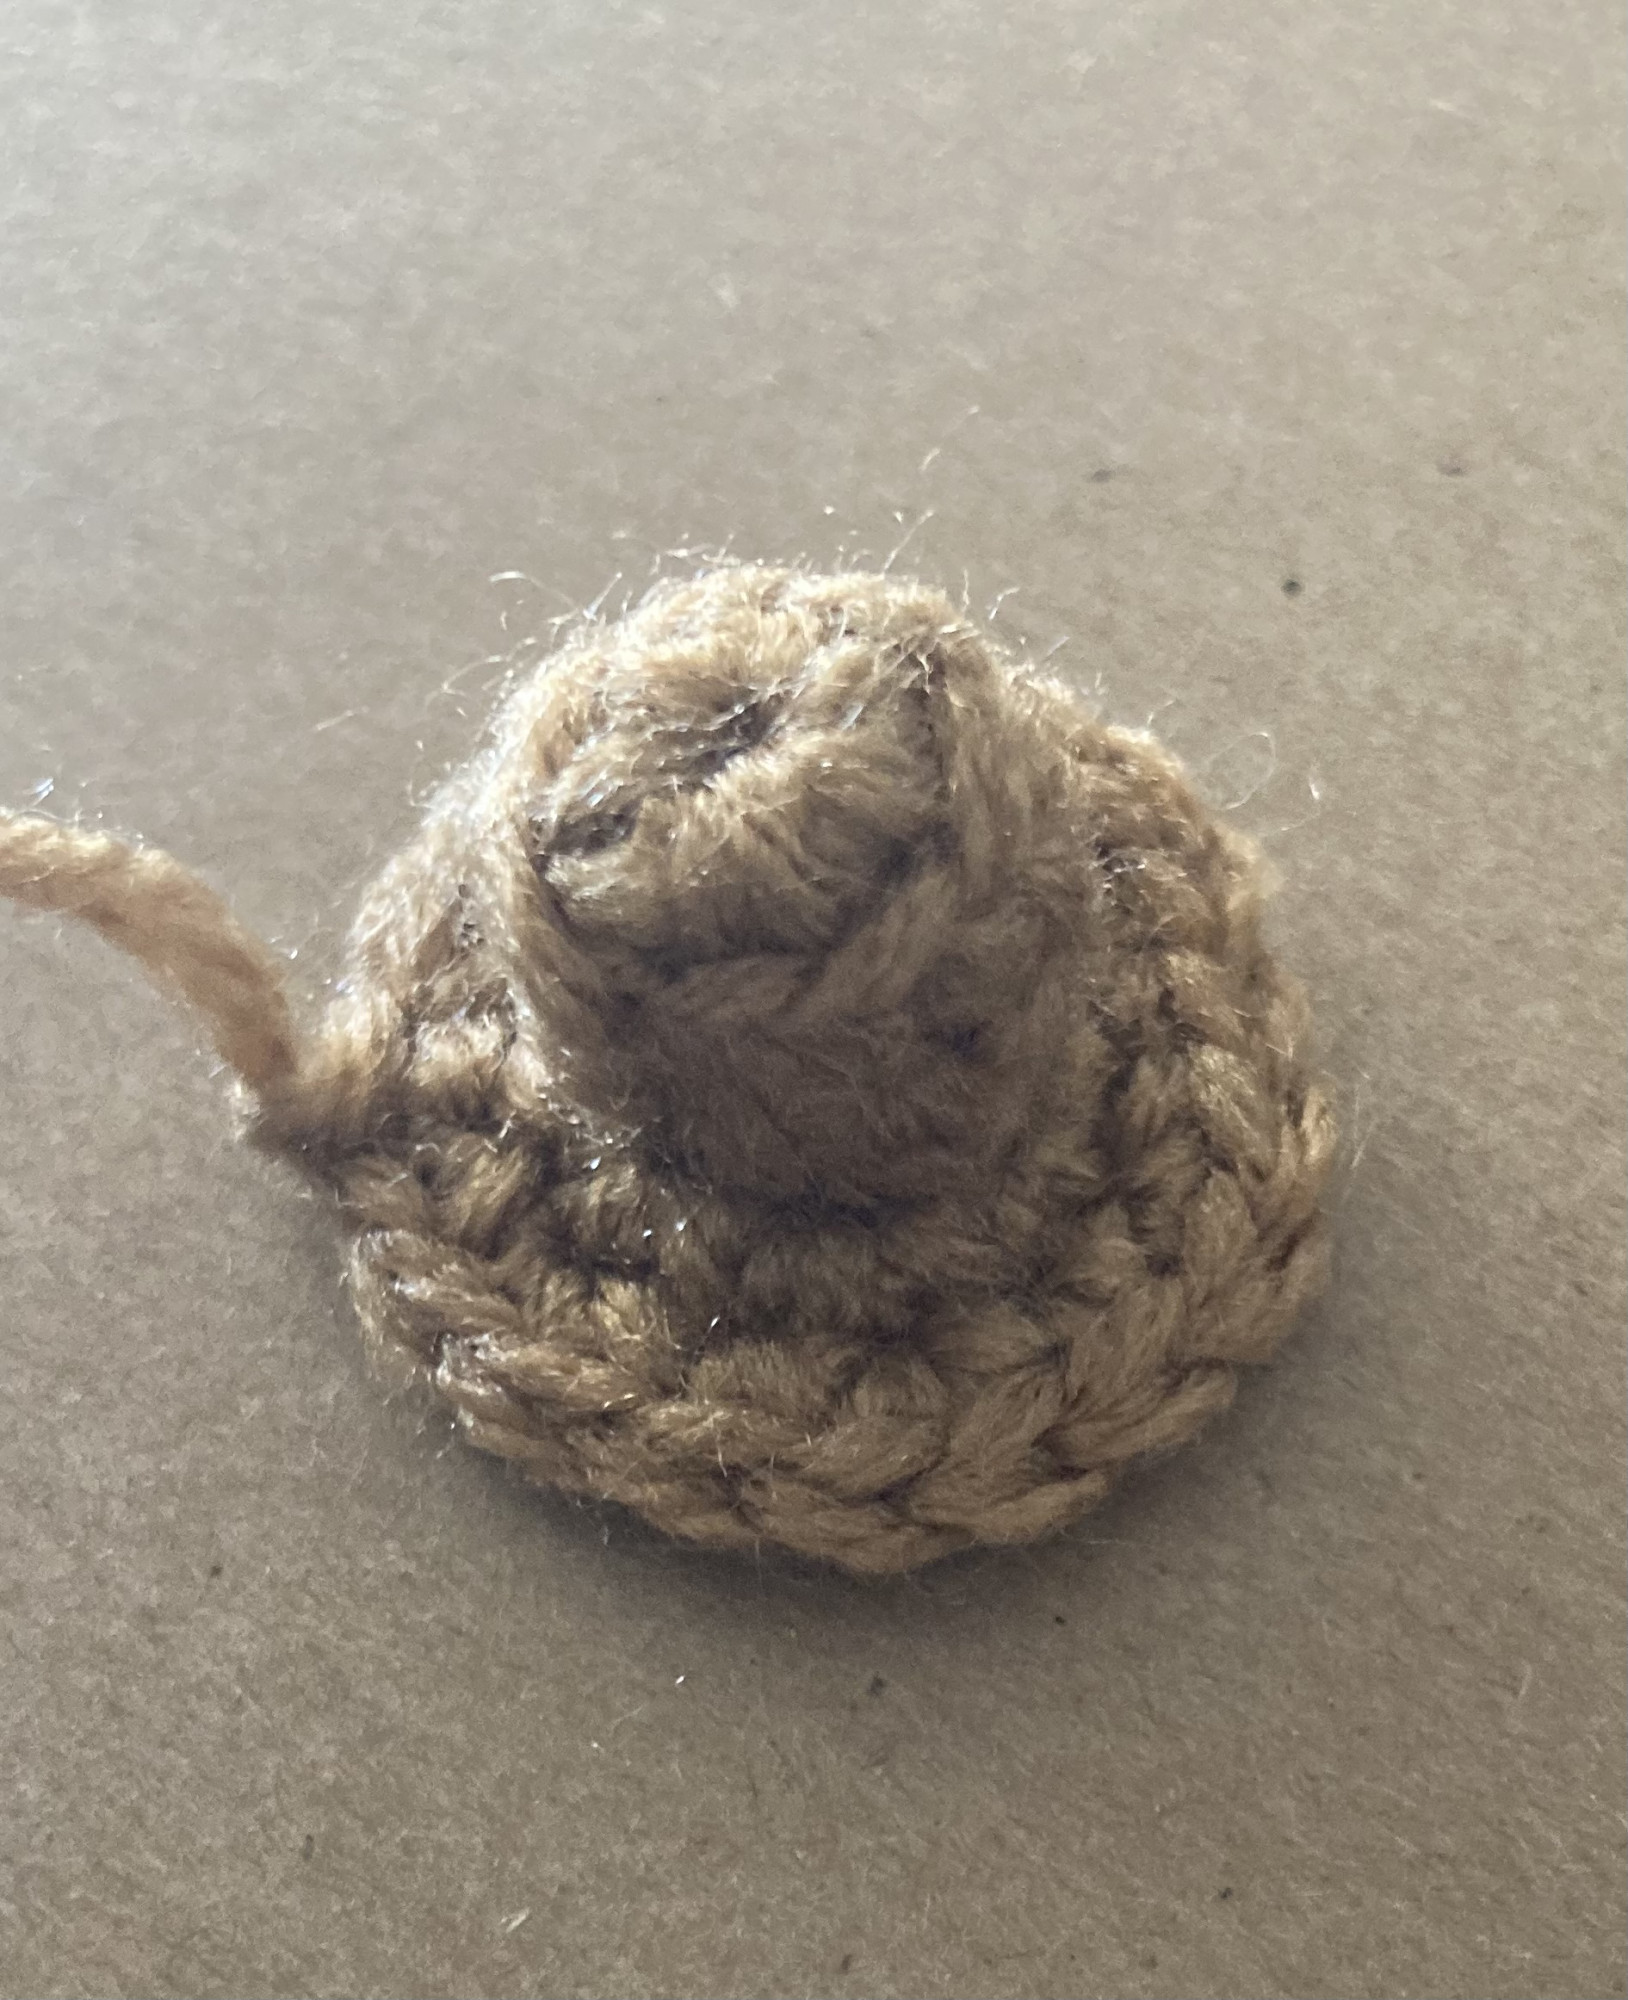
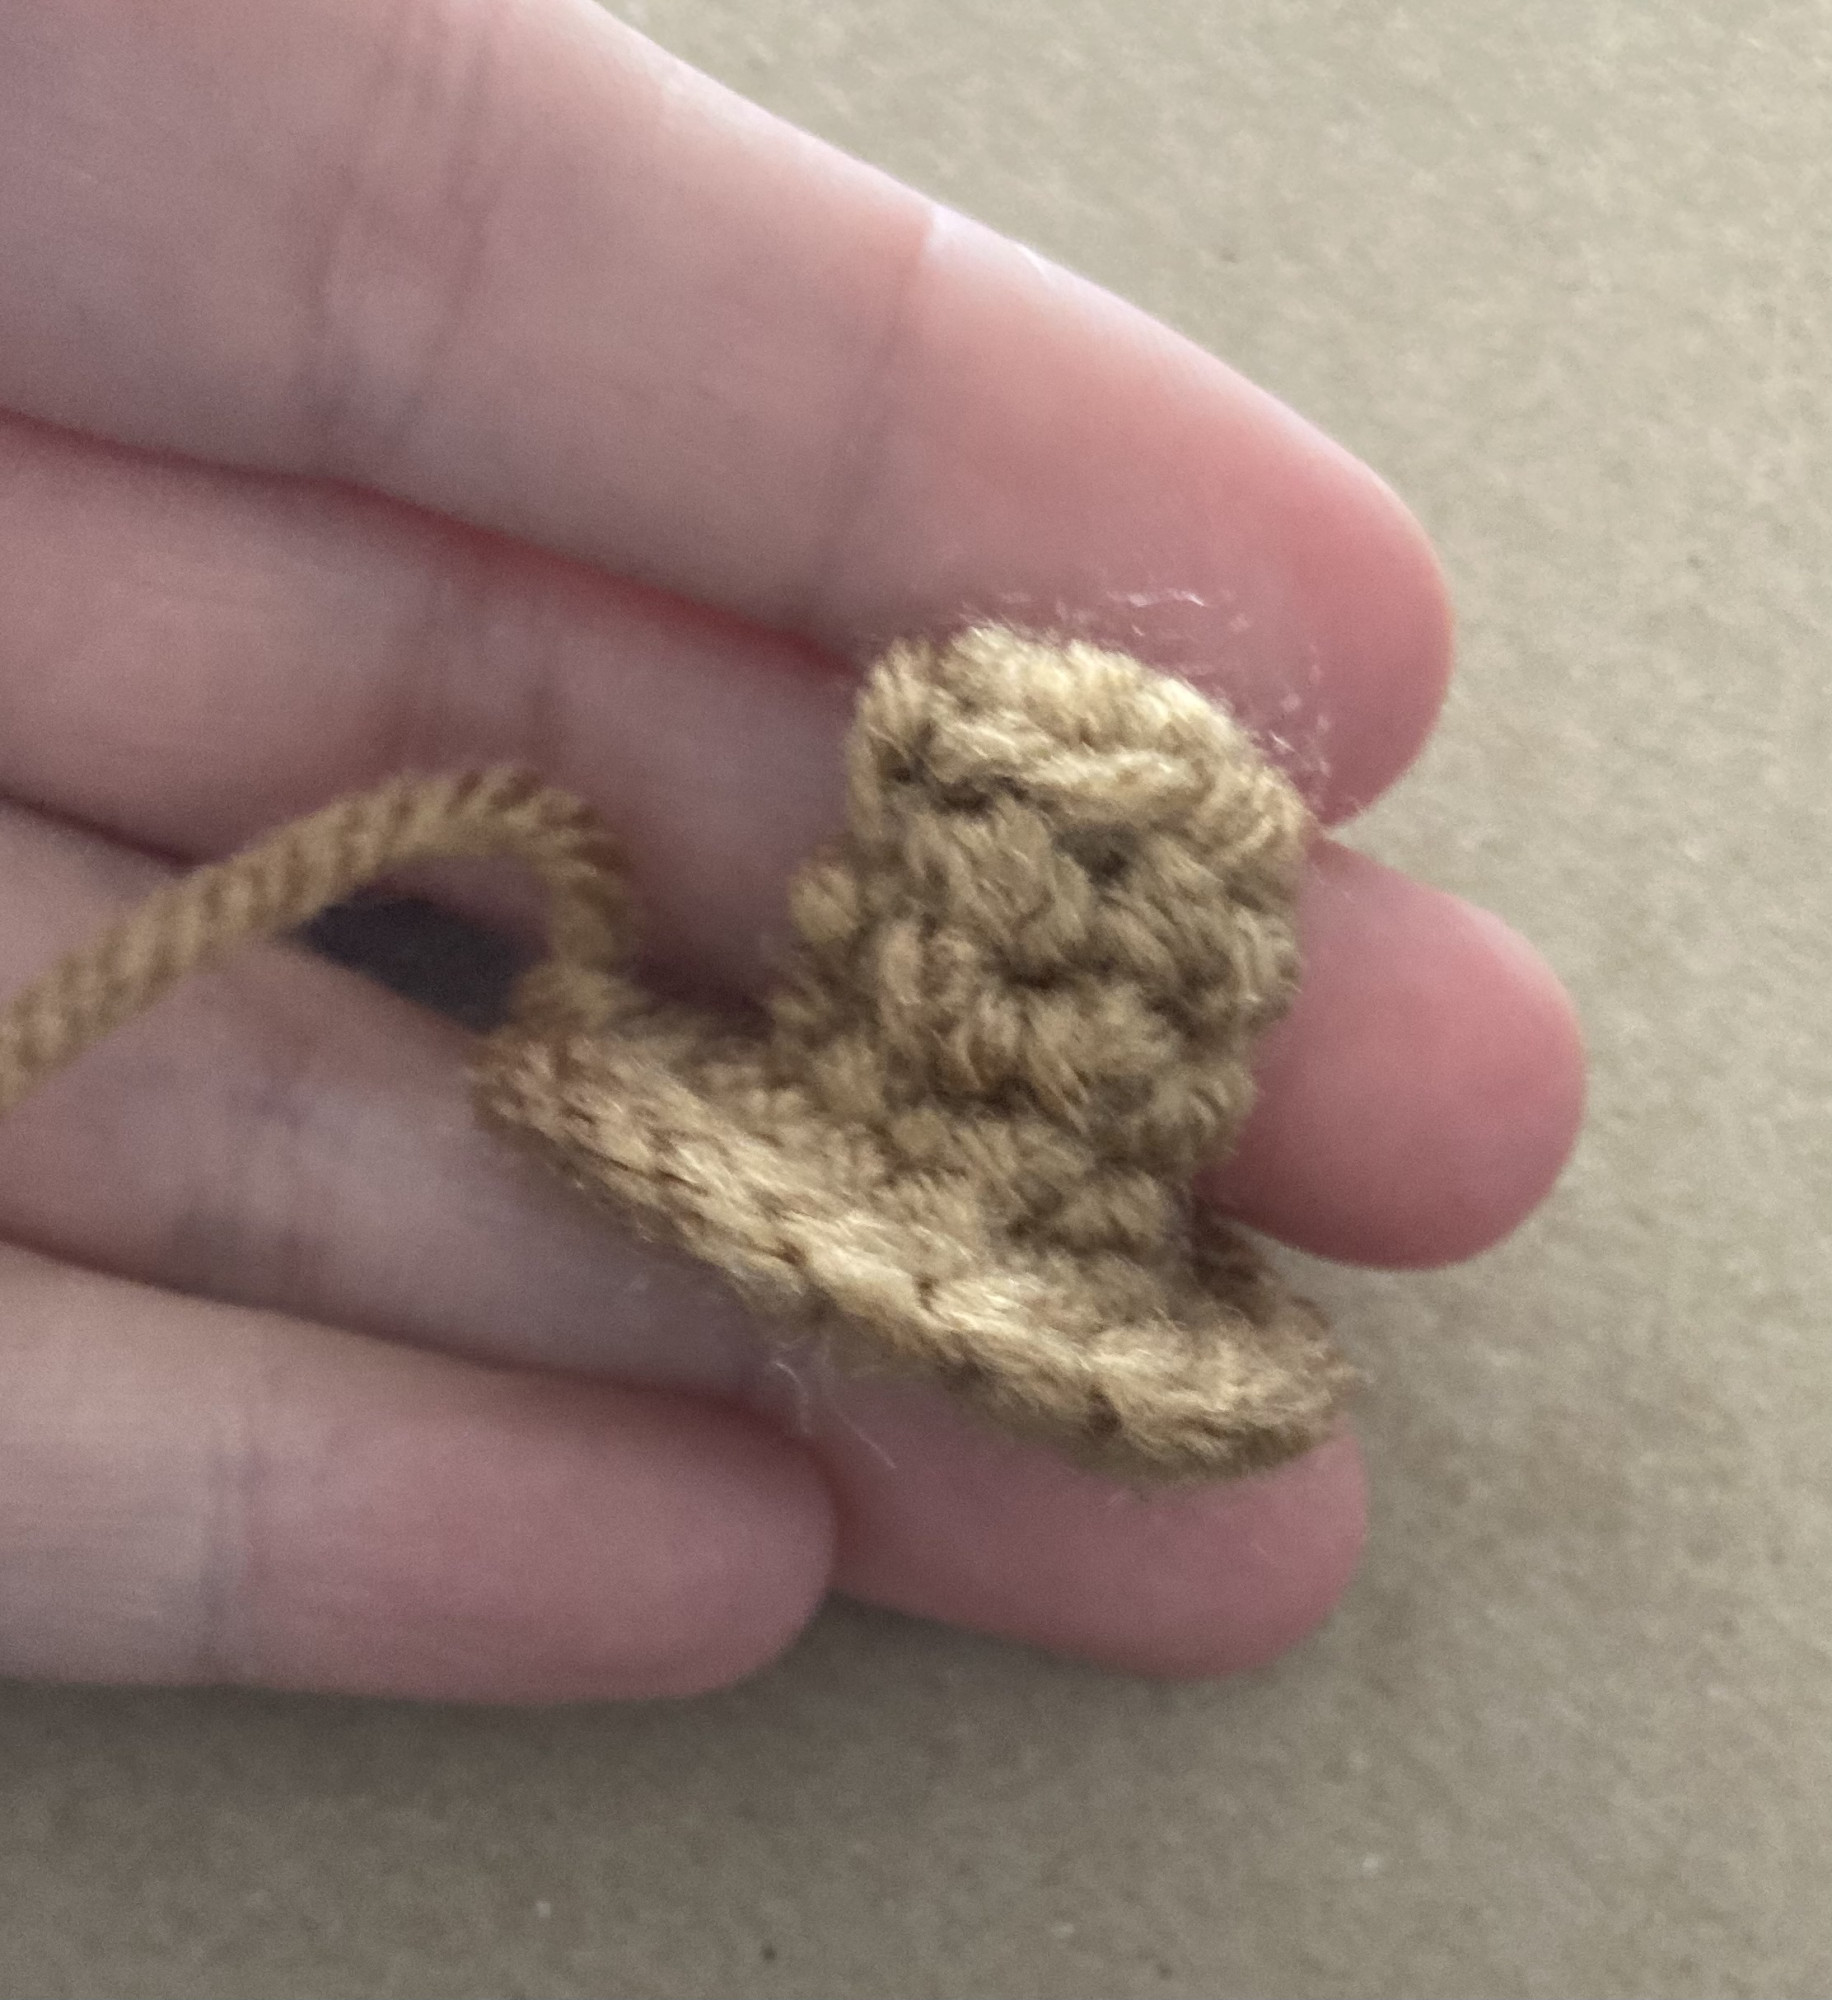
Fasten off and sew the stem to the middle of the pumpkin.
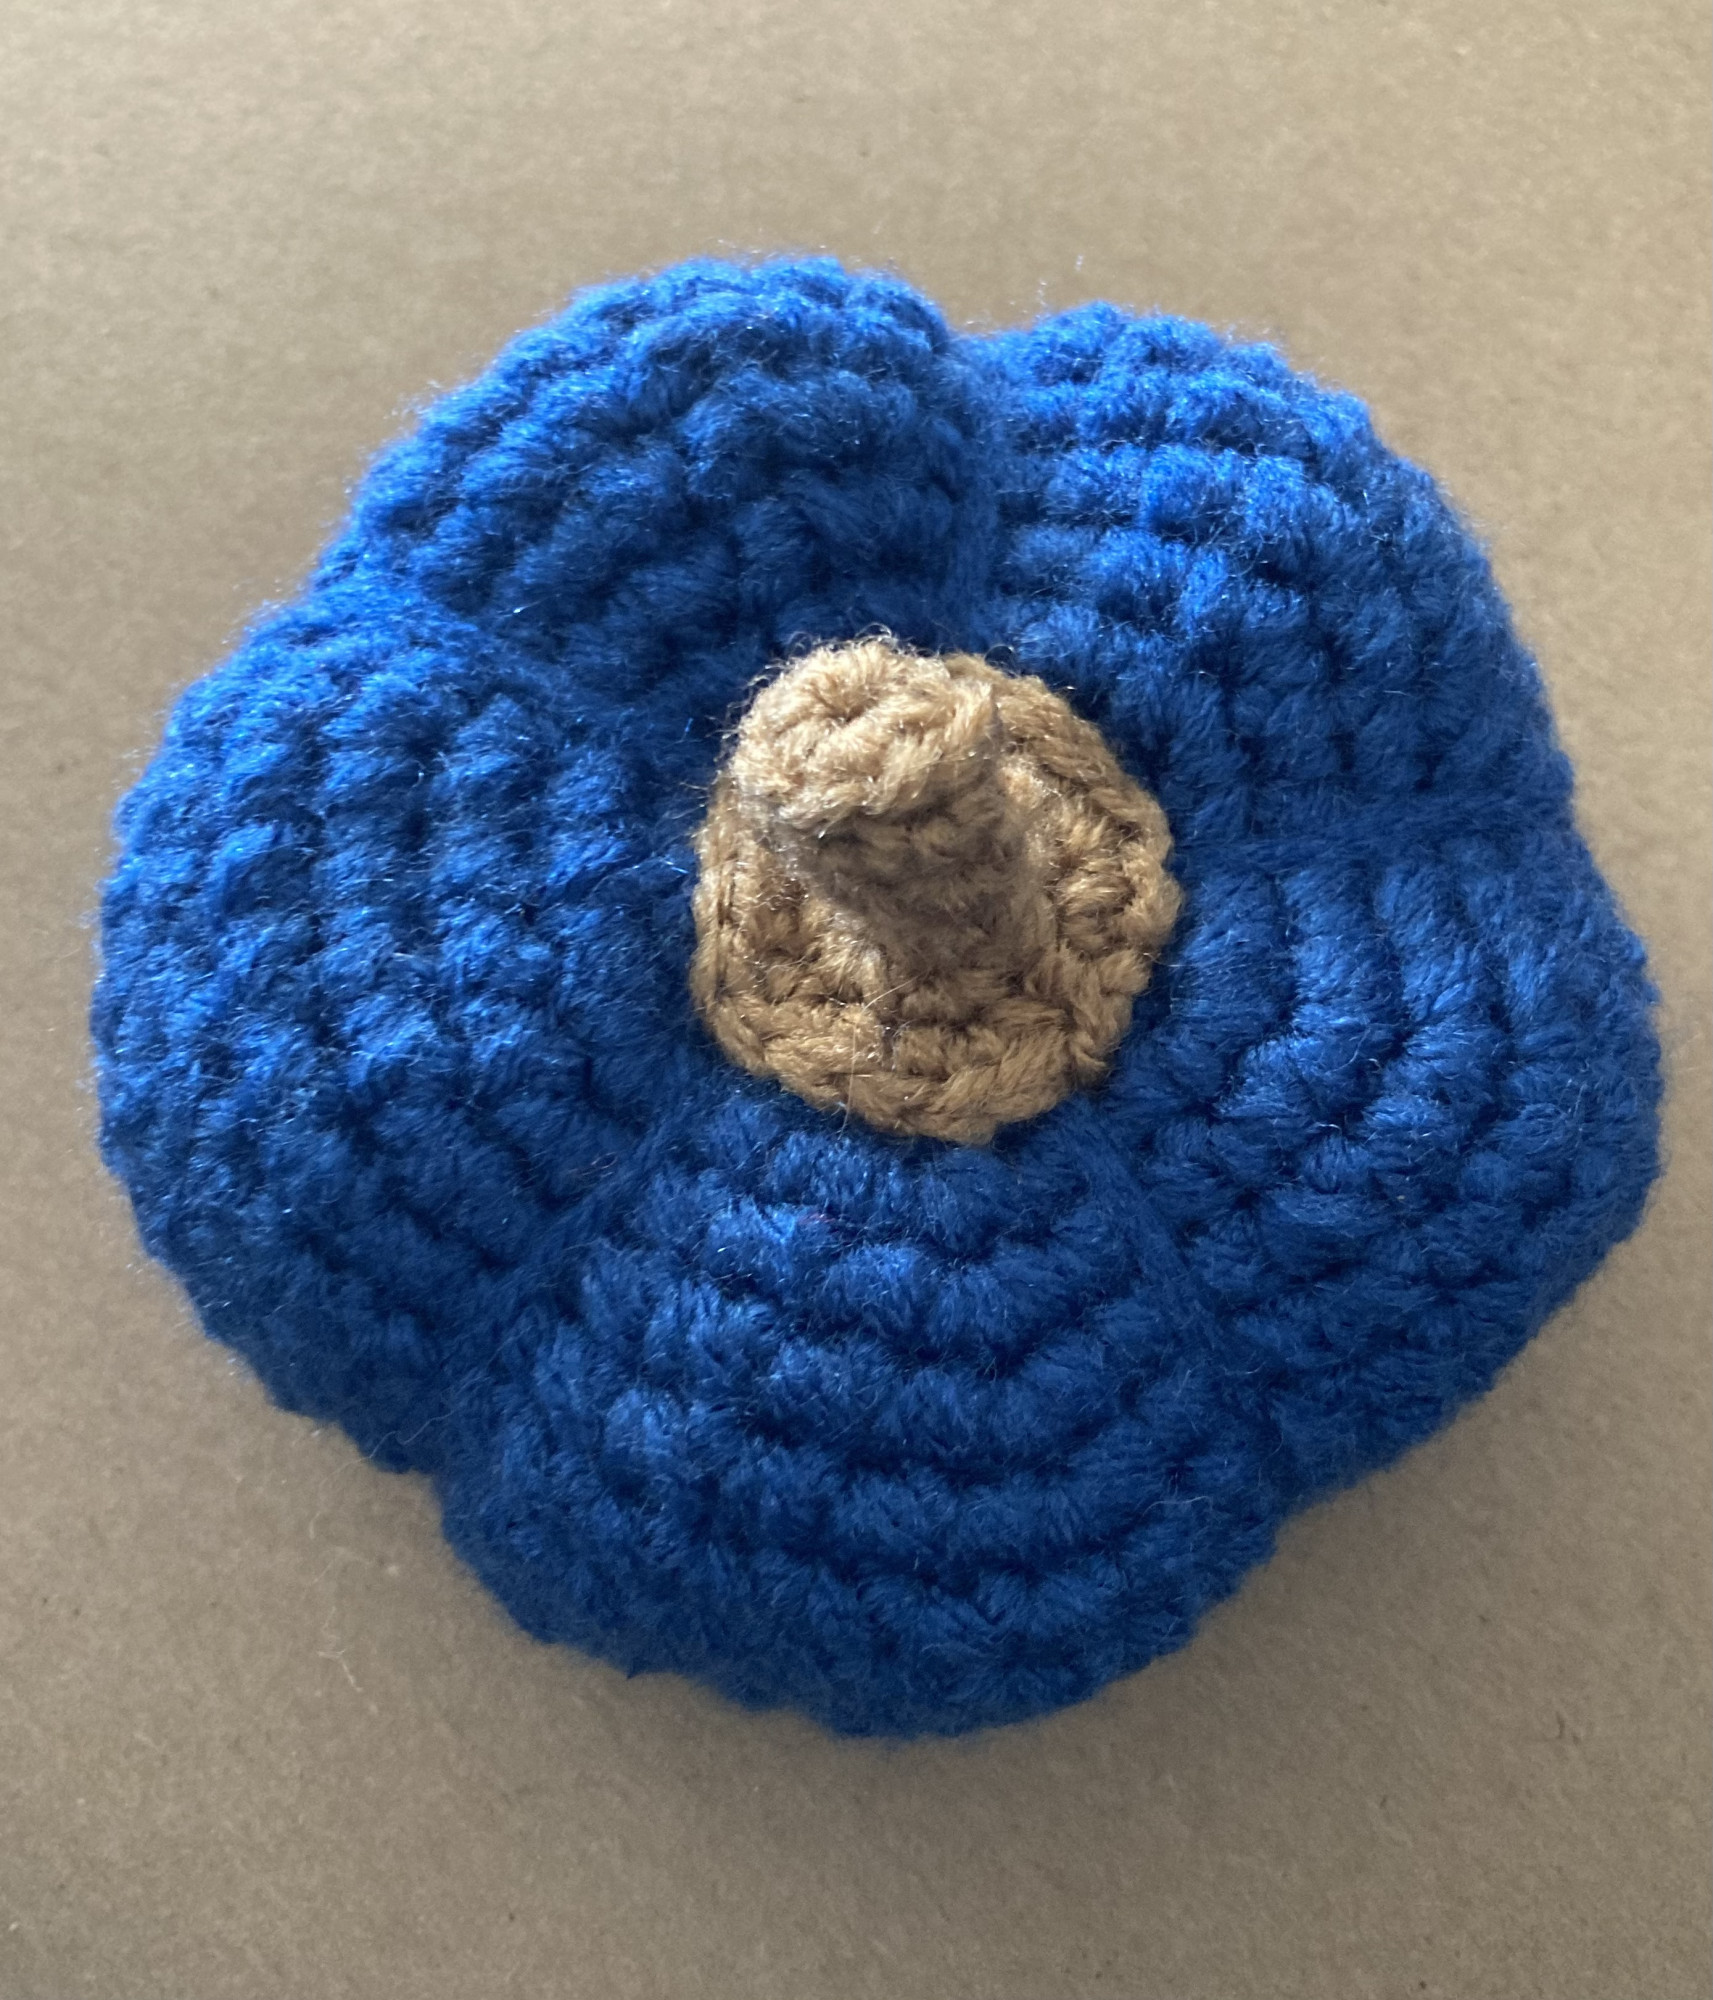

To change the height, just continue crocheting more rounds just like 8-14. Make it as tall as you want. To change the width, add extra increases, in multiples of 6, after round 7. You can also use thicker or thinner yarn, just make sure to use a different hook size that corresponds with the yarn you use. If you want to learn more about hook and yarn sizes and how they work together, you can check out this post.
And voila. You now have a cute little pumpkin.

